Users & groups
Overview
The central user directory allows users to use the same username and password across apps.
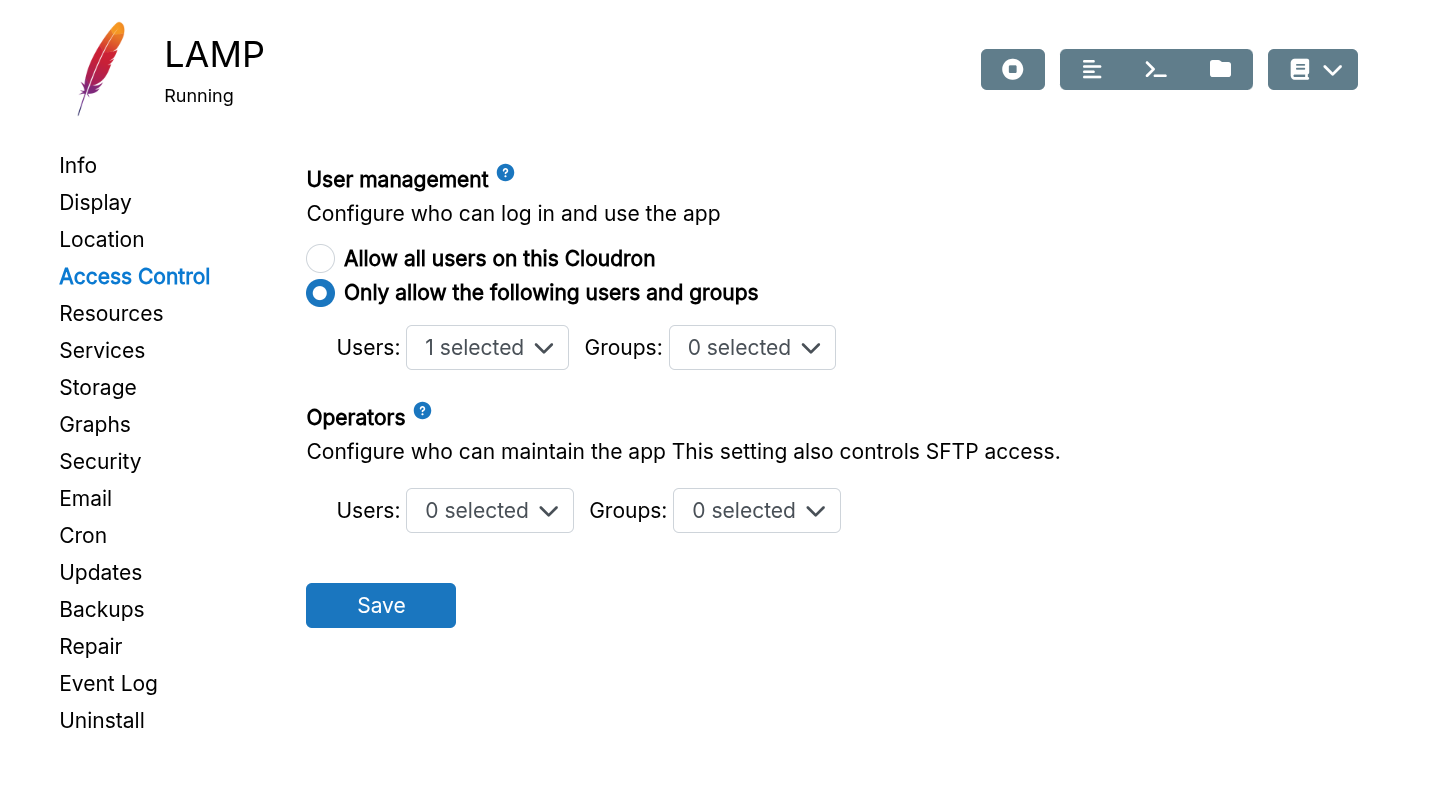
For information on configuring app access control and SSO integration, see Access control.
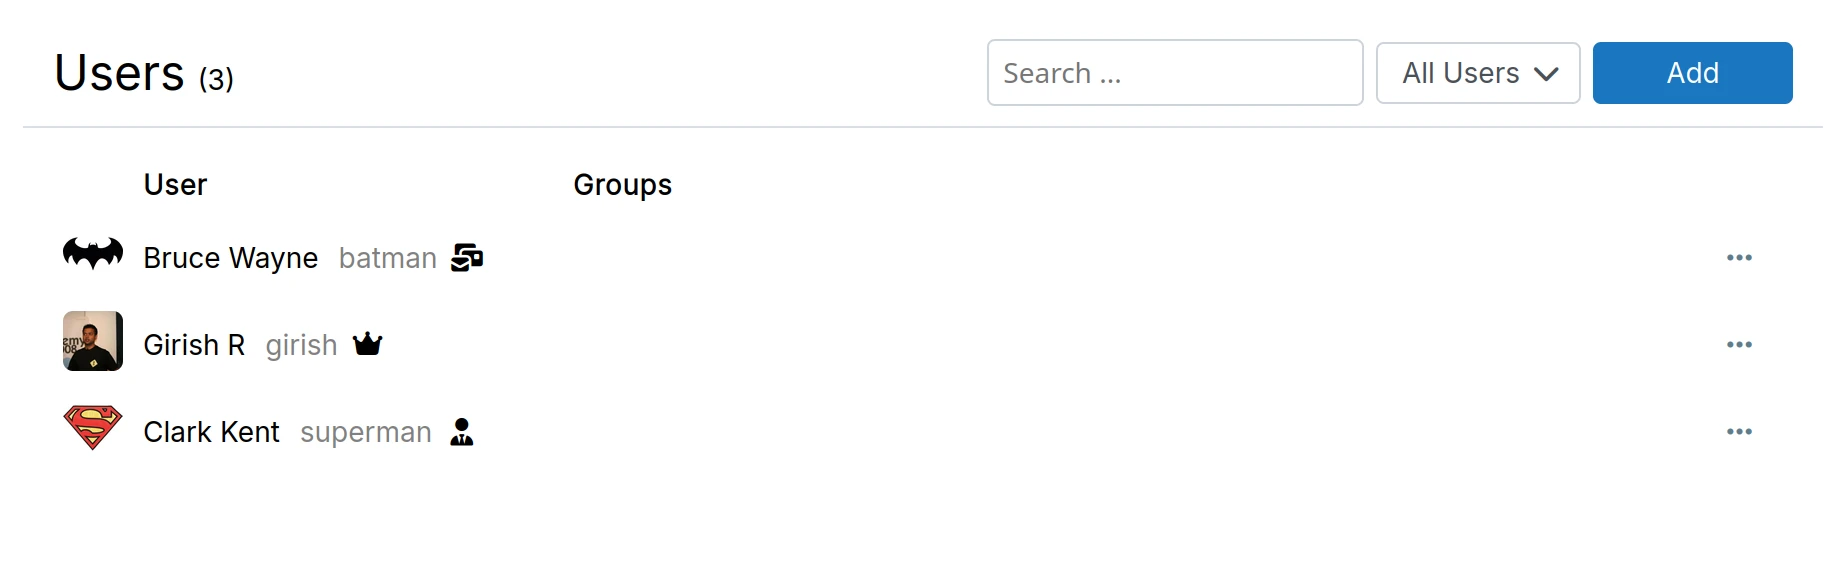
Users
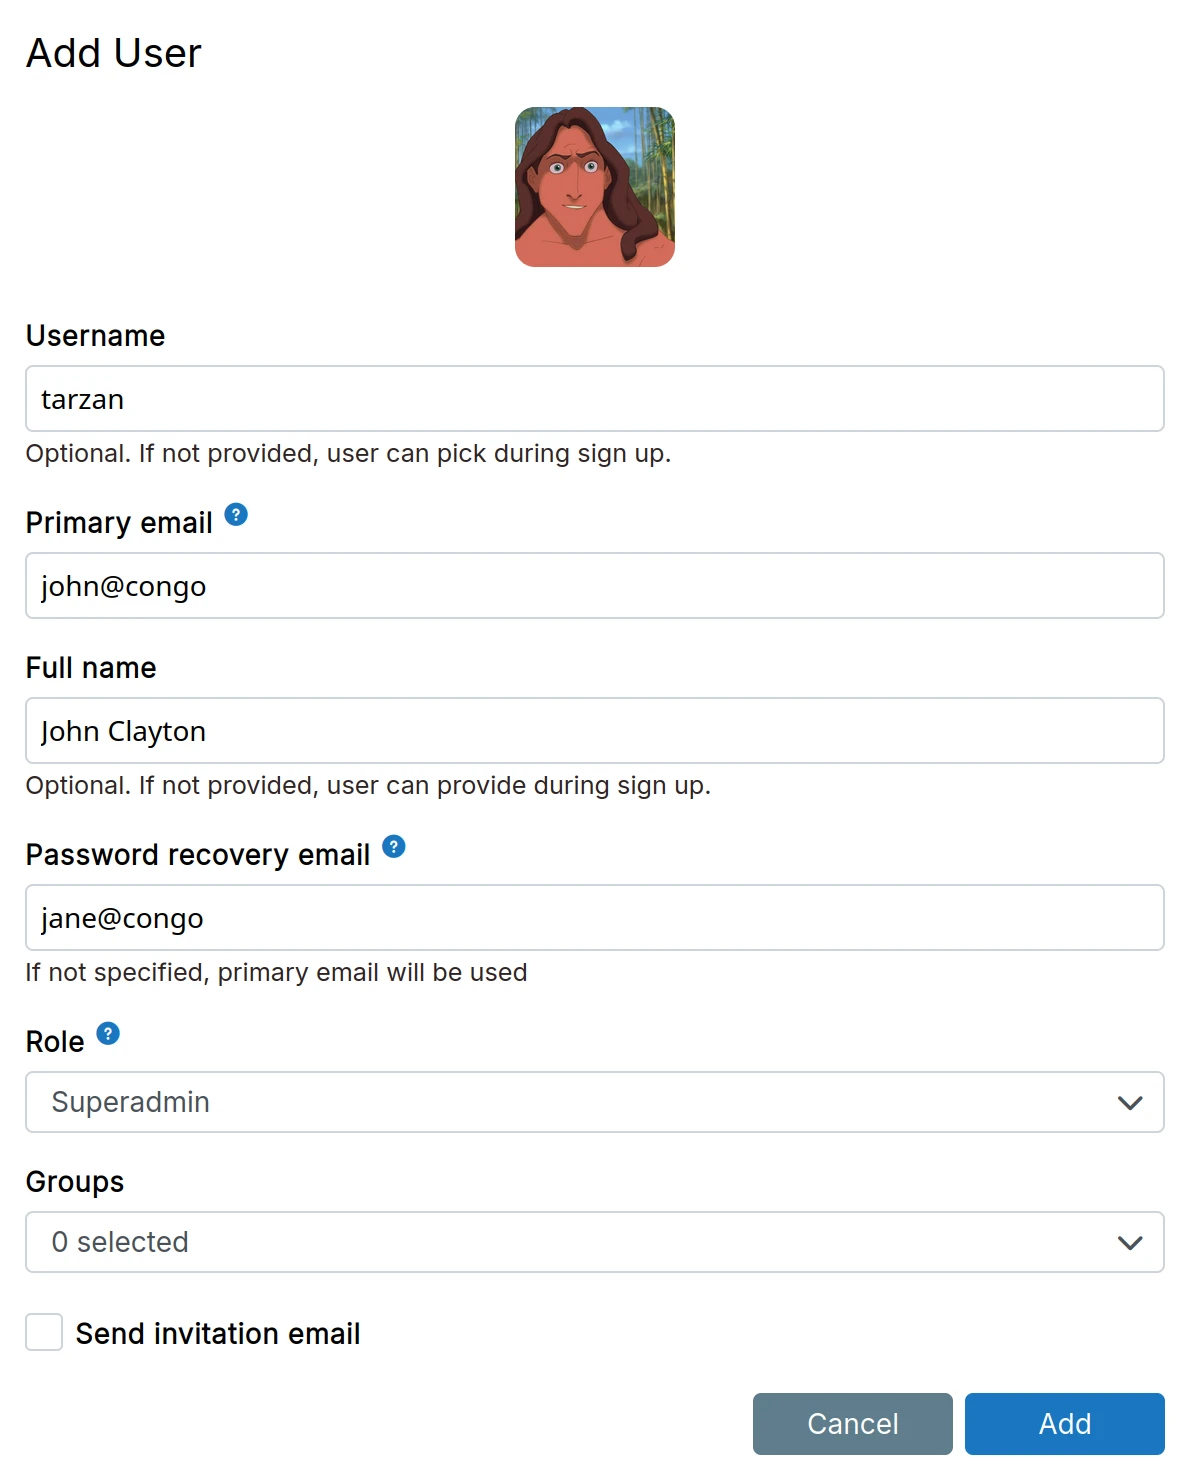
New users can be added in the Users view.
An invitation email is sent to the primary email of the user when Send invitation email is checked.
Removing a user revokes all app access. Apps often maintain their own login sessions and may not log out the user immediately. For this reason, you should disable the user inside apps as well.
Valid usernames
Allowed characters in usernames:
- Alphanumeric characters
.(dot)-(hyphen)
Choose usernames carefully. Generic words like error, pull, 404 may be reserved by apps.
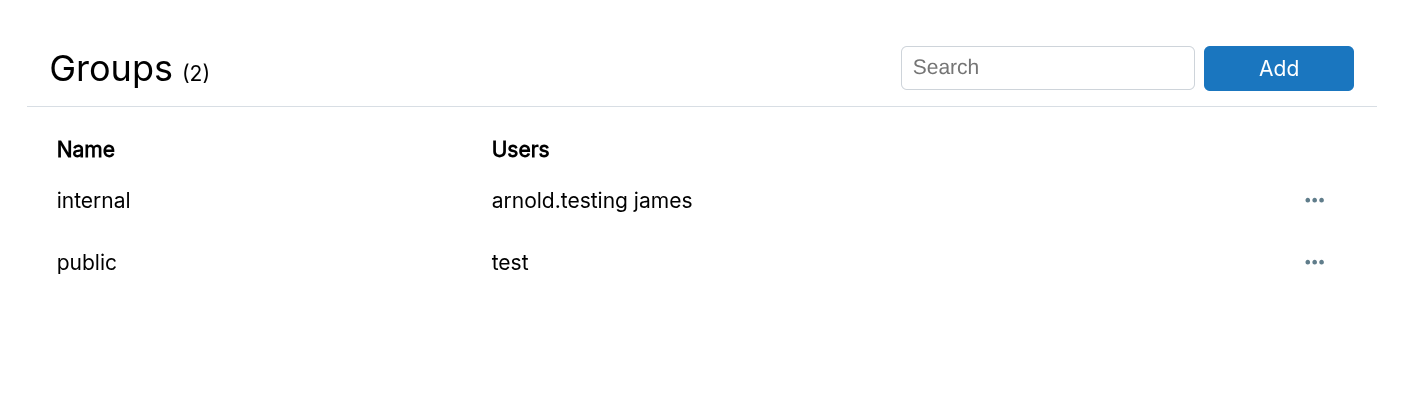
Groups
Groups organize users and control app access. Assign groups to apps to restrict access.
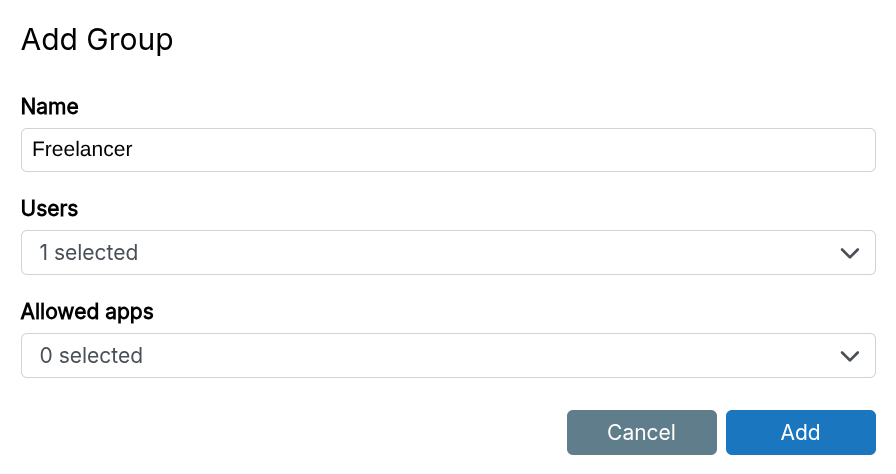
When adding a group, you can assign users and apps:
Set access restrictions in the app's configure dialog:
Valid group names
Allowed characters in group names:
- Alphanumeric characters
.(dot)-(hyphen)
Roles
Roles define user permissions.
User
Users can log in to the dashboard and access their assigned apps. They can edit their profile (name, password, avatar).
To allow a user to manage specific apps, see App Operator.
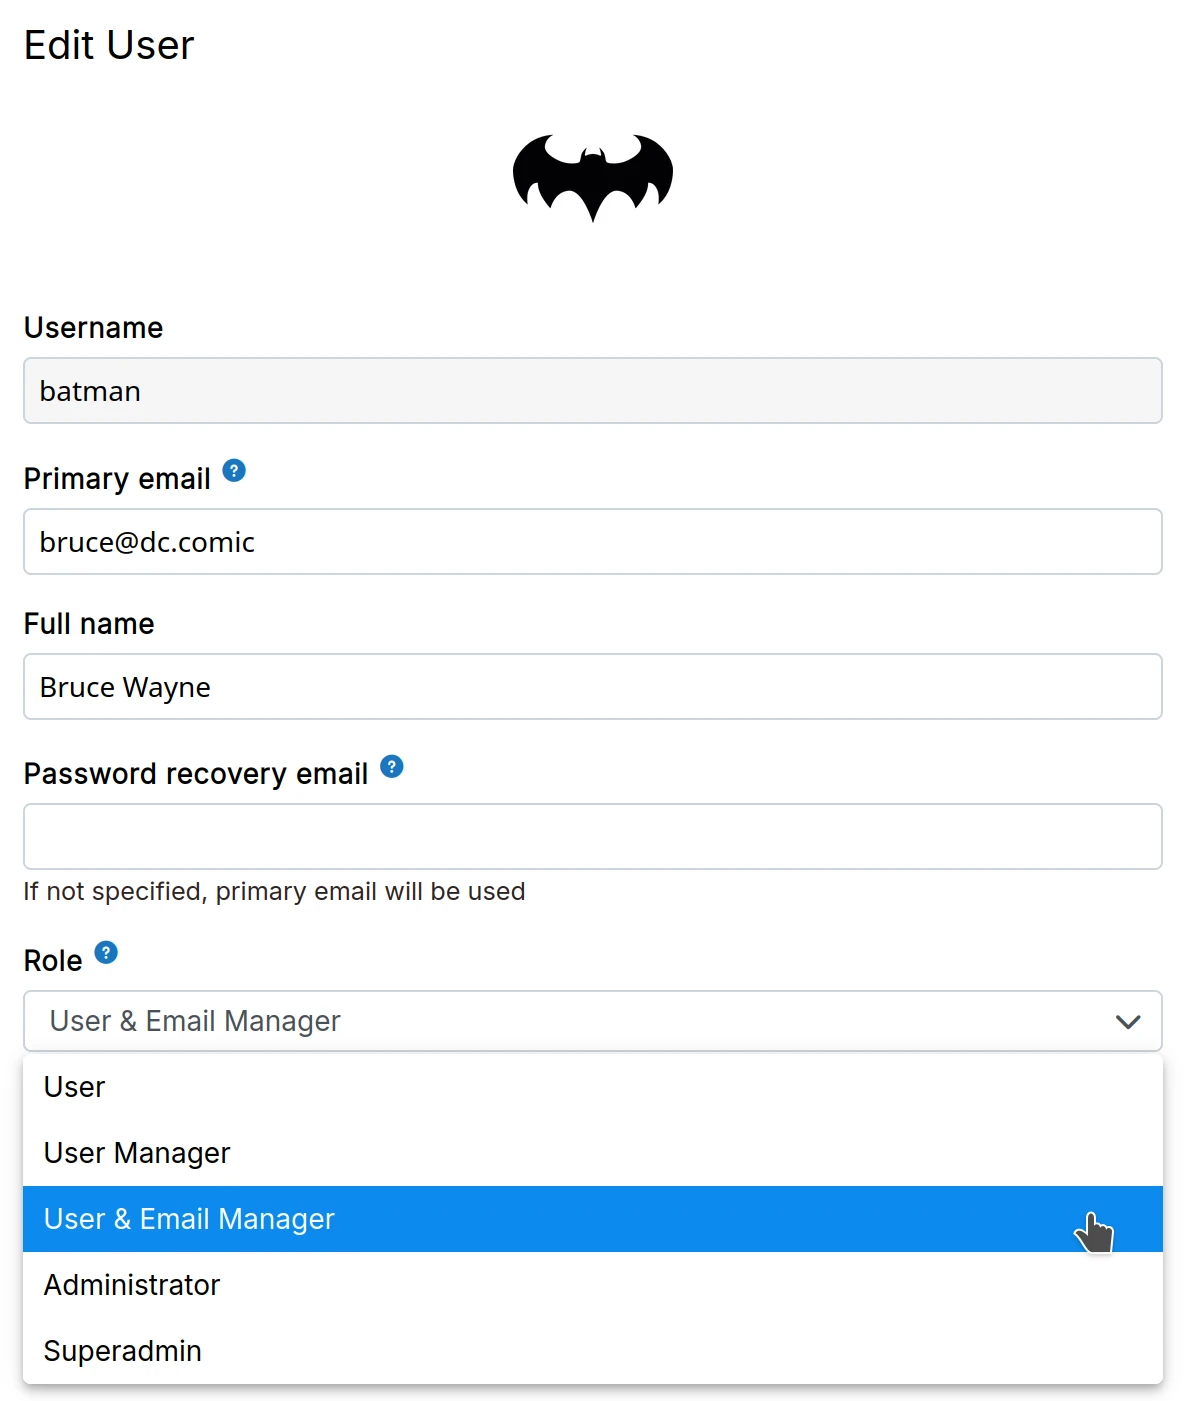
User manager
User Managers can add, edit, and remove users and groups. New users receive the User role by default. User Managers cannot modify existing user roles.
Mail manager
Mail Managers can manage mailboxes and mailing lists, in addition to managing users.
Mail Managers cannot access email server logs for security reasons.
Admin
Admins can manage apps and users. Admins can:
- Log in to any app regardless of
Access Controlsettings - Impersonate users
- Access user data via File Manager or Web Terminal
- Configure branding, networking, domains, services, etc.
- Access mail server logs
To give a user control over specific apps only, use App Operator.
Superadmin
Superadmins have all admin capabilities plus:
- Manage subscription
- Manage backup storage and policy
- Open support tickets
The superadmin role is for those responsible for server administration and billing.
The Manage Subscription button in Settings automatically logs in to the Cloudron.io account.
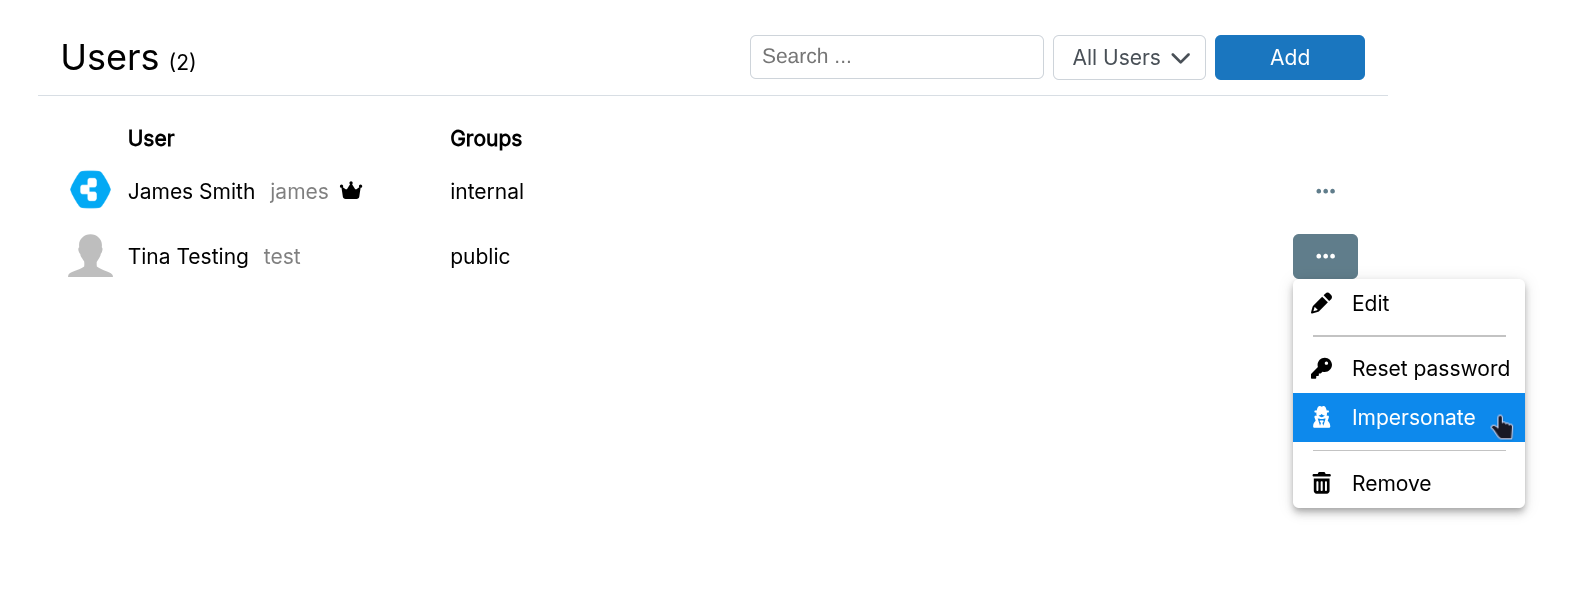
Impersonate user
Sometimes admins need to pre-configure applications for a new user. For example, some apps require the user to log in before they can be added to channels, groups, or given permissions.
Use the Impersonate button to generate a temporary password for logging in as another user. This password works for both the dashboard and apps.
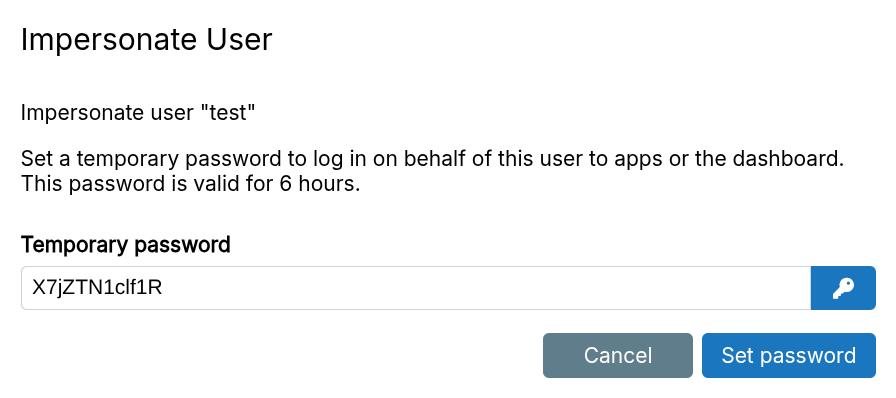
The temporary password does not overwrite the user's existing password.
Password reset
Users can reset their own passwords from the link in the login screen - https://my.example.com/passwordreset.html.
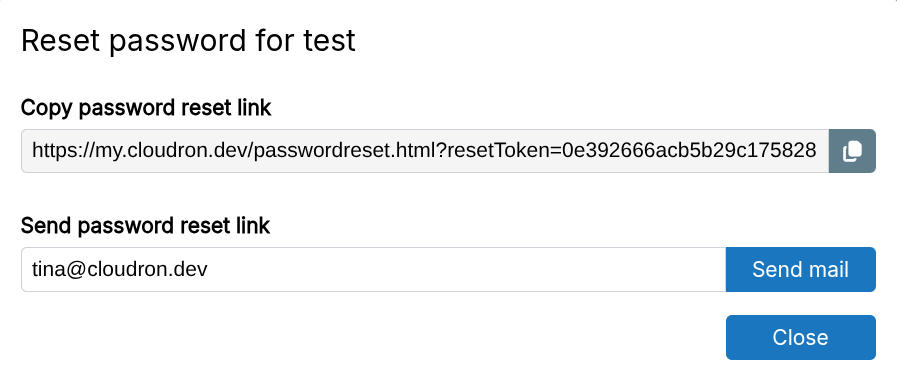
Alternately, admins can email password reset links to other users:
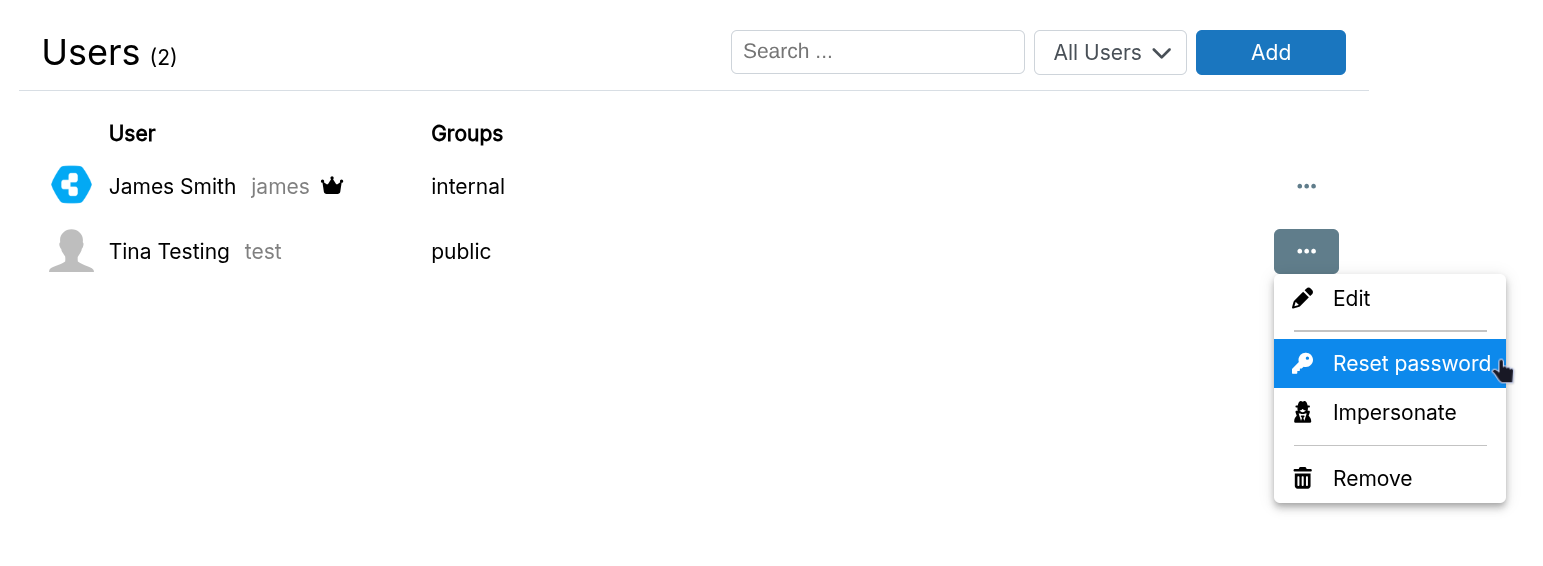
If email delivery fails, the password reset link can be copied and sent through other means.
Superadmin password reset
Generate a one-time superadmin password via SSH:
sudo cloudron-support --owner-login
Login as superadminname / mW5x5do99TM2 . Remove /home/yellowtent/platformdata/cloudron_ghost.json when done.
This password bypasses 2FA, useful when the superadmin has lost their 2FA device.
Disable 2FA
If a user loses their 2FA device, admins can disable 2FA in the user's edit dialog.
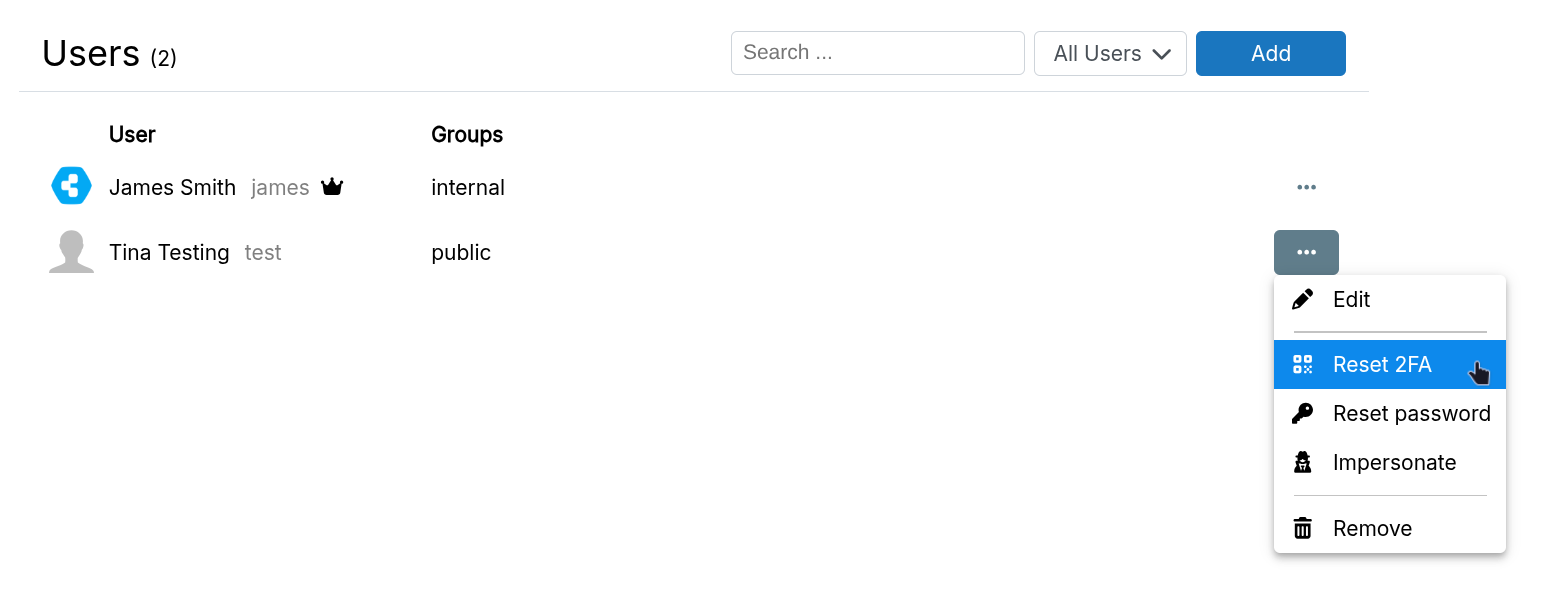
Once disabled, the user can log in with just their password and re-enable 2FA.
If the superadmin loses their 2FA device, see superadmin password reset to generate a one-time password that bypasses 2FA.
Disable user
Uncheck User is active to disable a user. This invalidates all dashboard sessions and logs them out. The user may still have access to apps they were logged into. Check if the app provides a logout feature.
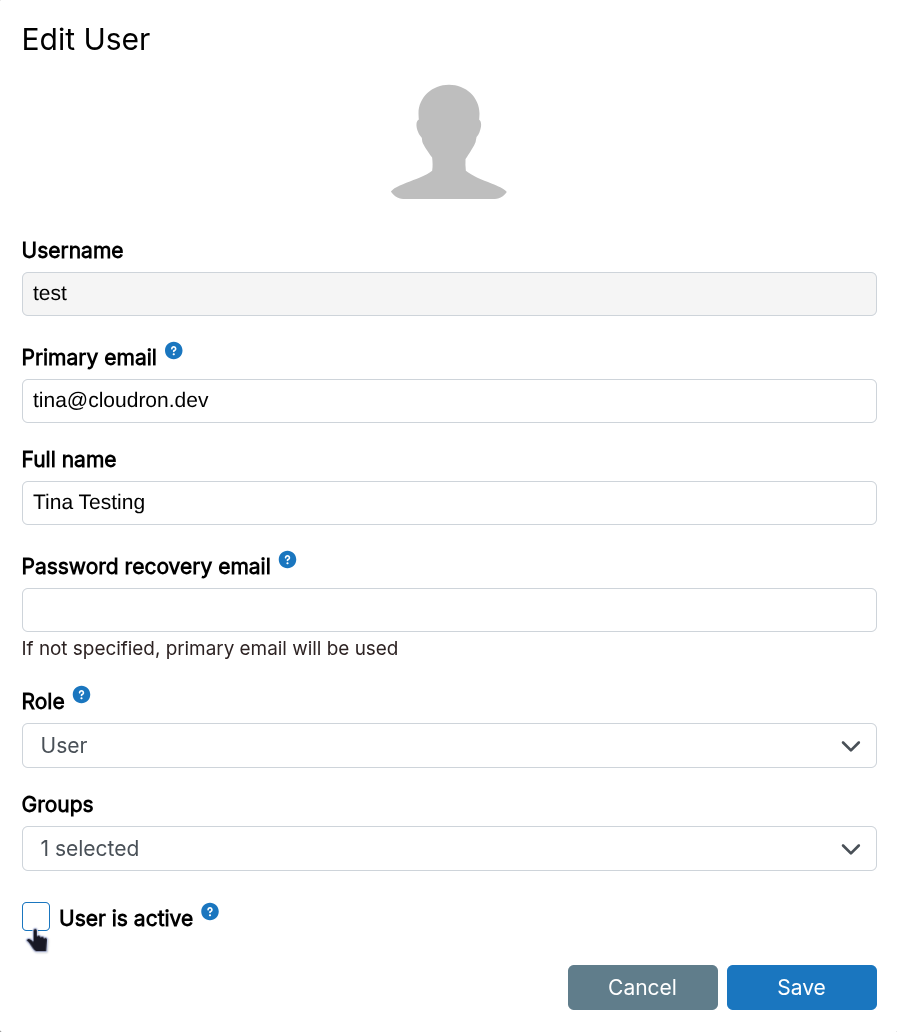
Disabling a user blocks login access but does not delete any app data.