Installation
Install
Run the following commands on a fresh Ubuntu Noble 24.04 (x64) server:
wget https://cloudron.io/cloudron-setup
chmod +x cloudron-setup
./cloudron-setup
Find referral links to get started on various cloud providers with free credits here.
Cloudron requires at least 2GB RAM and 20GB disk space. Ensure the firewall does not block port 80 (HTTP) and 443 (HTTPS). Cloudron does not support ARM, LXC, Docker, or OpenVZ (Open Virtuozzo).
Depending on your network, see the Home Server or Intranet installation guides.
Setup
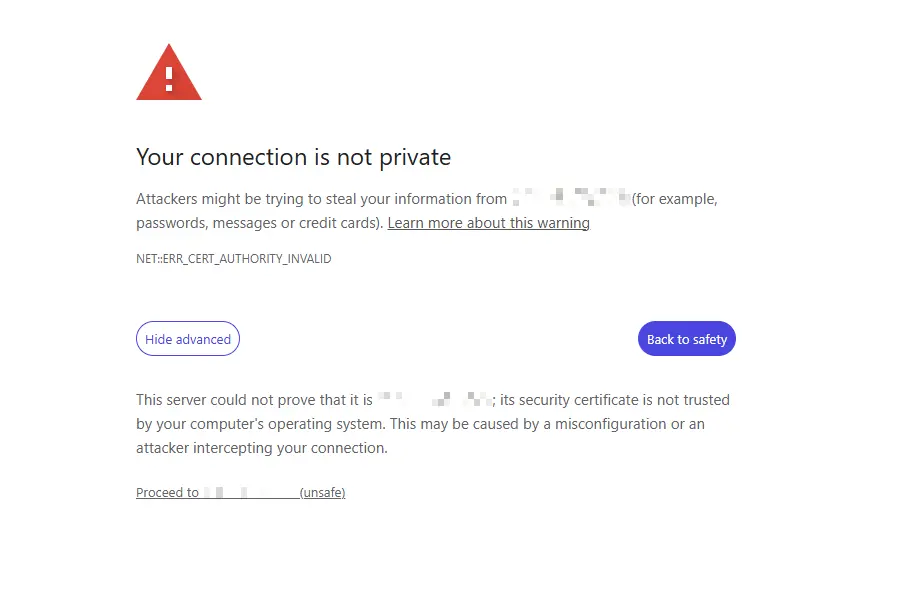
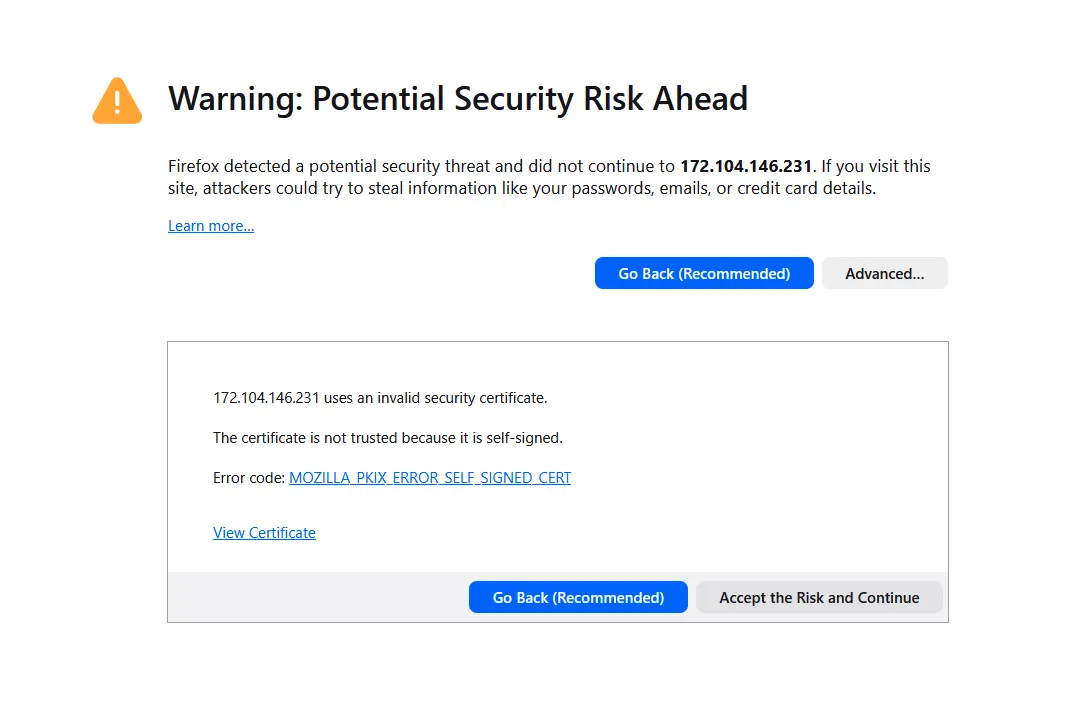
After installation, navigate to https://<IP> in your browser and accept the self-signed
certificate.
In Chrome, click Advanced, then Proceed to <ip> (unsafe).
In Firefox, click Advanced, then Accept the Risk and Continue.
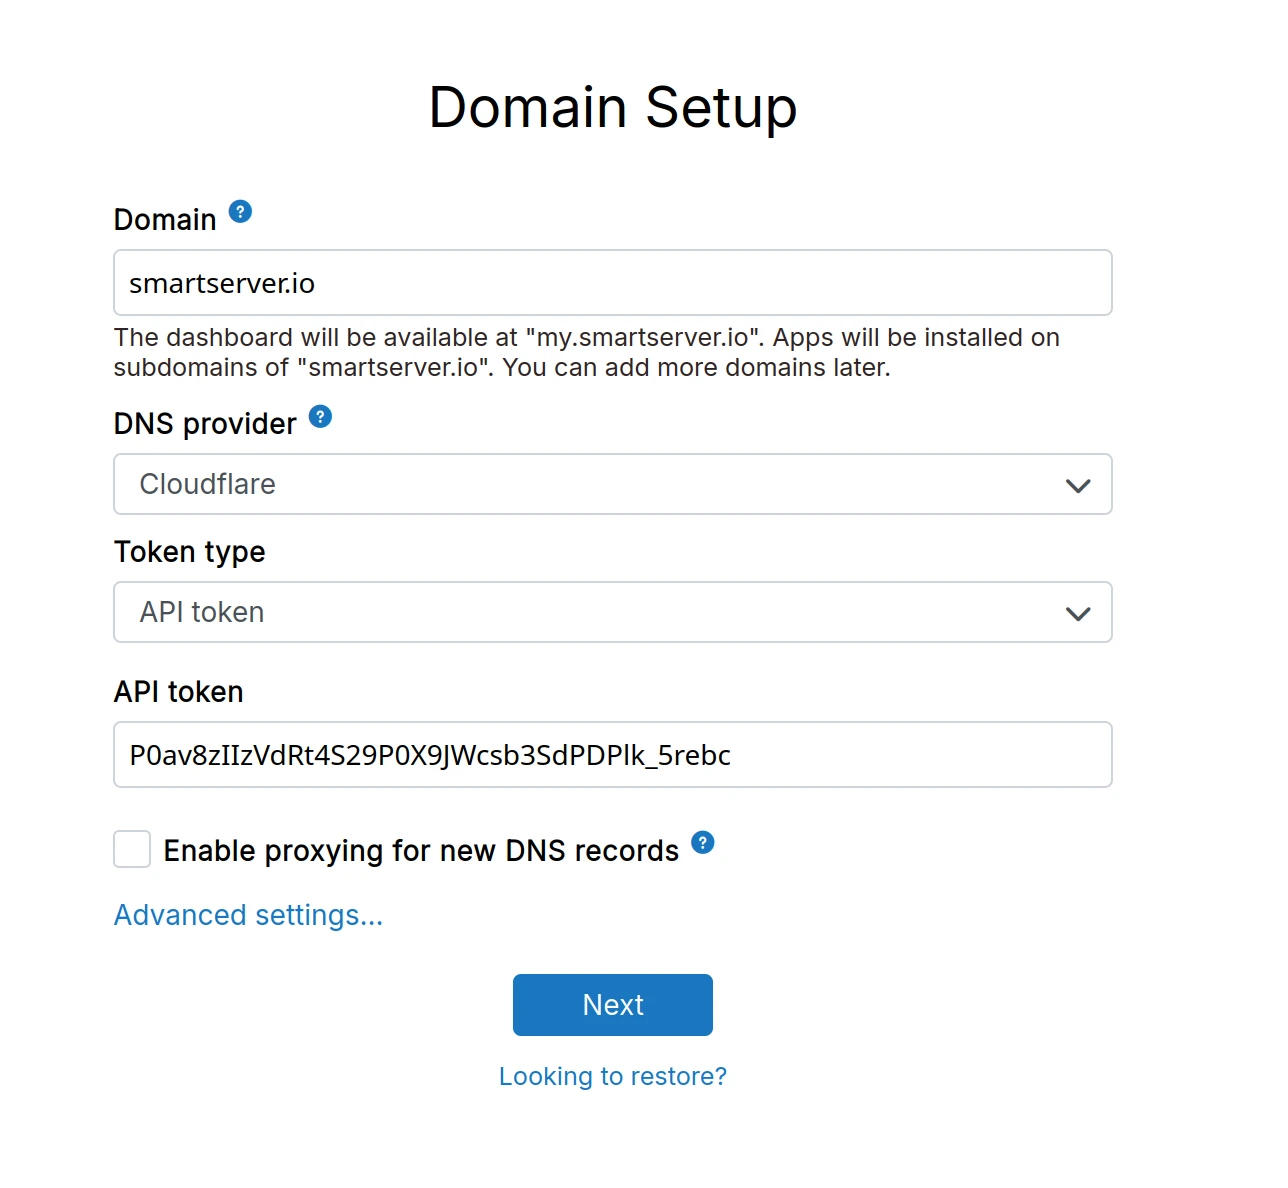
Domain setup
Enter a domain like example.com. The dashboard will be available at my.example.com and apps will be installed under subdomains you specify like git.example.com, chat.example.com, and so on.
You can use an existing domain as long as the my subdomain is available. Existing DNS records are untouched. You can also use a subdomain like cloudron.example.com.
Select your DNS provider from the dropdown. If your provider is not listed, use the Wildcard or Manual option. See
DNS Providers for details.
Admin account
After DNS setup, you will be redirected to https://my.example.com. The browser will show a green lock indicating a secure connection.
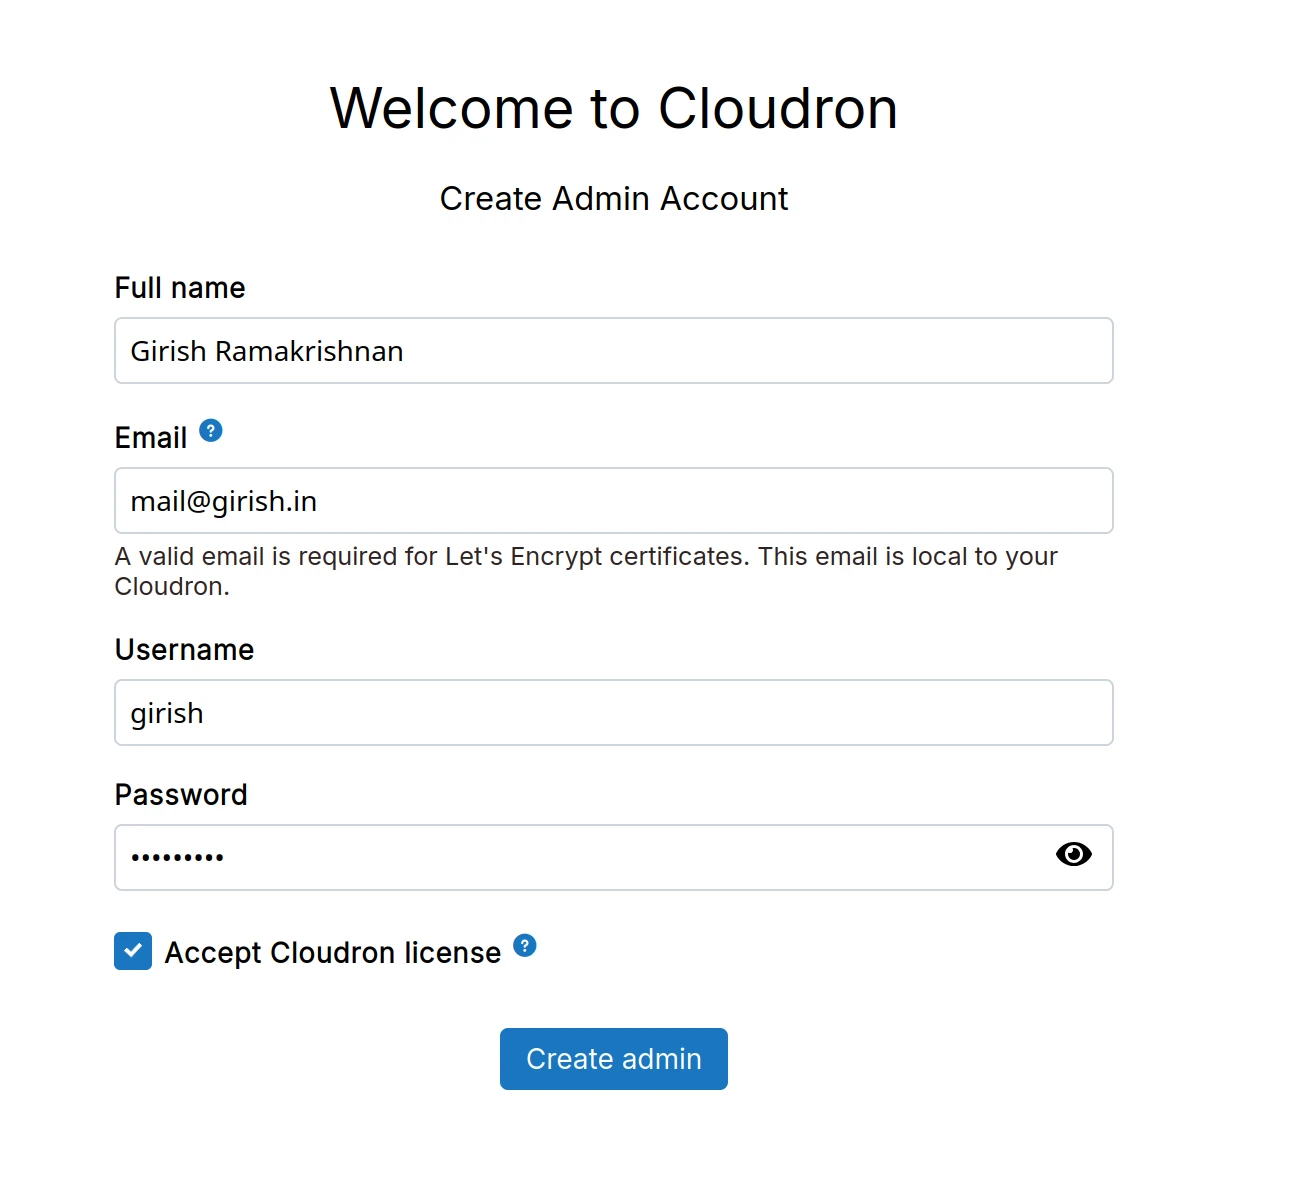
Enter the admin username, email, and password. The email is used for password resets and notifications. Your email address stays on your server and is never shared.
A Let's Encrypt account is created with your admin email. Let's Encrypt will not issue certificates for invalid email addresses.
Firewall setup
The default installation follows security best practices.
Do not modify iptables/ip6tables rules directly. These are managed automatically, blocking unneeded ports
and whitelisting ports as apps require them.
To further harden security:
Email setup
Many email providers block emails from VPS and home network IPs due to spam concerns. Check the Email delivery status and set up an Email relay if needed.
Apps use the internal mail server by default. If you configure a relay, all apps will automatically use it.