Networking
IPv4
Using the IPv4 configuration settings, you can configure the IPv4 address, Cloudron uses
to configure to the DNS A records.
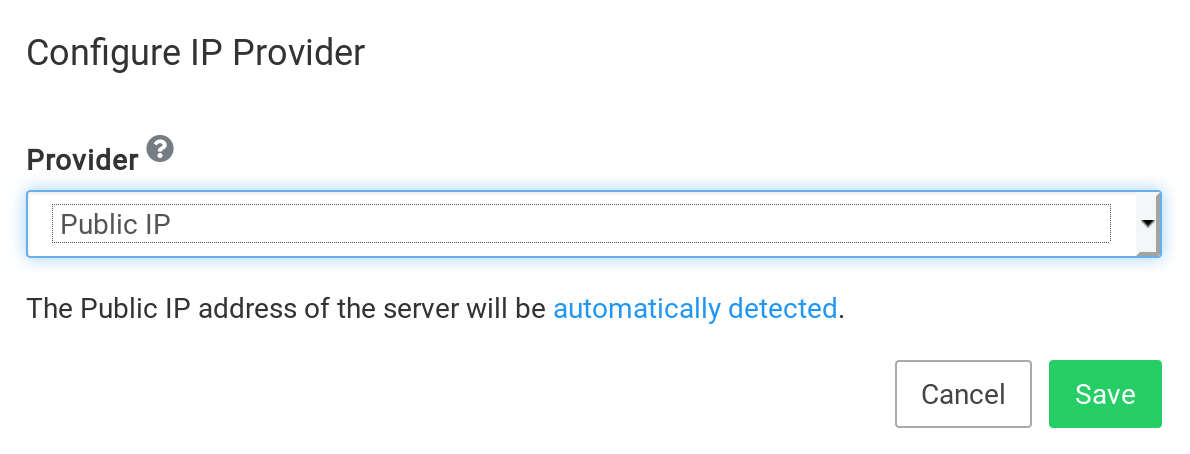
Public IP
When using the Public IP provider, Cloudron will automatically detect the server's
public IP address by querying this url.
Network Interface
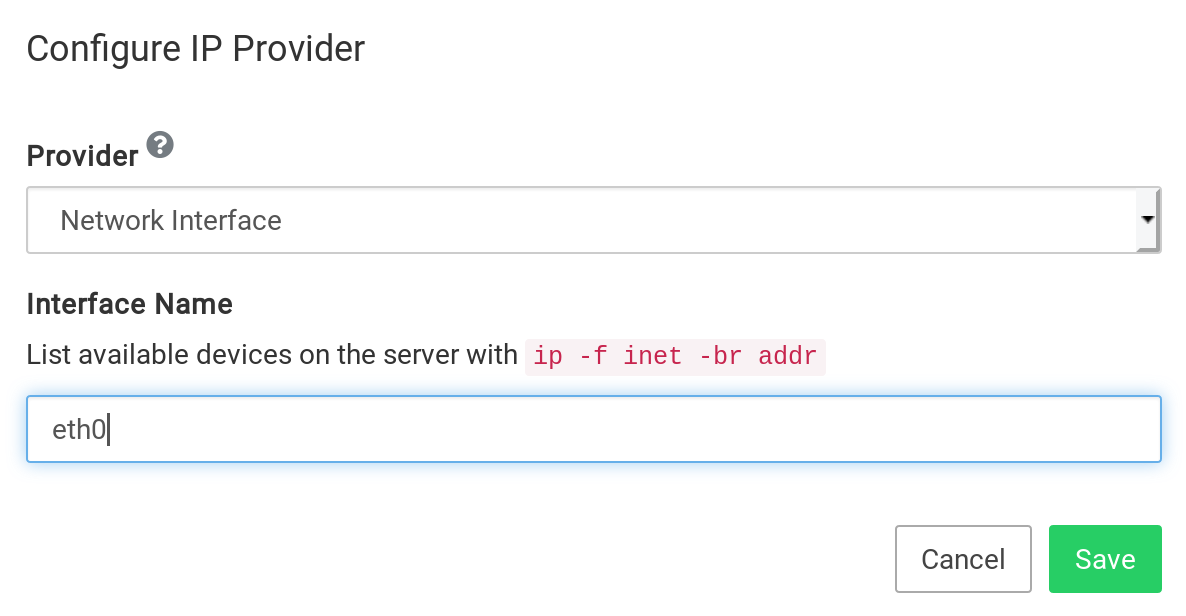
If the server has multiple IP addresses, you can configure the preferred IP address by specifying
the network interface. The interfaces can be listed using ip -f inet -br addr.
Static IPv4
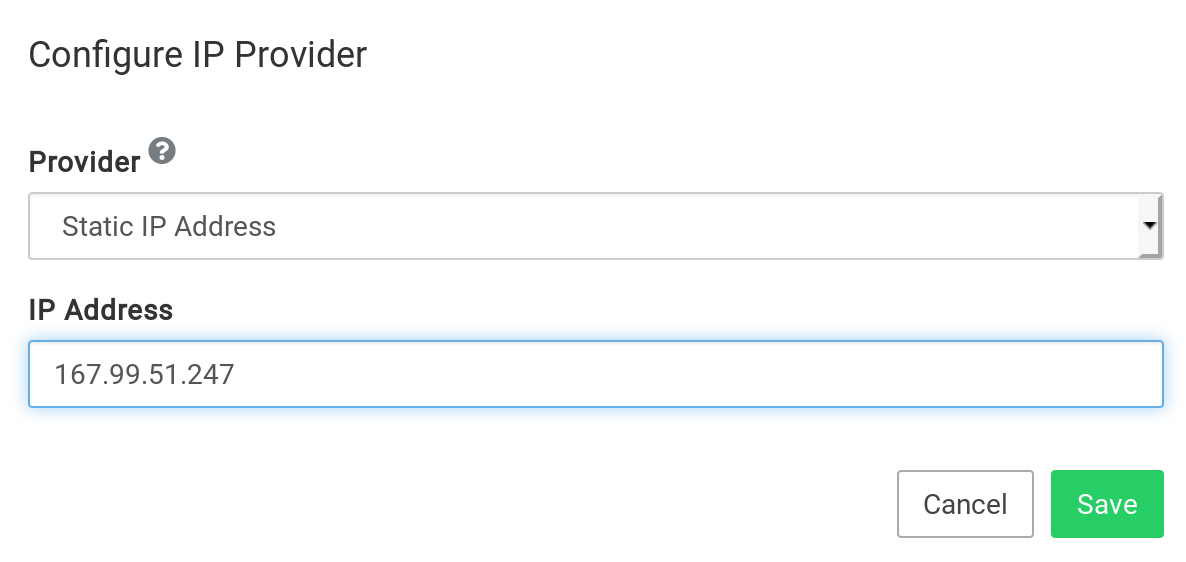
Use this option to provide a static IPv4 address. This IP address can be public or private. Some use cases for using this provider are:
- Digital Ocean Floating Address
- AWS VPC IP address
- OVH Failover IP
IPv6
Using the IPv6 configuration settings, you can configure the IPv6 address, Cloudron uses
to configure to the DNS AAAA records.
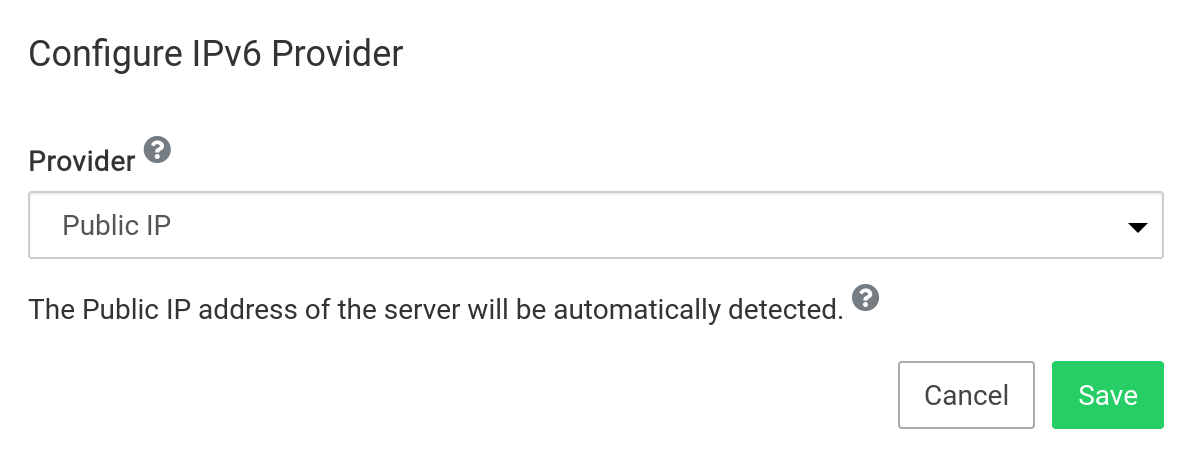
Public IPv6
When using the Public IP provider, Cloudron will automatically detect the server's
public IPv6 address by querying this url.
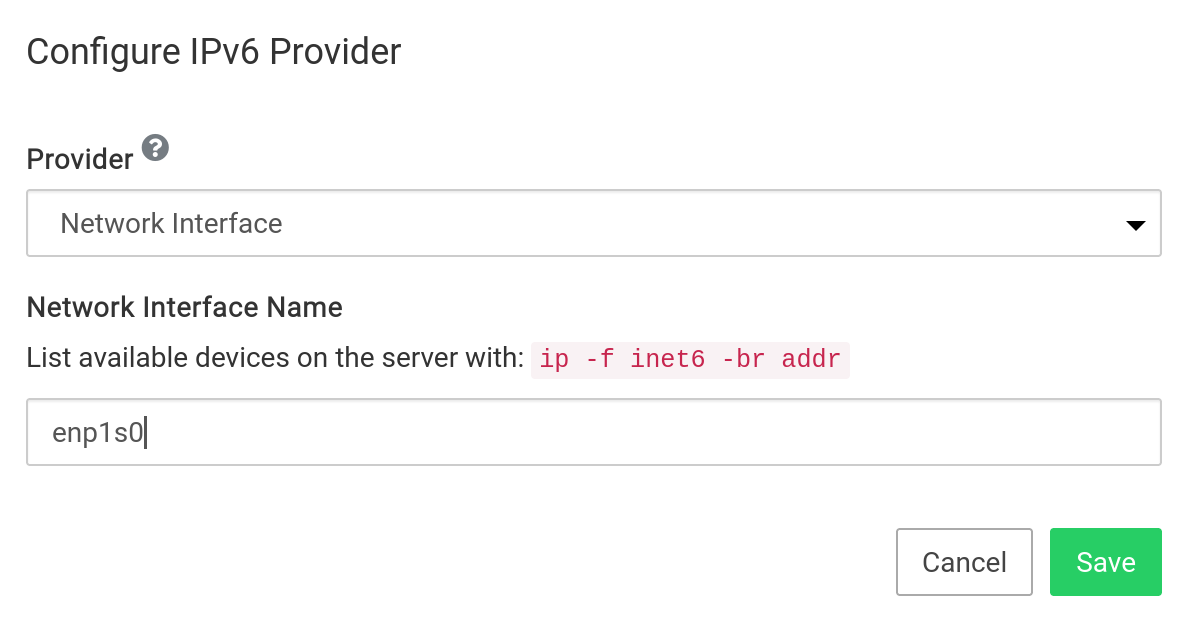
Network Interface
If the server has multiple IPv6 interfaces, you can configure the preferred IPv6 address by specifying
the network interface. The interfaces can be listed using ip -f inet6 -br addr.
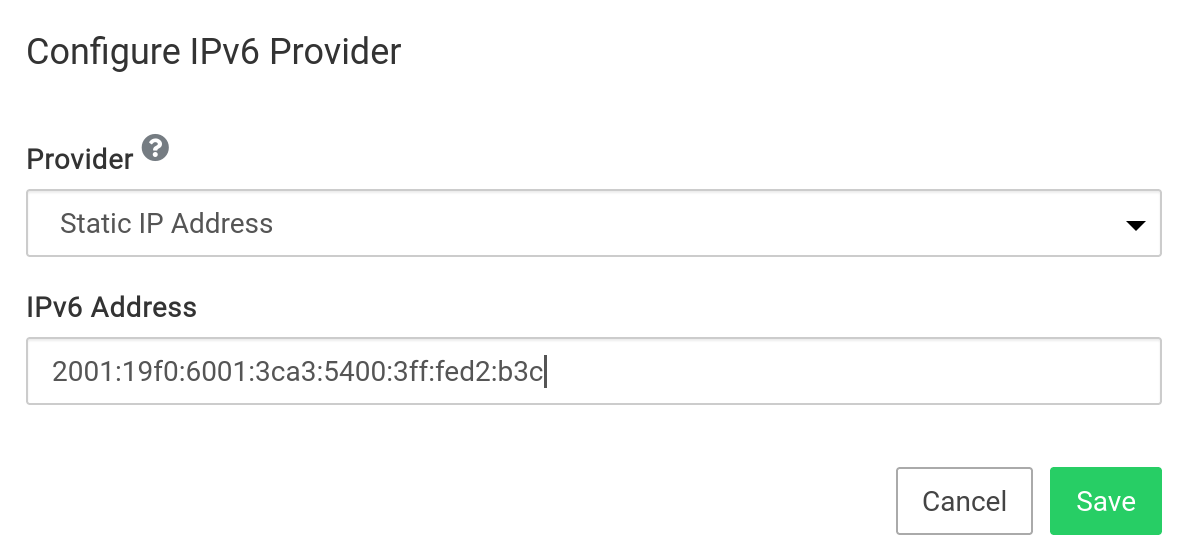
Static IPv6
Use this option to provide a static IPv6 address. It is common for servers to be allocated a /64
IPv6 block. In such situations, you can use this setting to assign a specific address from that block.
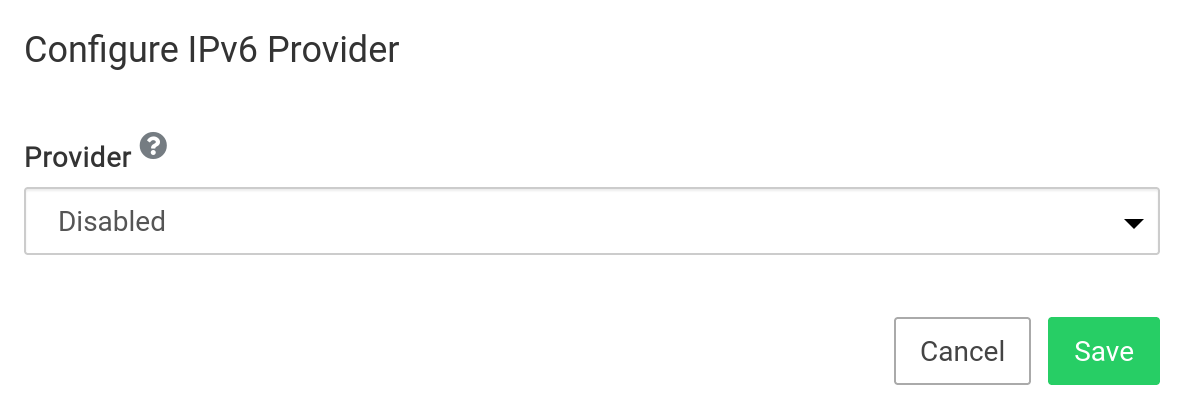
Disabled
To disable IPv6 support, choose Disabled in the provider drop down.
Existing AAAA records are not removed
Any existing AAAA records are not automatically removed from the DNS. Please remove them manually.
DNS
All apps and services use the default Ubuntu setup for name resolution. On most VPS providers, this is systemd-resolved.
For recursive DNS lookups and DNSBL lookups (Email Server), Cloudron runs the unbound DNS resolver.
systemd-resolved
The systemd-resolved service runs at 127.0.0.53 . You can use resolvectl to check the nameservers being used by systemd-resolved
and check it's status using systemctl status systemd-resolvectl.
Despite the service running, it may be unused due to misconfiguration. /etc/resolv.conf must contain nameserver 127.0.0.53 for
the system to use systemd-resolved.
If host www.cloudron.io resolves, then it's working.
unbound
The unbound DNS resolver run internally at 127.0.0.150. This service does not interfere with DNS resolution of apps and services.
Use systemctl status unbound to check it's status.
unbound may have trouble resolving if your network disallows DNS requests or if a domain has misconfigured DNSSEC. To check if it's
working, host www.cloudron.io 127.0.0.150 should resolve.
If unbound does not resolve, you have to investigate why using journalctl -u unbound. You cou can also add a custom config file
/etc/unbound/unbound.conf.d/custom.conf to disable DNSSEC:
# this disables DNSSEC for all domains. alternately, use 'domain-insecure: "example.com"' to disable DNSSEC for specific domain
server:
  val-permissive-mode: yes
You can also add another section to forward all queries (change name to example.com. to restrict to single doamain) to another DNS
server, use the configuration below.
# forward all queries to the network's internal DNS 10.0.0.2. You can also use 1.1.1.1 (cloudflare) or 8.8.8.8 (google)
forward-zone:
  name: "."
  forward-addr: 10.0.0.2
Restart unbound using sudo systemctl restart unbound and check it's status using sudo systemctl status unbound and check
the resolution again using host www.cloudron.io 127.0.0.150 .
Dynamic DNS
Enable this option to keep all your DNS records in sync with a changing IP address. This is useful when Cloudron runs in a network with a frequently changing public IP address like a home connection.

Internal network
Cloudron runs all apps and services in an internal network (not reachable from outside the server). This network address is
hardcoded to 172.18.0.0/16. Some services like databases have static IPs to aid in connectivity from outside via a SSH
tunnel. App addresses are dynamic.
| Service | IP |
|---|---|
| MongoDB | 172.18.30.3 |
| MySQL | 172.18.30.1 |
| PostgreSQL | 172.18.30.2 |
Firewall
Blocklist
Using the blocklist configuration, one or more IP addresses and/or networks can be blocked from connecting to Cloudron.
You can download various country based blocklists from www.ipdeny.com: IPv4 and
IPv6.
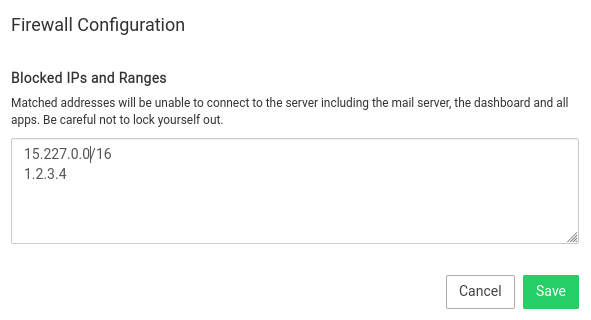
You can also add in comments to the line items as needed, but comments must remain on their own line, something similar to:
# spammy IP
111.111.111.111
Do not lock yourself out
Be careful about what IP addresses you block. If you lock yourself out, you must get Console access to the server,
remove the file /home/yellowtent/platformdata/firewall/blocklist.txt and reboot the server.
Whitelist ports
Cloudron does not support installing additional packages or running other services on the server. With that warning out
of the way, you can configure the firewall to permit additional (incoming) TCP and UDP ports. For this, edit the the file
/home/yellowtent/platformdata/firewall/ports.json (create this file if it does not exist and change the owner to the user
yellowtent).
{
    "allowed_tcp_ports": [ 2140, 3540 ],
    "allowed_udp_ports": [ ]
}
Restart the firewall to apply the configuration:
systemctl restart cloudron-firewall
Trusted IPs
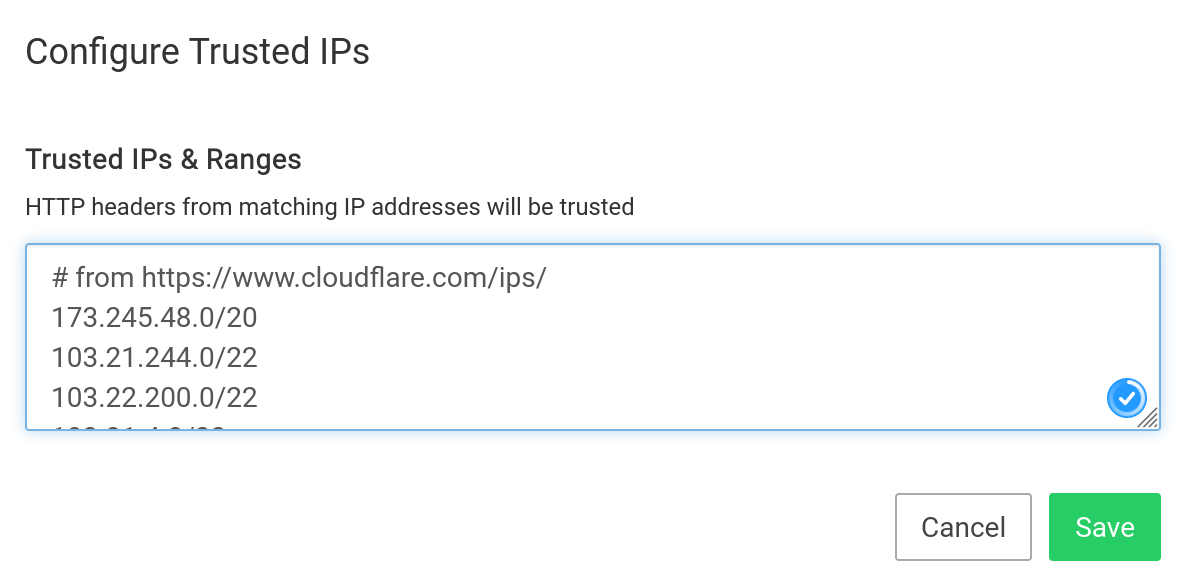
When Cloudron is behind a HTTP(S) proxy, you can set the IP address(es) of the proxy as trusted. Doing so will
make sure Cloudron trusts the values of various HTTP headers in the request. For example, it can pick up the
original client IP address from X-Forwarded-For header and use it in logs and email notifications.
Cloudflare
When Cloudron is behind Cloudflare, you can use the IP list from here.