Apps
Installation
Four types of apps can be added in the dashboard:
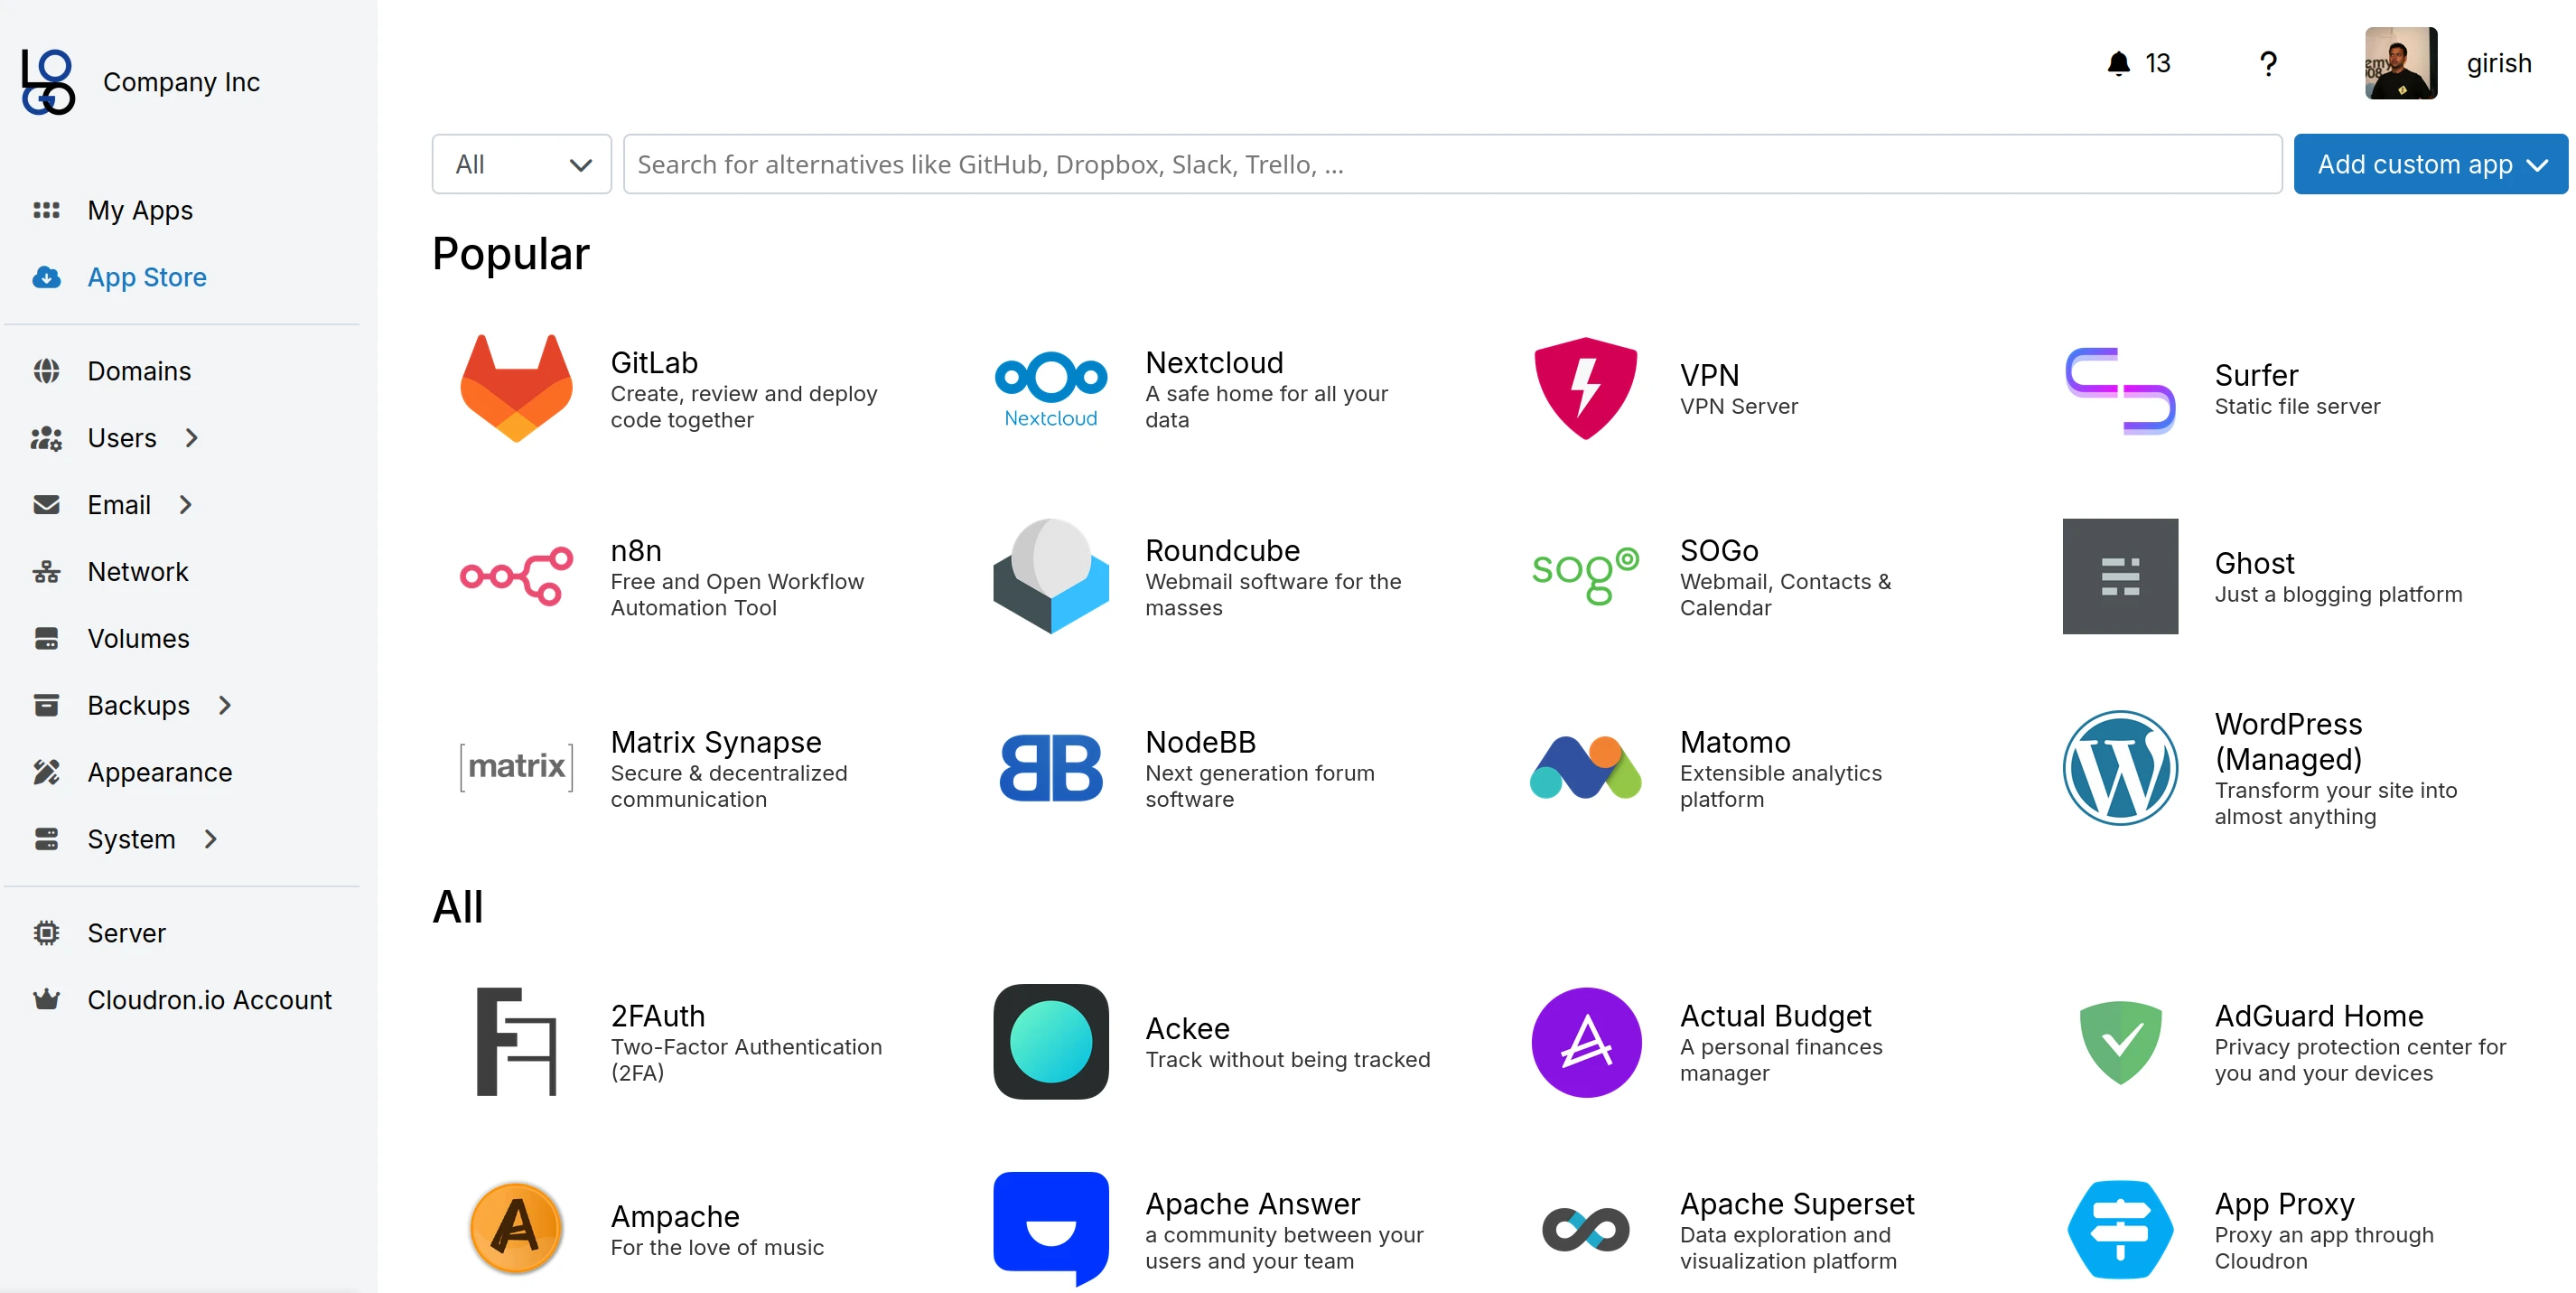
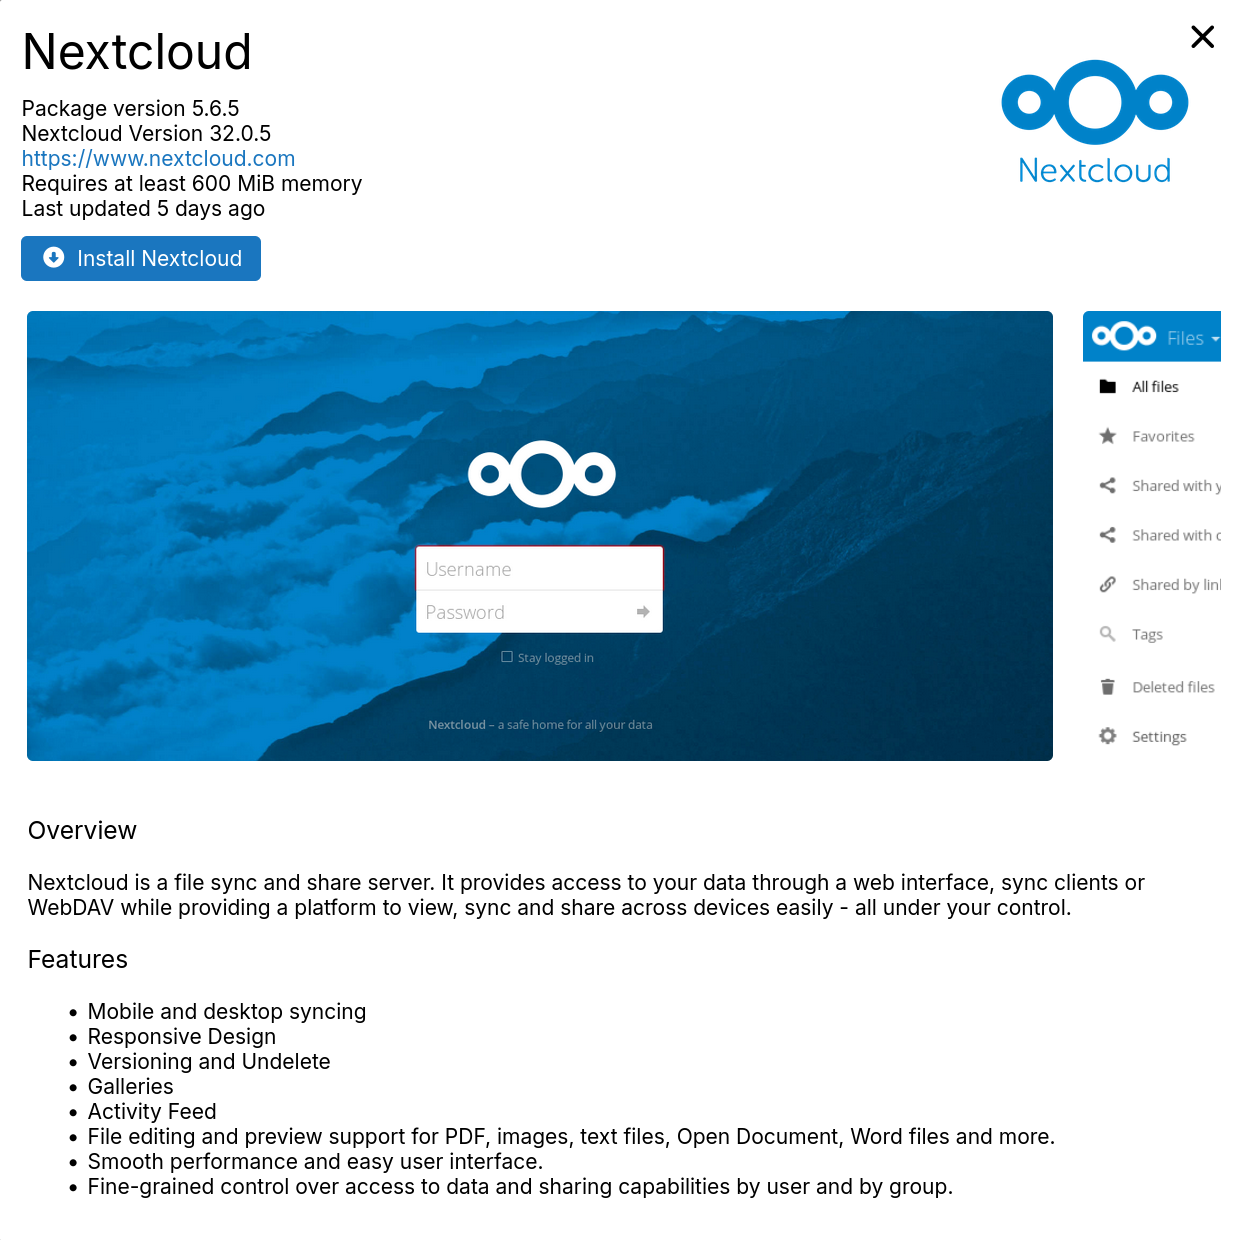
App store
App information:
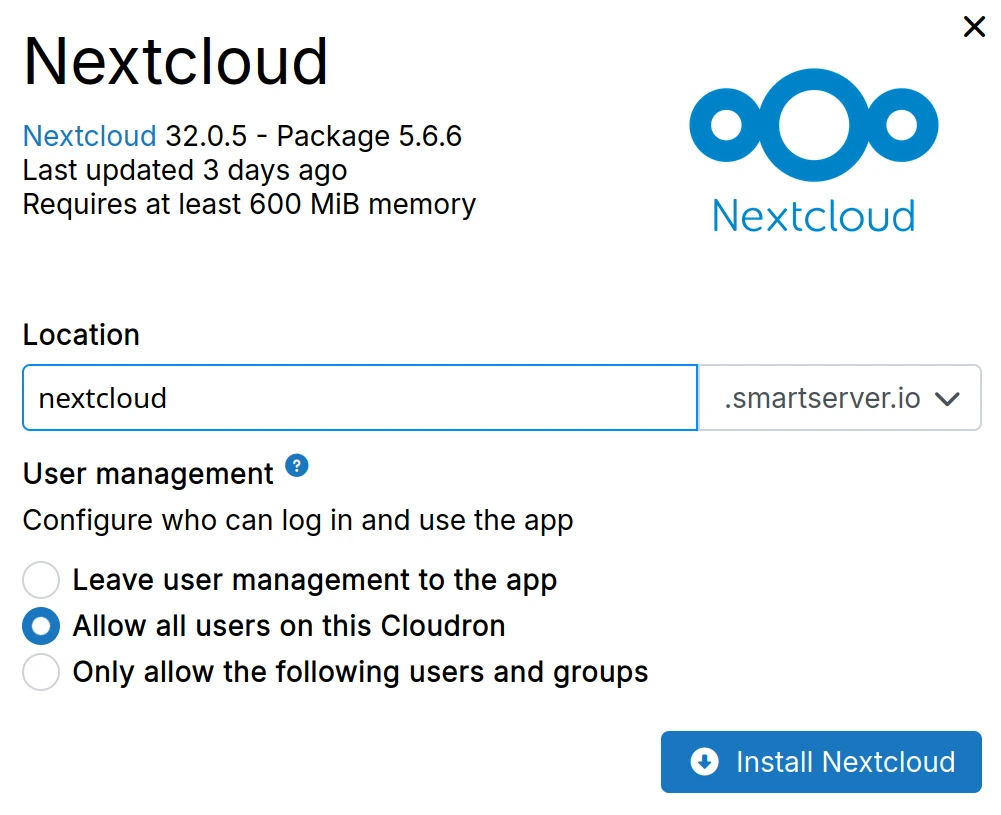
Installation dialog:
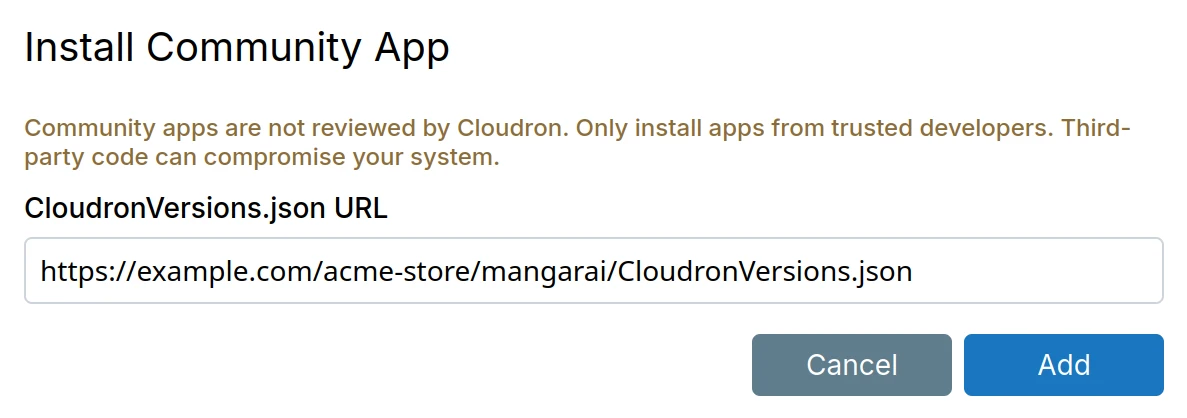
Community app
Community apps are packages published independently by third-party developers using a
CloudronVersions.json file. Add a community app by entering its CloudronVersions.json
URL in the 'Add custom app' dropdown.

Once added, the app appears alongside App Store apps and receives updates automatically when the developer publishes new versions.
Community apps are not reviewed by Cloudron. Only install apps from trusted developers. Third-party code can compromise your system.
For information on creating and publishing community apps, see Publishing.
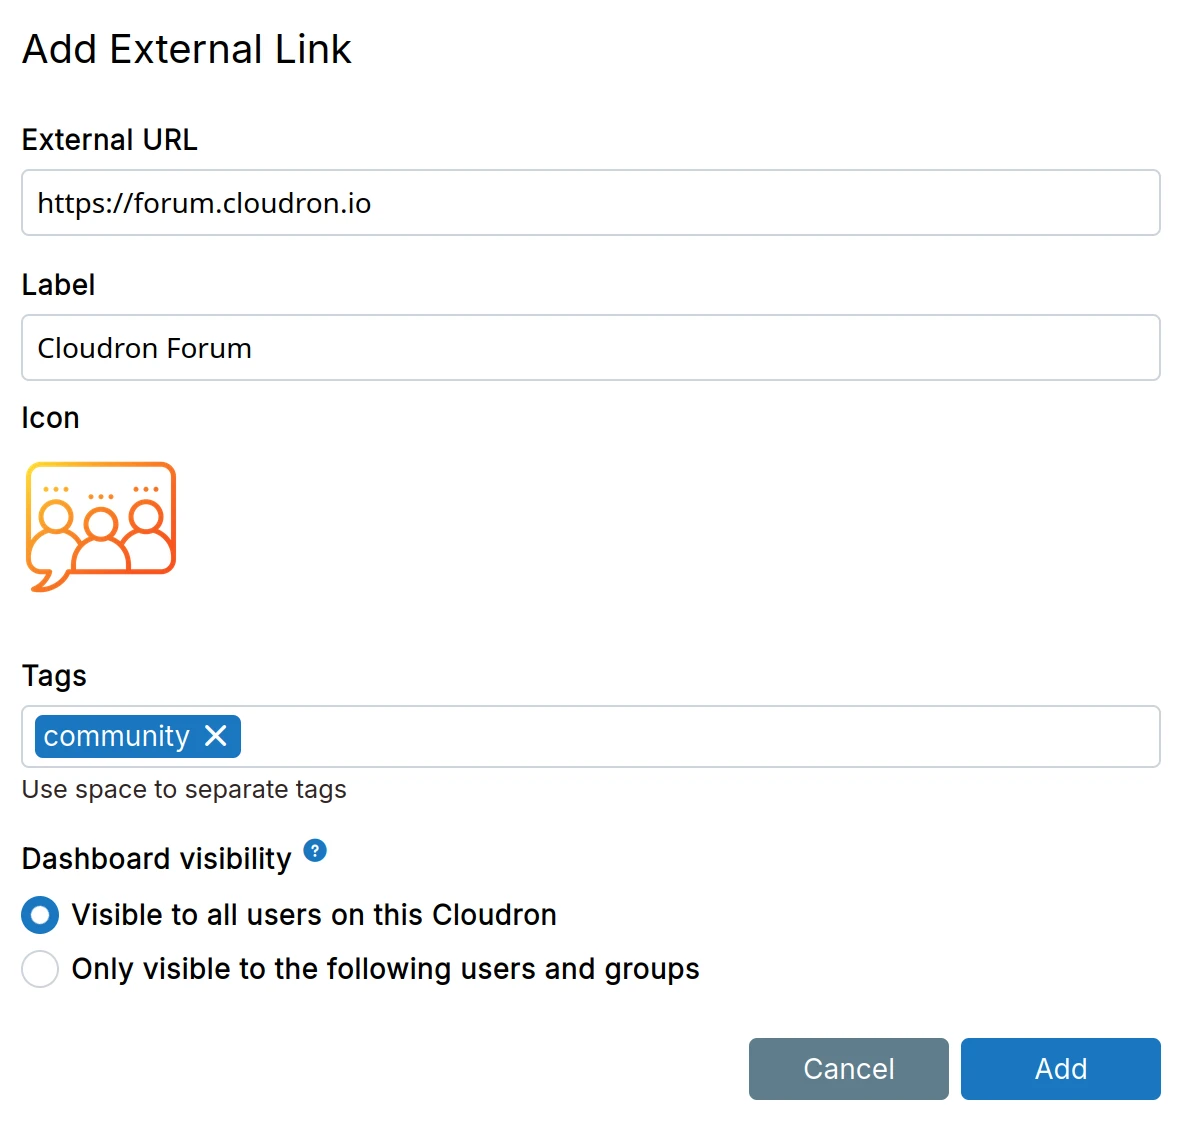
External links
An External link opens a URL in a new browser tab. It can be added from the 'Add custom app' dropdown.
App proxy
App proxy publishes a secure HTTPS URL endpoint for an externally hosted application. App proxy behaves like a reverse proxy - it forwards requests to the hosted application when a user visits the public endpoint.
Benefits of using the App Proxy include DNS management, Certificate management, Configurable domain aliases and redirections,
setting a custom CSP, setting custom robots.txt and up/down notifications.
The Dashboard Visibility setting can be used to specify which users & groups can see the proxy app icon.
App proxy can be added from the 'Add custom app' dropdown.
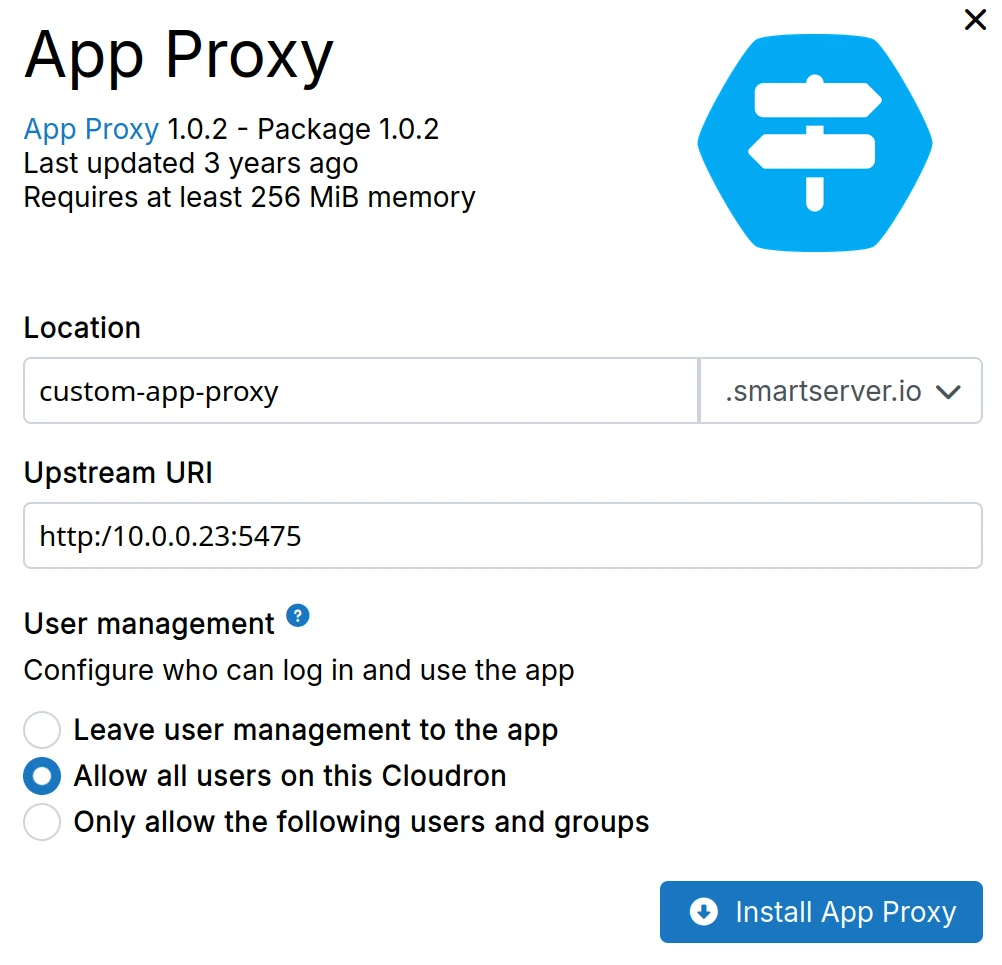
The Upstream URI can have one of the following formats:
http://ip:portorhttp://[ipv6]:porthttps://ip:portorhttps://[ipv6]:porthttp://domain:porthttps://domain:port
When using https, certificates are not verified.
As the app is hosted externally, managing app updates and backups of proxied apps is not possible.
App Proxy has not been designed to mirror or proxy other people's public sites or domains. The App Proxy
sets the Host header to the App Proxy's location when proxying and not the upstream/target domain. You will most
likely see a 502 error if you try to mirror public sites.
Add a firewall rule in the upstream server to only accept requests from the server IP.
Configuration
The gear button opens the app's configure view.
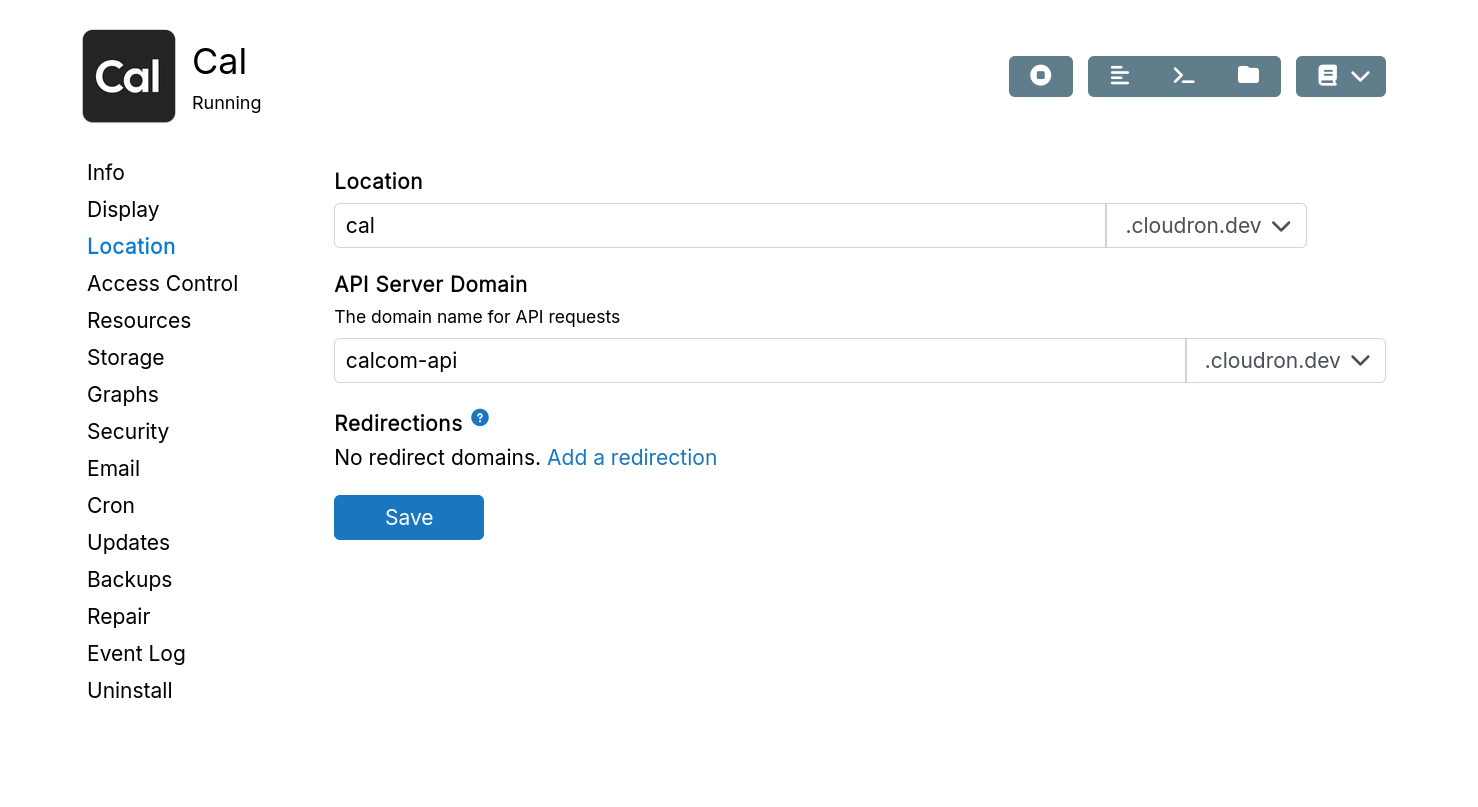
Location
Primary domain
The primary domain of the app is set in the Location view. Apps are "relocatable" by design - the location field can be changed at any time.
When the subdomain field is empty, the app installs on the bare domain.
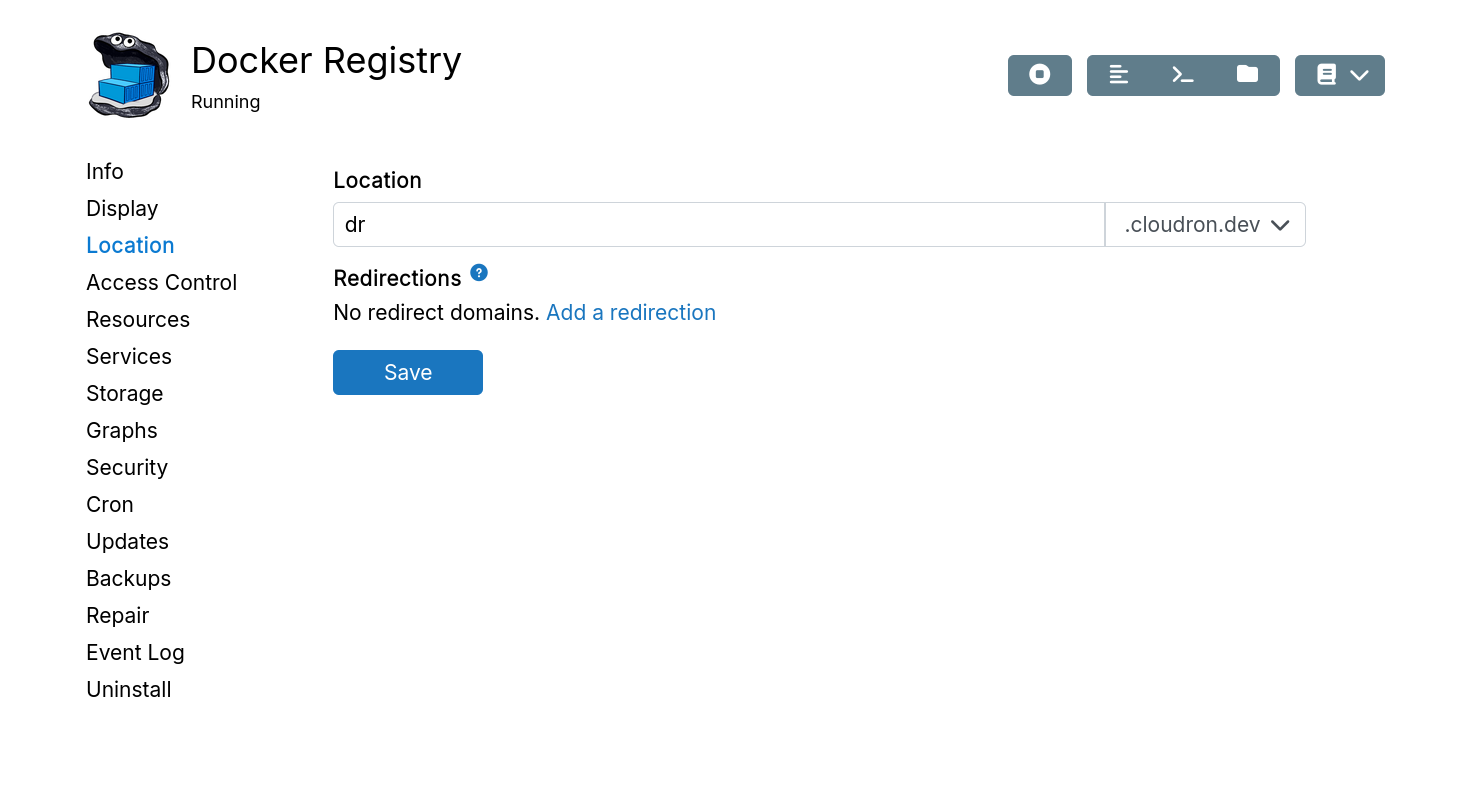
The location field supports multiple levels (e.g., blog.dev creates blog.dev.smartserver.io).
Moving an app preserves all existing data.
Secondary domains
Some apps require more than one domain. For example, SFTPGo uses two separate domains - one for the UI and one for the WebDAV protocol. Other examples include Loomio (websockets domain), CryptPad (sandbox domain) and Traccar (OsmAnd protocol).
Secondary domains can be specified at installation time and changed anytime.
Aliases
Some apps can be reached via more than one domain. For example, WordPress multi-site can serve up websites based on the domain name. EspoCRM supports creating customers portals on custom domains.
The alias feature is only enabled for select apps since it requires apps to support multiple domains.
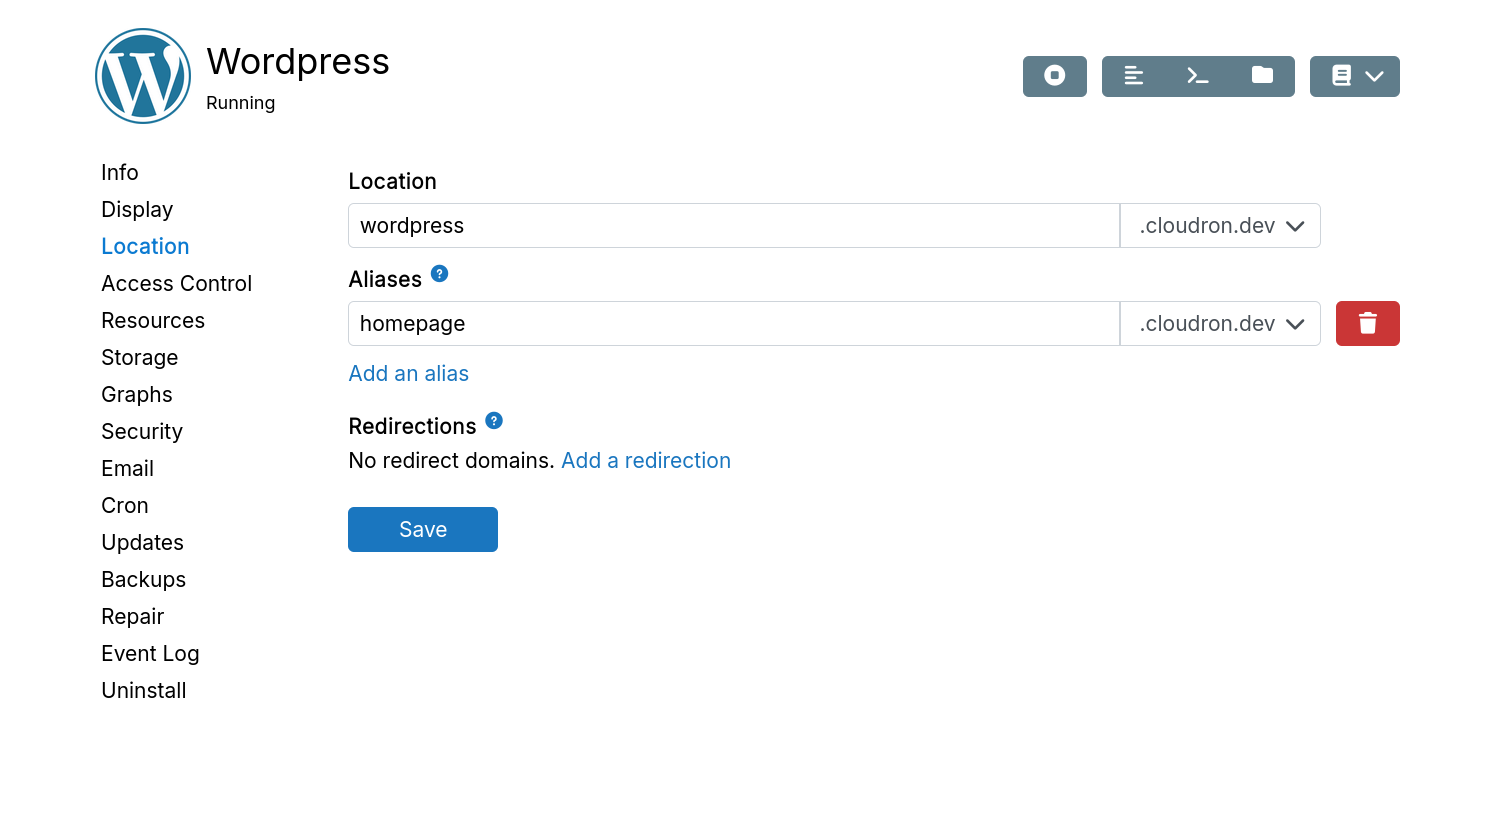
The subdomain field supports wildcards (e.g., *.customer.example.com).
Redirections
Redirections forward one or more domains to the primary domain with a HTTP 301.
The redirection feature preserves any URI components like subpaths in the original request.
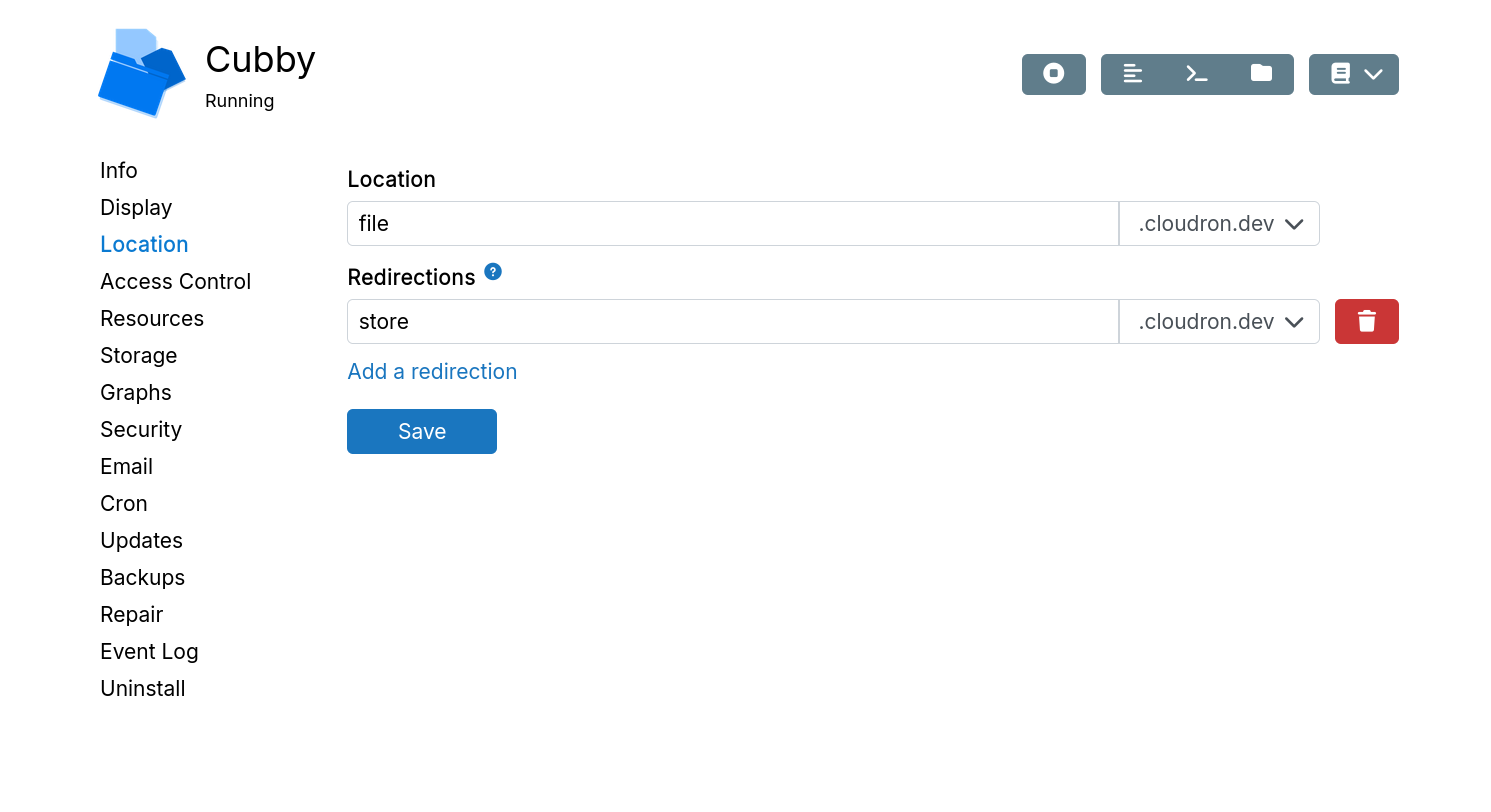
www redirectionIn DNS, the domains example.com and www.example.com are independent and can point to completely different websites.
In practice, it is a good idea to forward one to the other. Do this, by adding www or the bare domain as a redirection.
Port bindings
TCP and UDP port bindings can be optionally enabled or disabled at the port level.
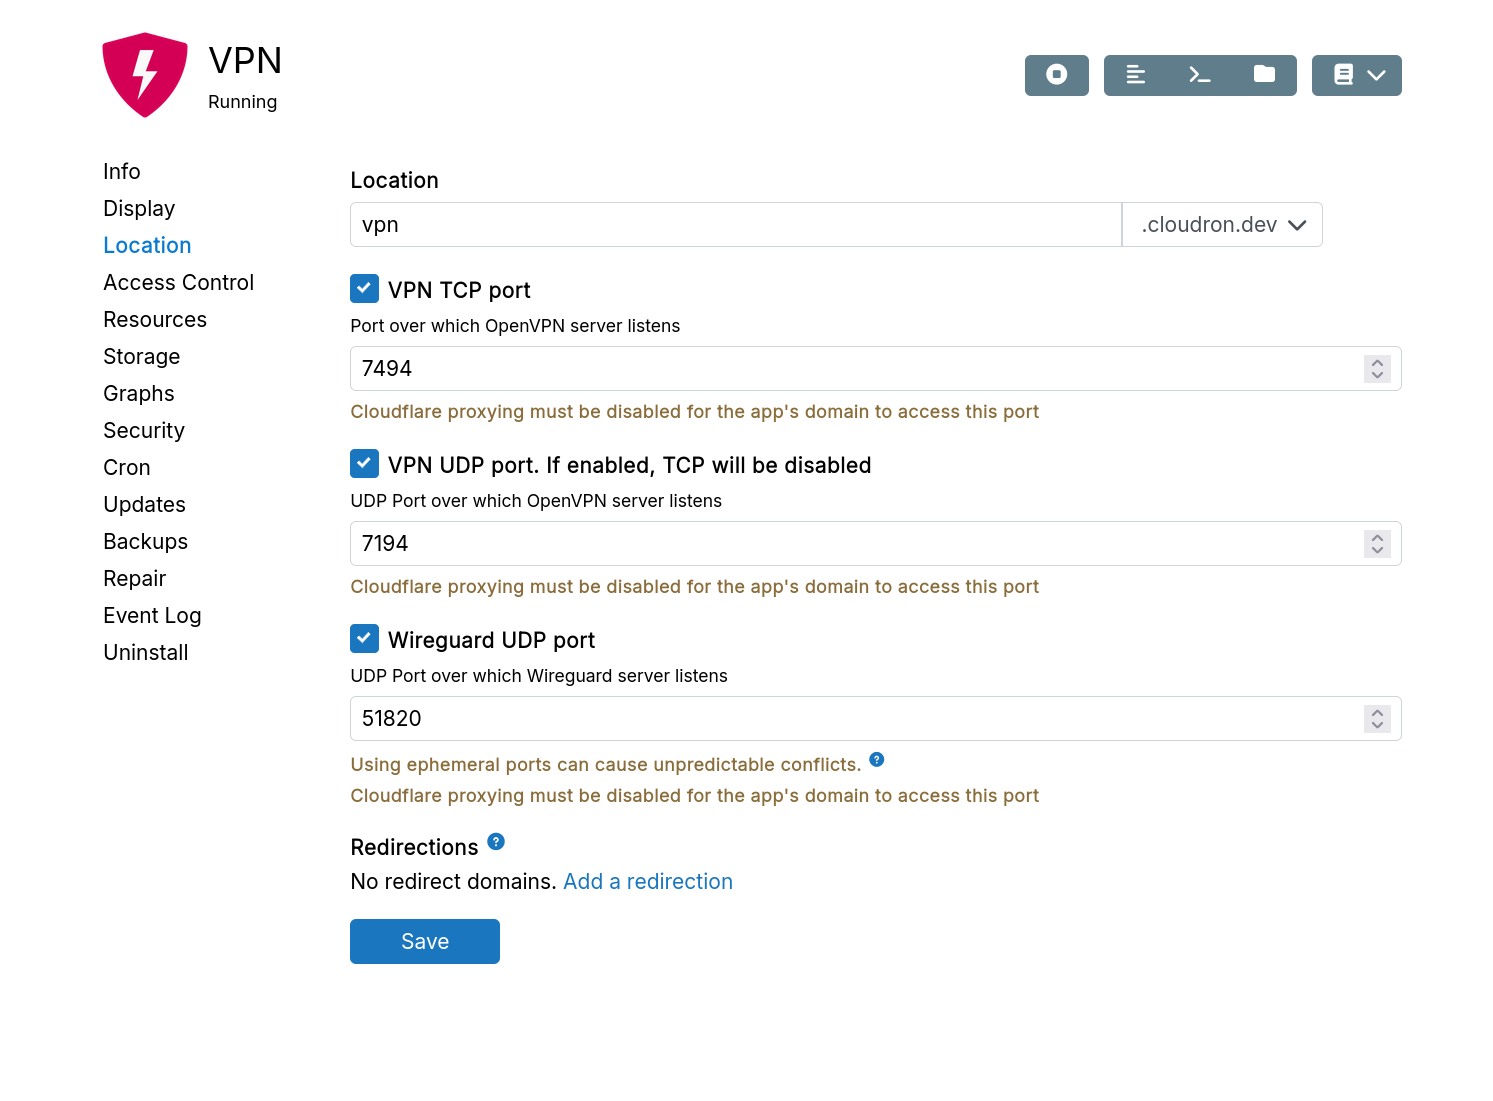
When enabling ports, remember to also whitelist ports in any Cloud Firewall.
Ports in the range 32768-60999 is used to temporarily connect to external servers (e.g email, backups, volumes). It is recommended to run apps outside this range to prevent conflicts.
If you proxy the domain via Cloudflare, port bindings will not work because Cloudflare only proxies HTTP and HTTPS.
Display
Label
Label is the text displayed below the app icon on the dashboard.
Tags
Tags label apps for organization.
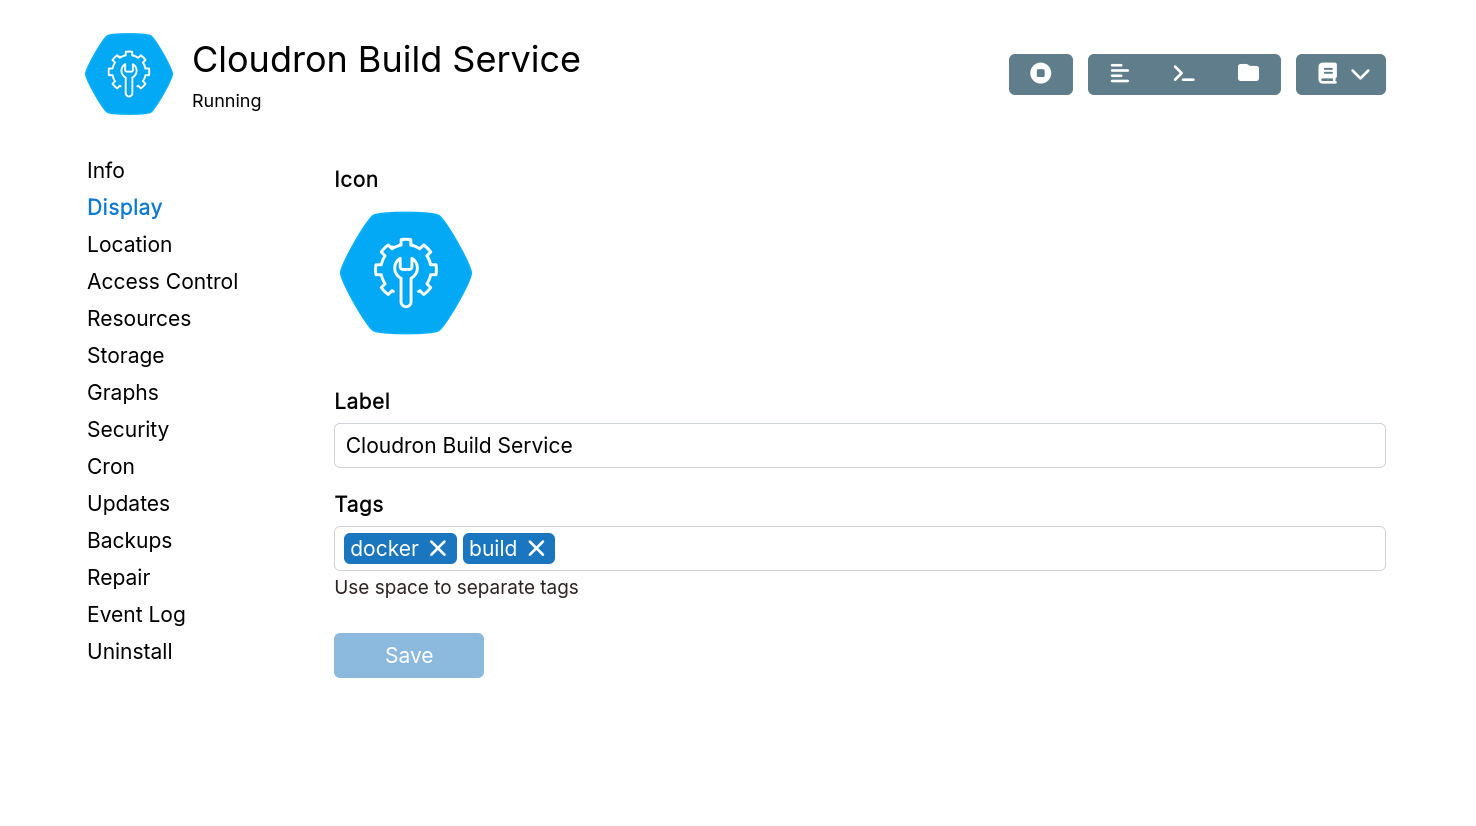
Icon
Set a custom icon for the app. The app package's icon is used when not set.
Access control
The central user directory allows users to use the same username and password across apps.
SSO integration uses LDAP or OpenID Connect (OIDC). App packages prefer OIDC over LDAP when both are supported.
SSO integration is configured at installation time and cannot be changed later. The available options depend on the app's capabilities.
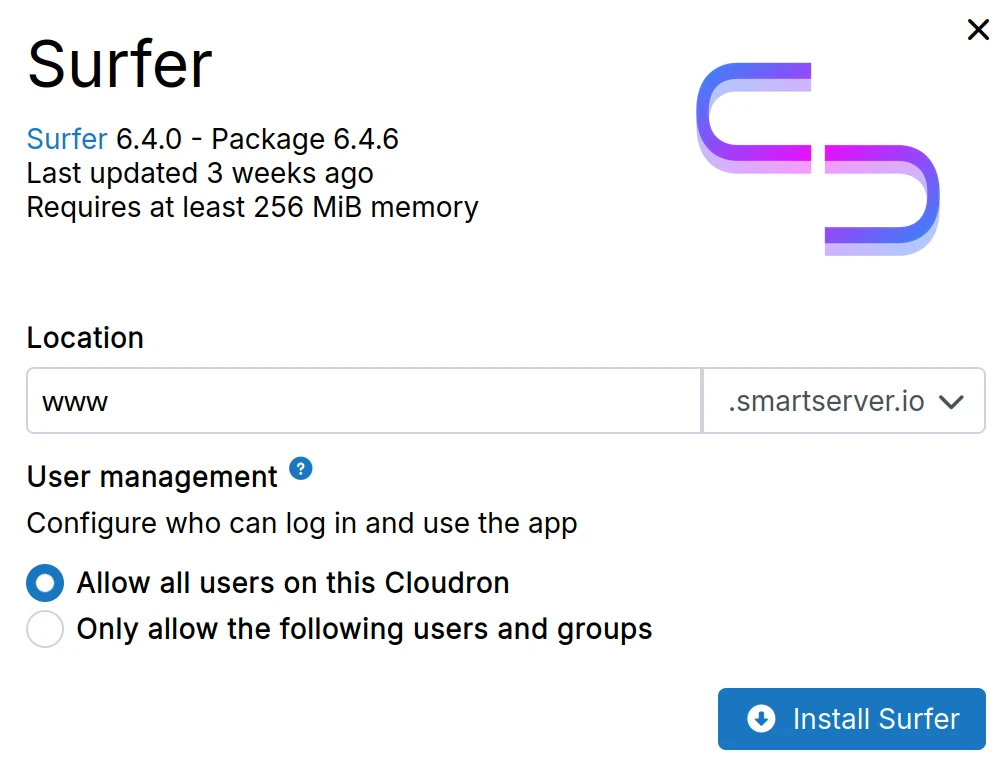
SSO
When an app package only supports SSO, choose from these options at installation:
- Allow all users - Any user can access the app
- Only allow the following users and groups - Restrict access to specific users and groups
Only authentication is handled. Assign roles (e.g., commenter or author in WordPress) within the app itself.
Optional SSO
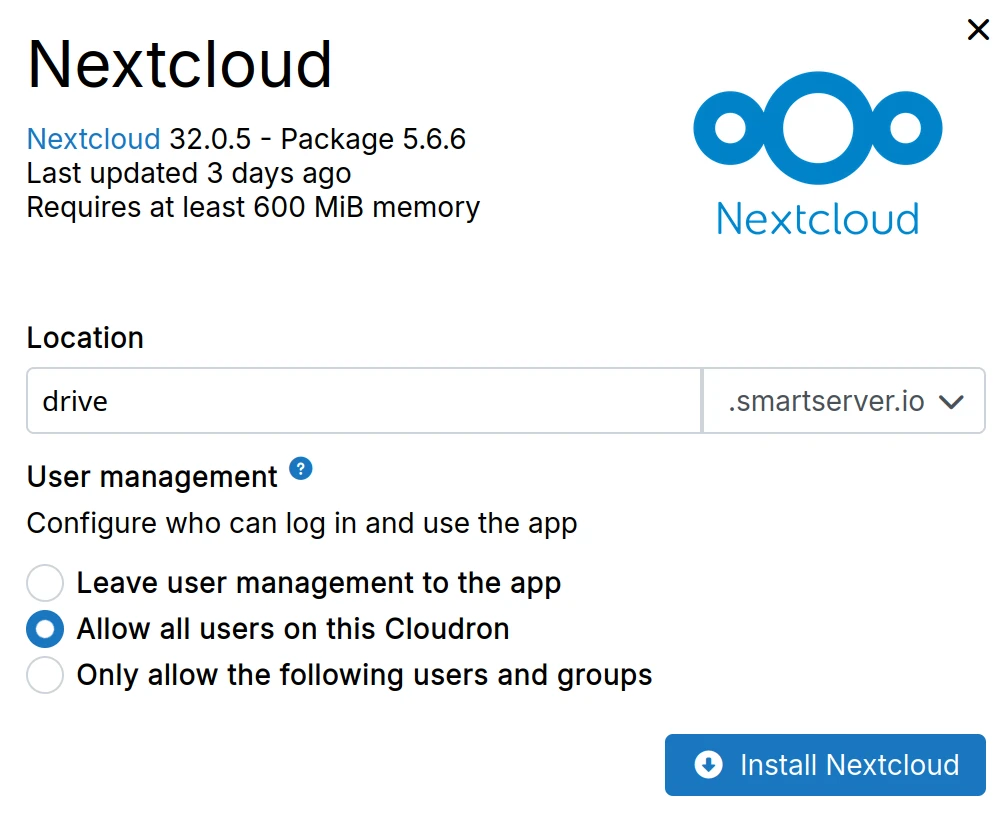
Some app packages support both SSO and app's own user management. They show these options:
- Leave user management to the app - Disables SSO integration and uses the app's built-in user management
- Allow all users - Enables SSO integration. Any user can access the app
- Only allow the following users and groups - Enables SSO integration. Restrict access to specific users and groups
When SSO is enabled, only authentication is handled. Assign roles (e.g., commenter or author in WordPress) within the app itself.
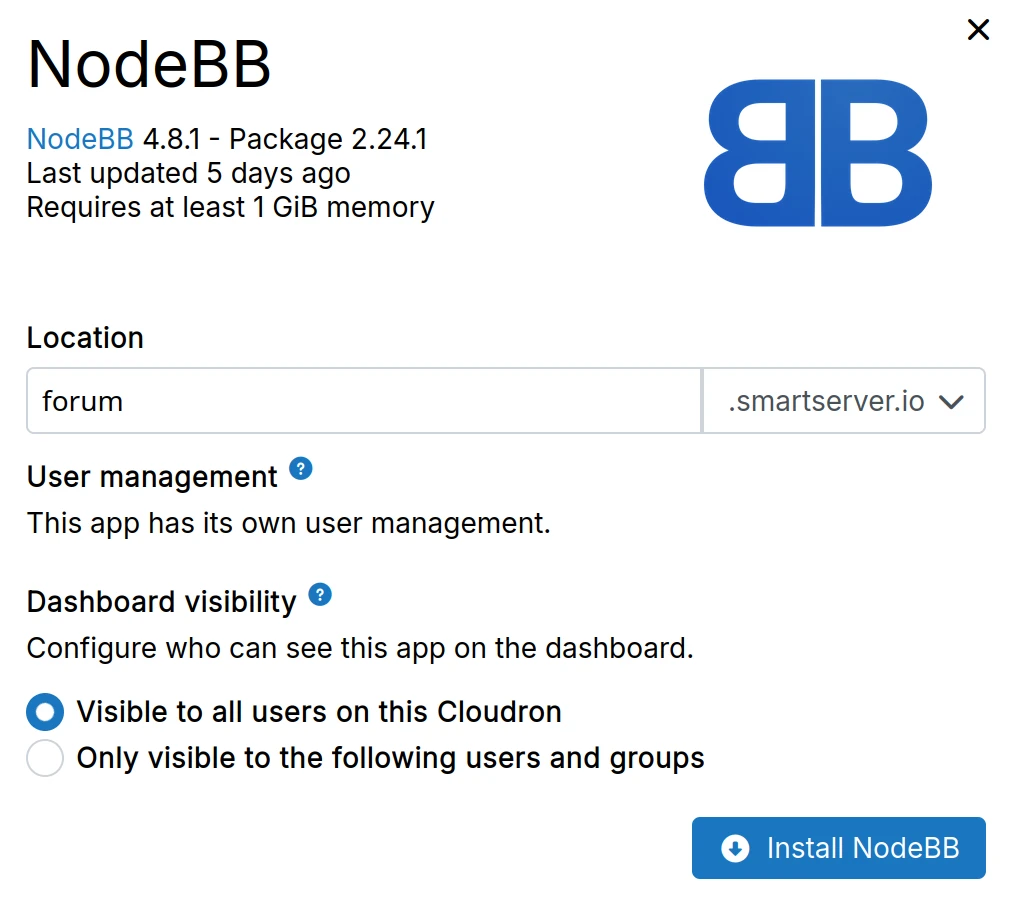
No SSO
App packages without SSO support have their own user management. Configure dashboard visibility instead:
- Visible to all users - App icon appears on the dashboard of all users
- Only visible to the following users and groups - App icon appears only on the dashboard of the specified users and groups
This only controls icon visibility. Users need an account inside the app to use it.
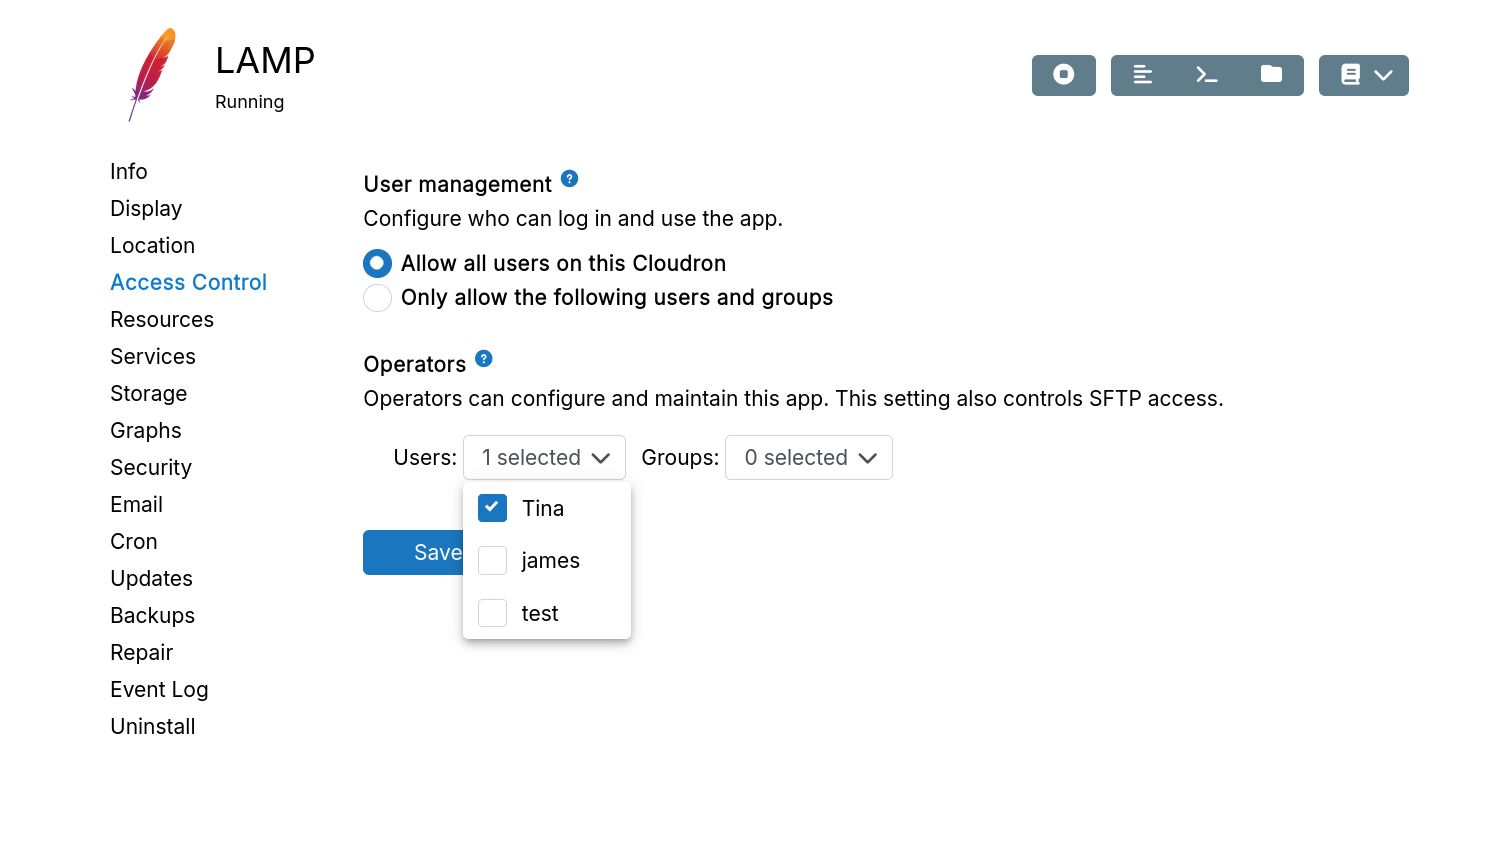
Operators
Operators can configure and maintain the app but cannot uninstall it, change its location, or clone it (cloning requires app installation permissions).
Configuration UI:
Operator UI:
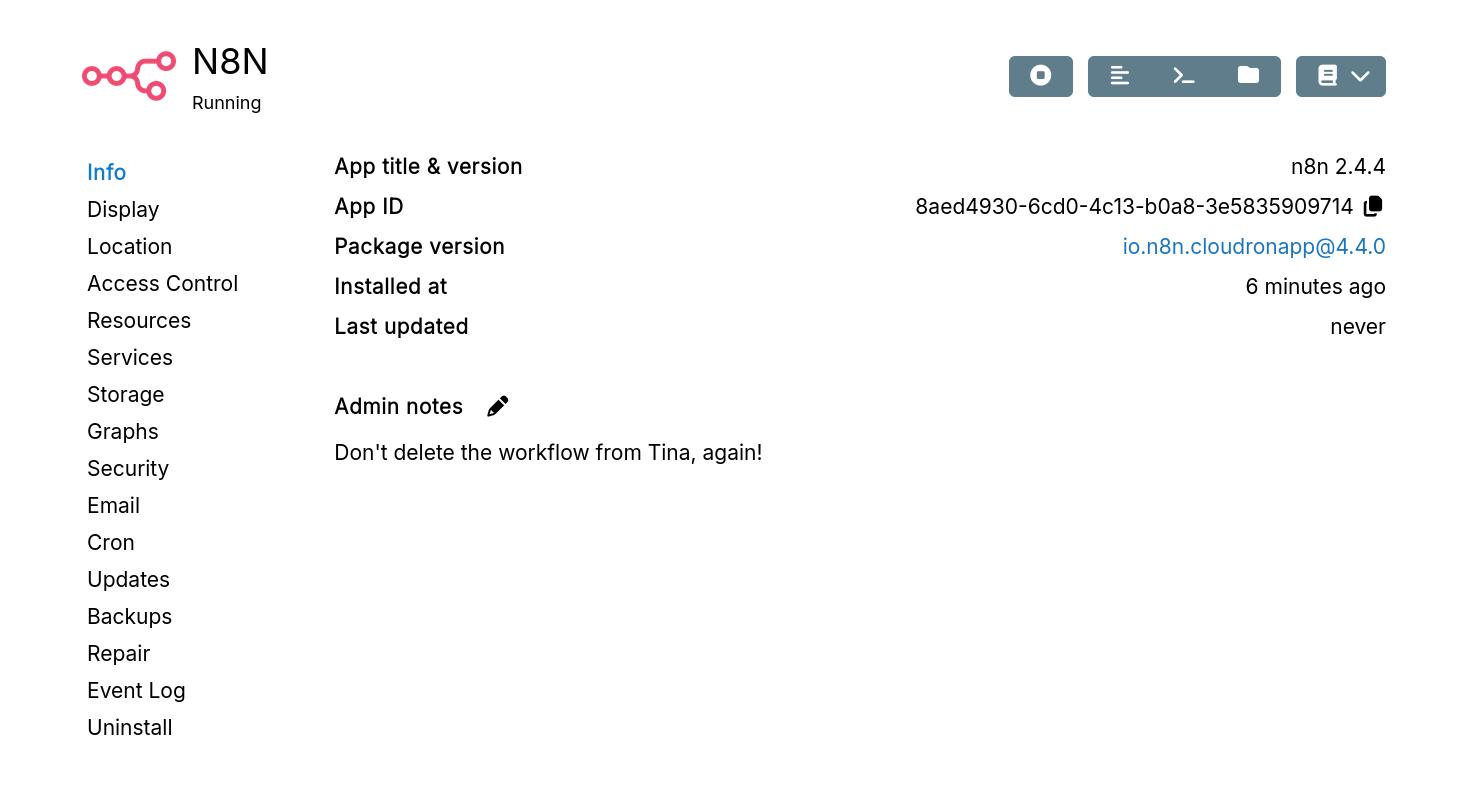
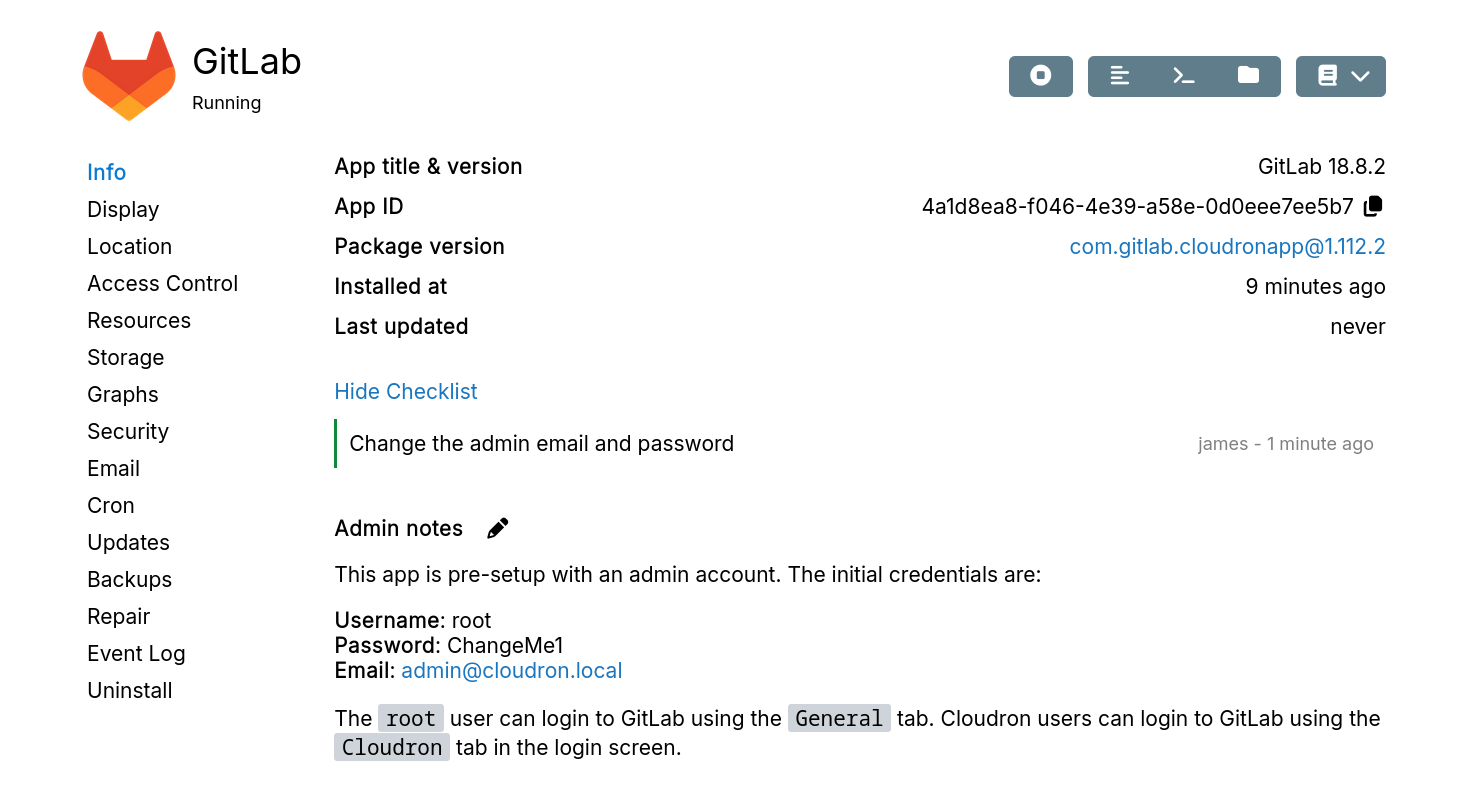
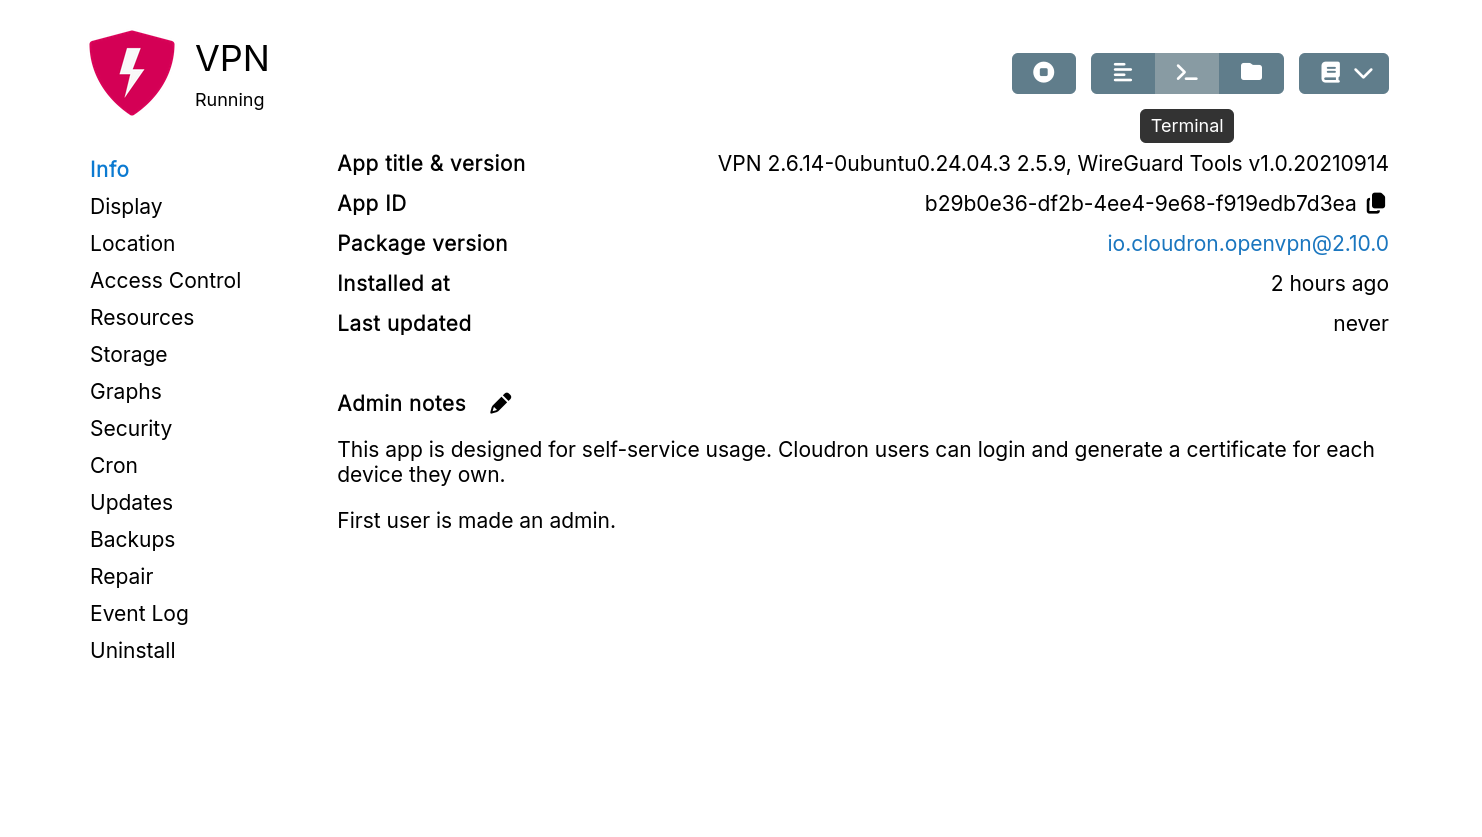
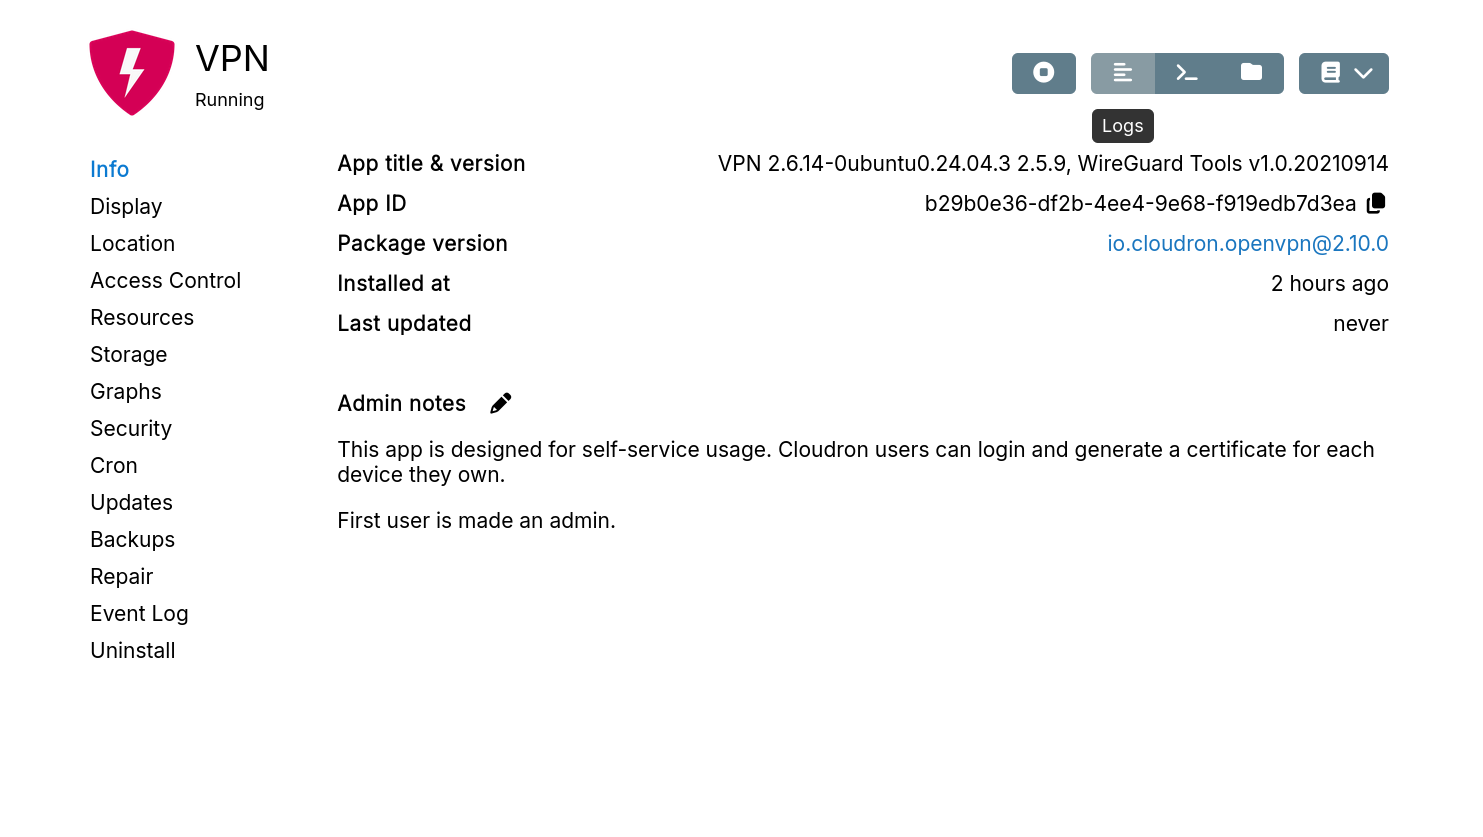
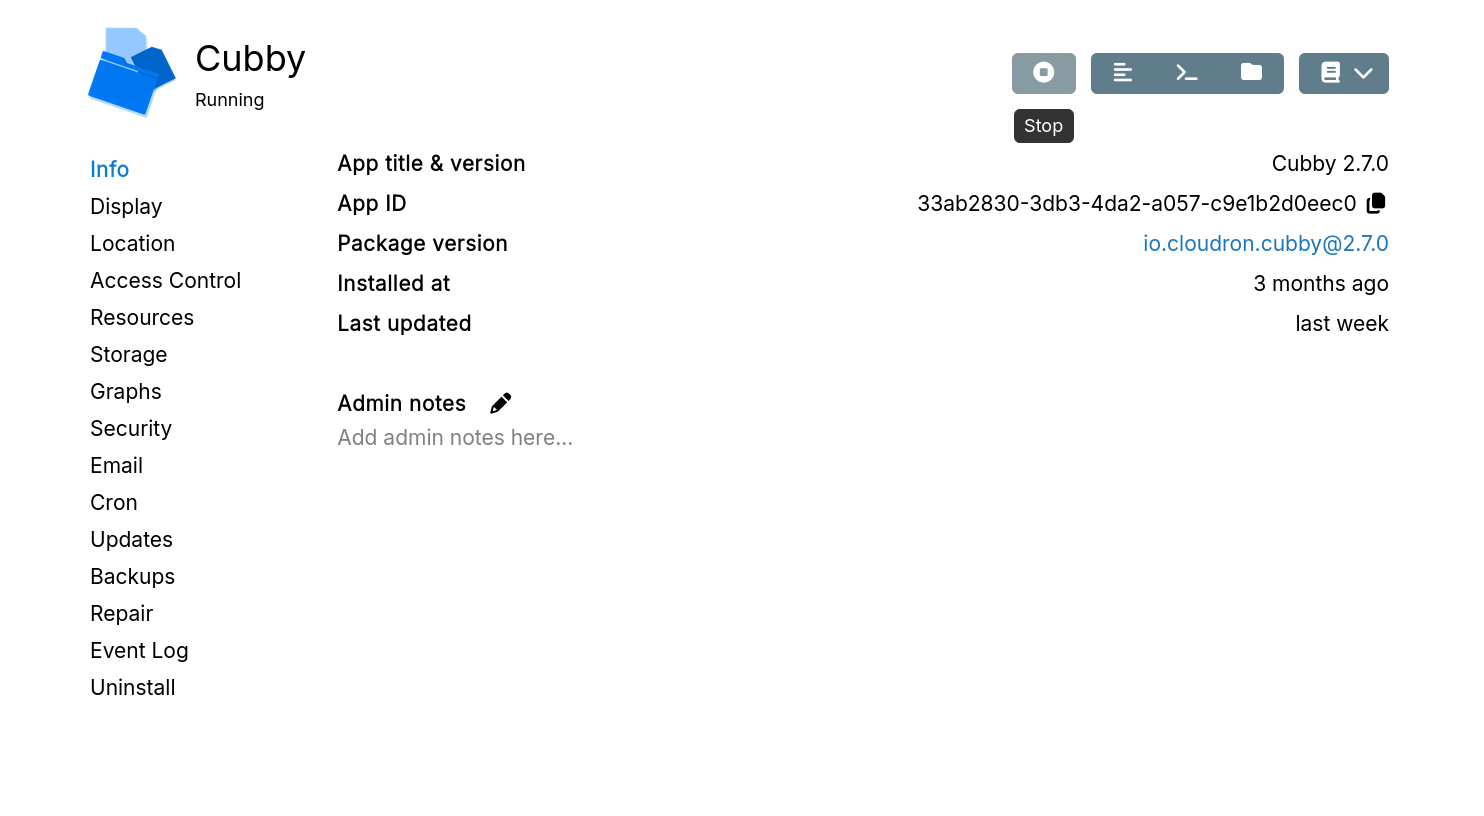
Info
The Info section displays app details:
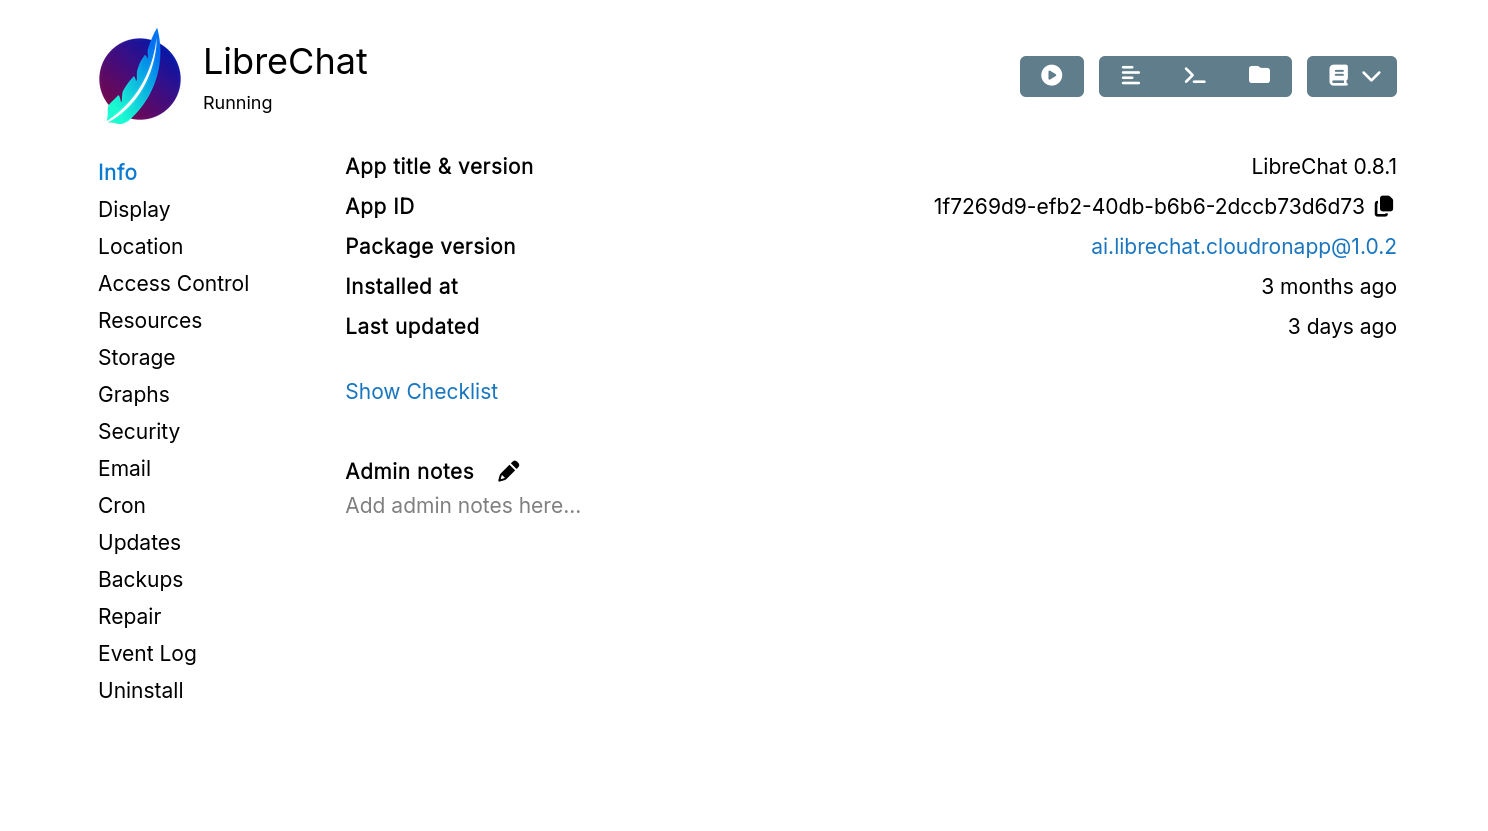
App Title and Version- This is the app's title and the upstream app versionApp ID- Unique ID of the app instancePackage Version- Version of the app package. This is distinct from the (upstream) App VersionInstalled At- When the app was installedLast Updated- When the app was last updated
Admin Notes
Save app-specific notes in markdown format. Admins and app operators can view and edit notes.
Checklist
Checklists highlight urgent and security-related tasks such as changing default credentials or reviewing registration settings.
Checklists are created by the app package and may appear at install time or after updates.
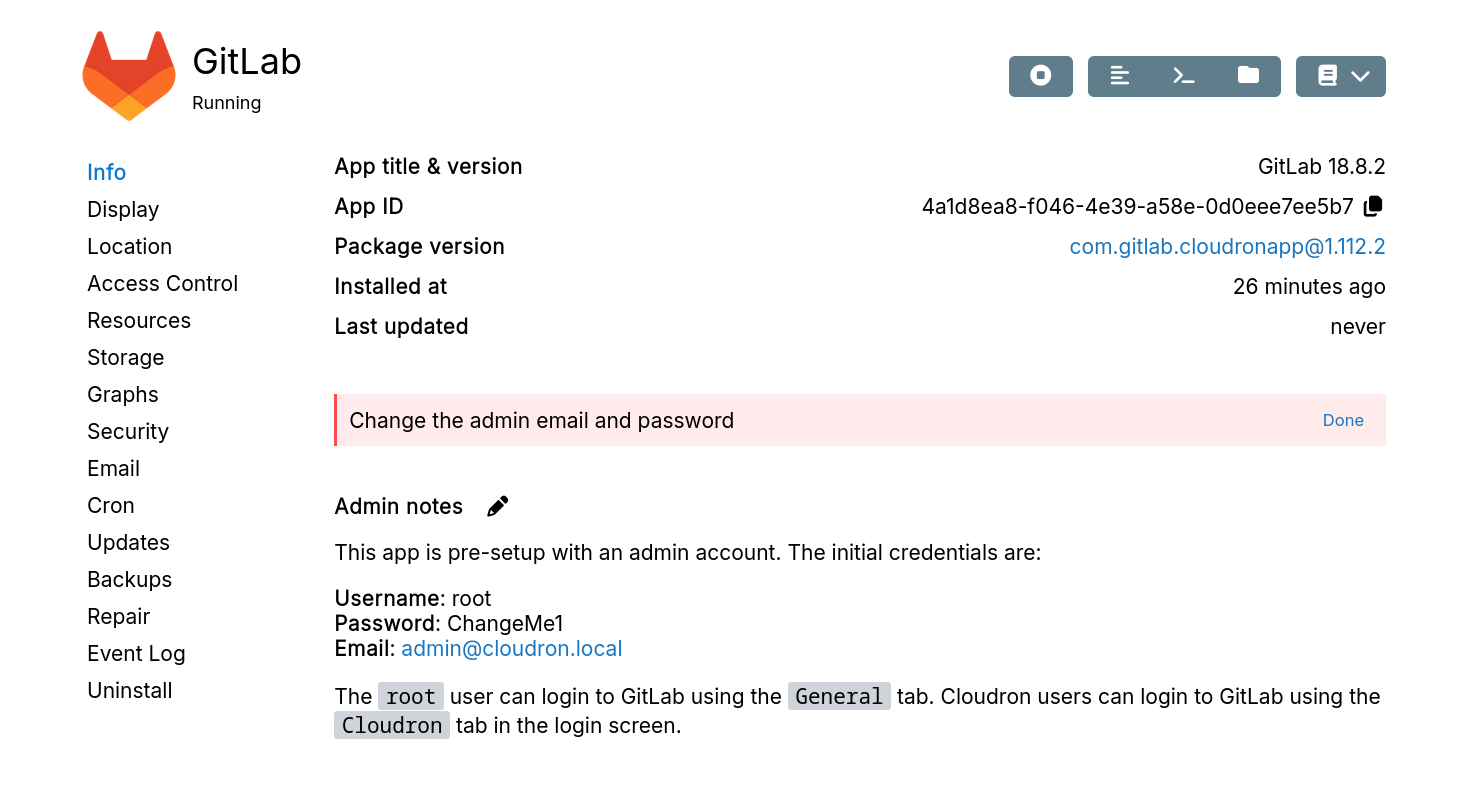
Completed items track the username and date for audit purposes.
Resources
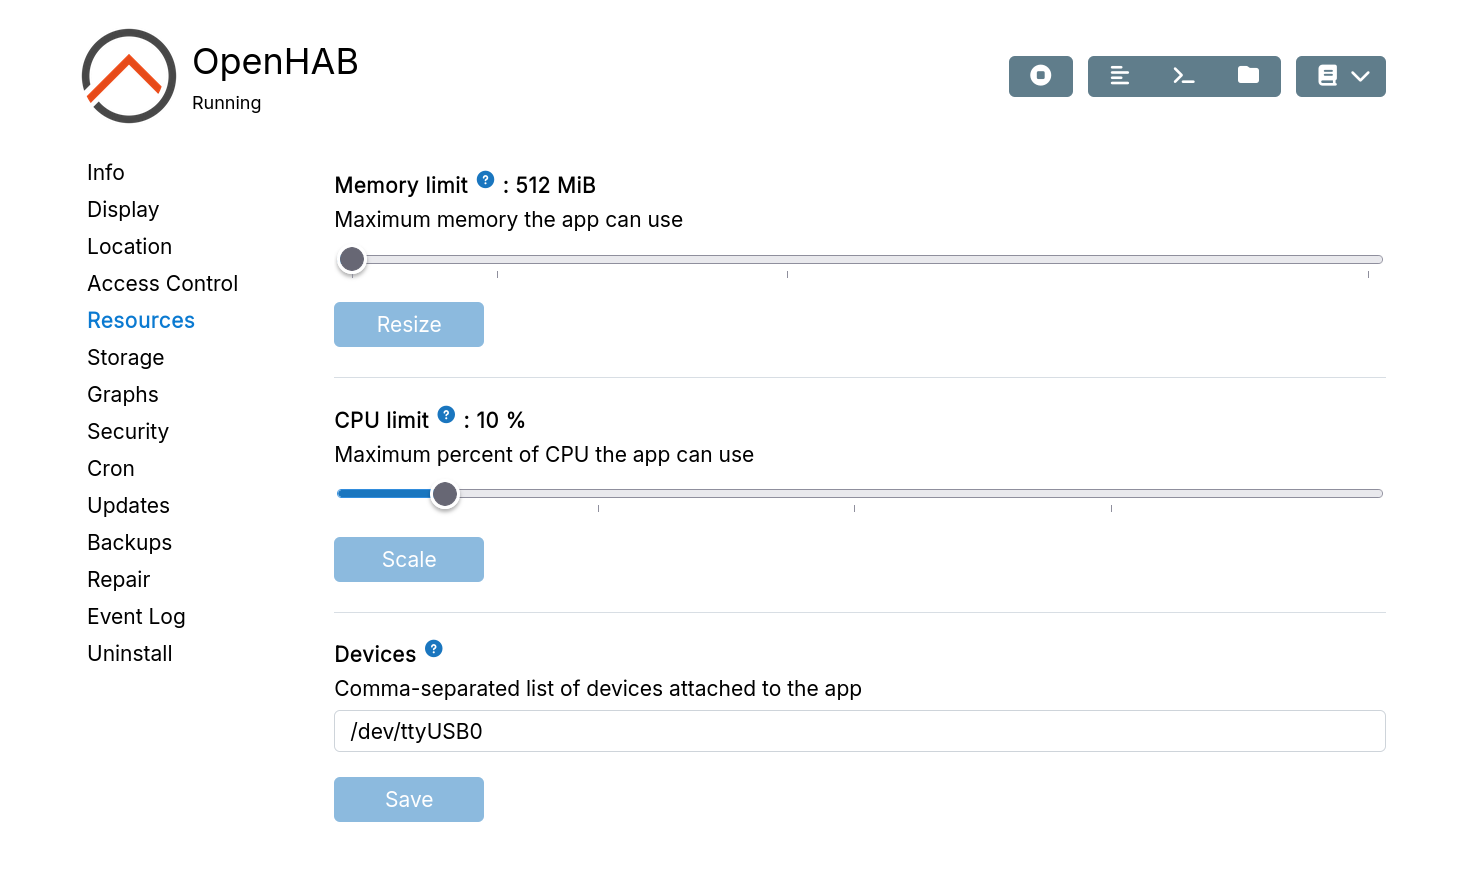
Memory limit
Apps run with a memory limit to prevent them from affecting the server. The app package only has a minimum default and has to be adjusted based on actual usage. When an app runs out of memory, it restarts and sends an OOM notification.
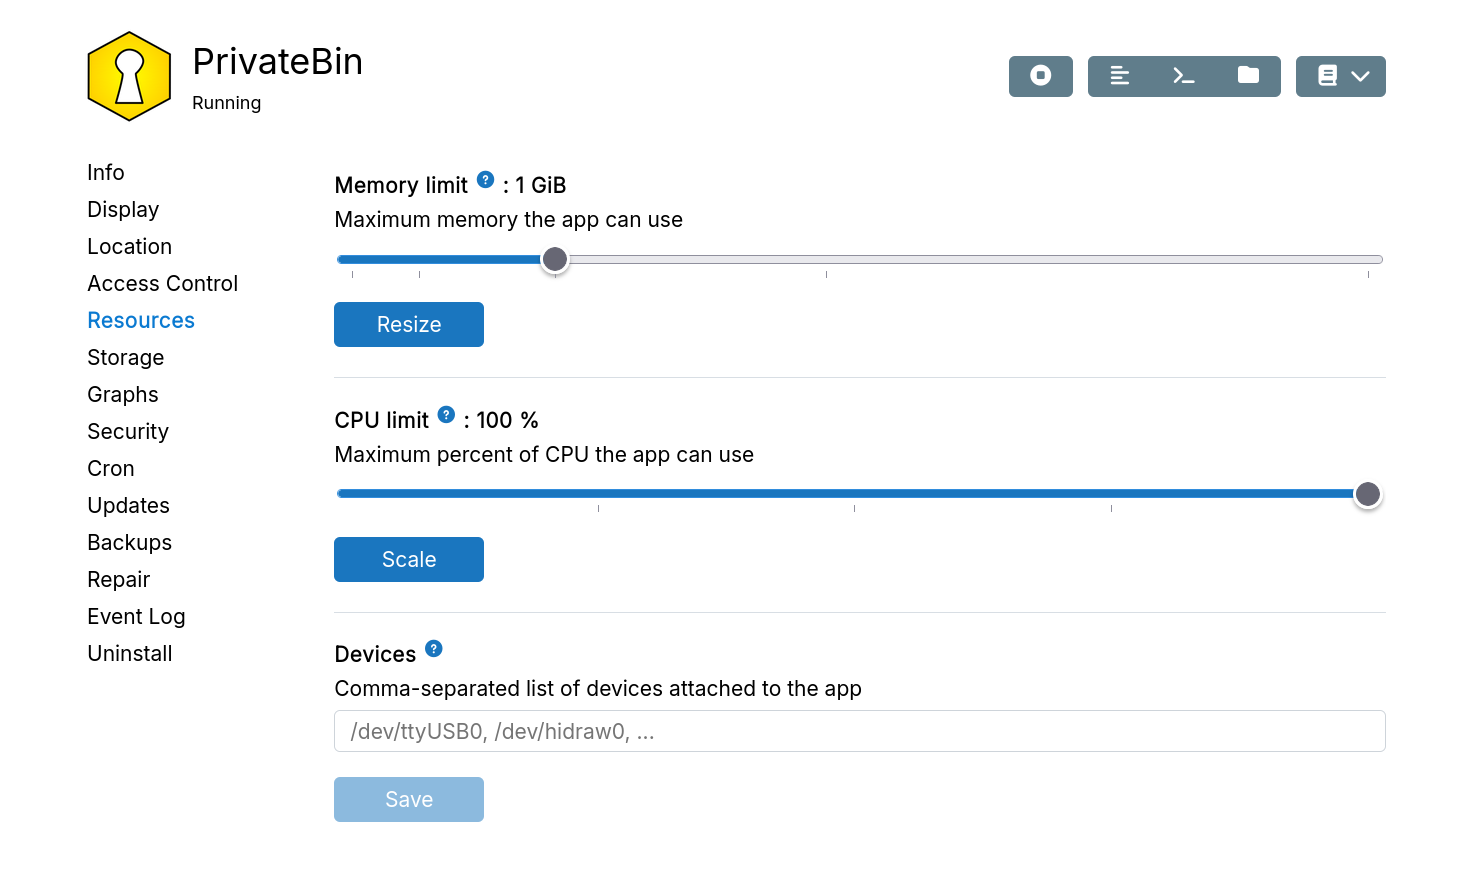
The memory limit specified above is just the RAM. All apps get unlimited swap.
CPU limit
By default, apps use as much CPU as needed. Set a CPU limit to constrain usage. For example, on a 16-core server, 50% limits the app to 8 cores.
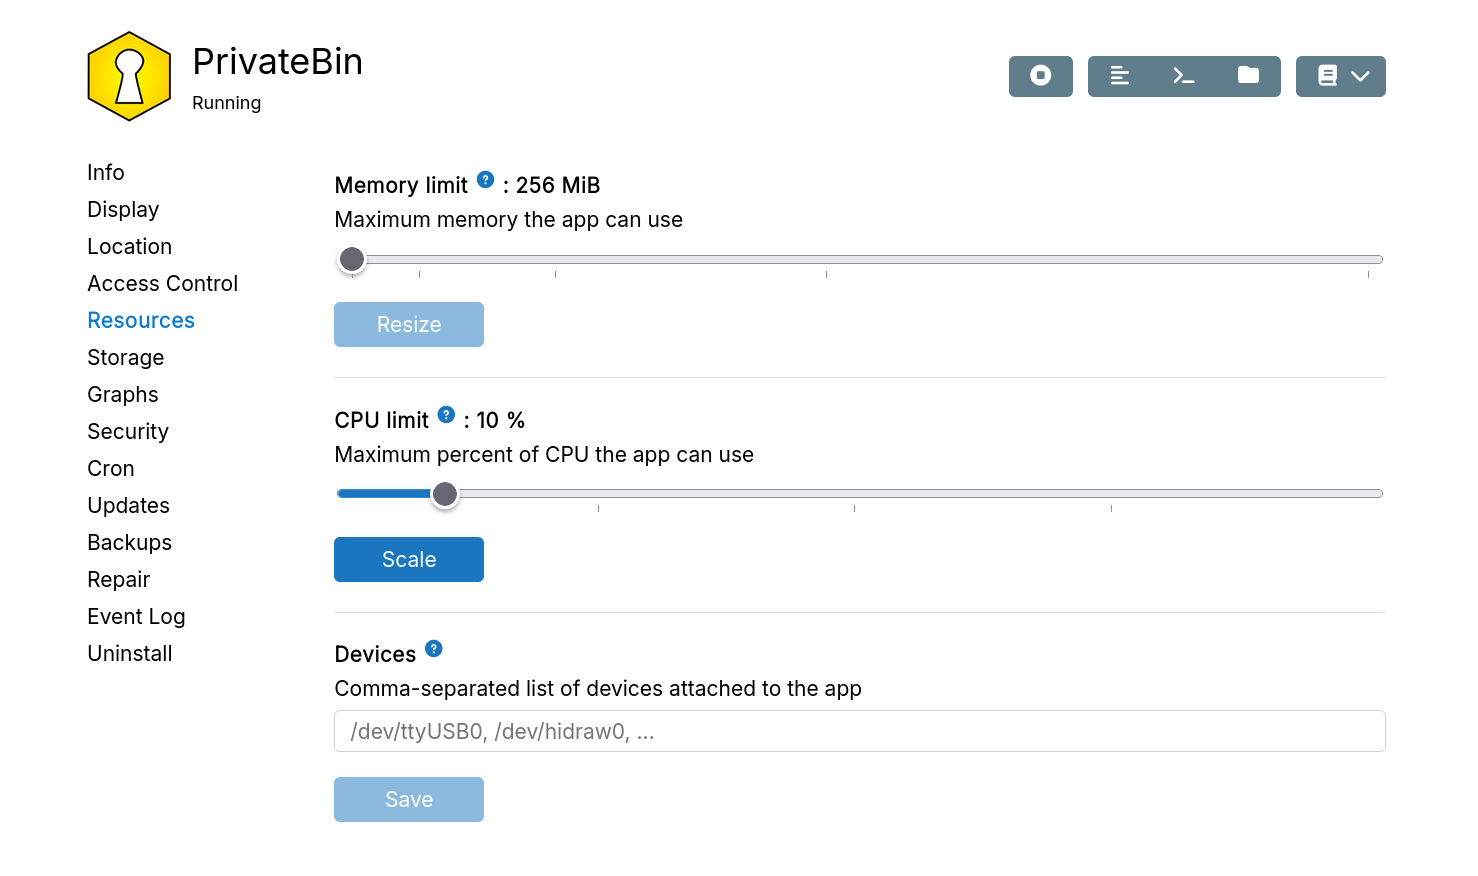
Devices
Specify host devices to mount into the app in the Devices section.
Storage
Data directory
Apps store data in /home/yellowtent/appsdata/<appid>. If the root filesystem runs out of space, move the app's storage to an external disk (e.g., DigitalOcean Block Storage or AWS EBS).
To move app data to an external disk:
-
Add the external disk as a volume.
-
In the app's
Storagesection, select the volume. Optionally specify a prefix for a subdirectory.
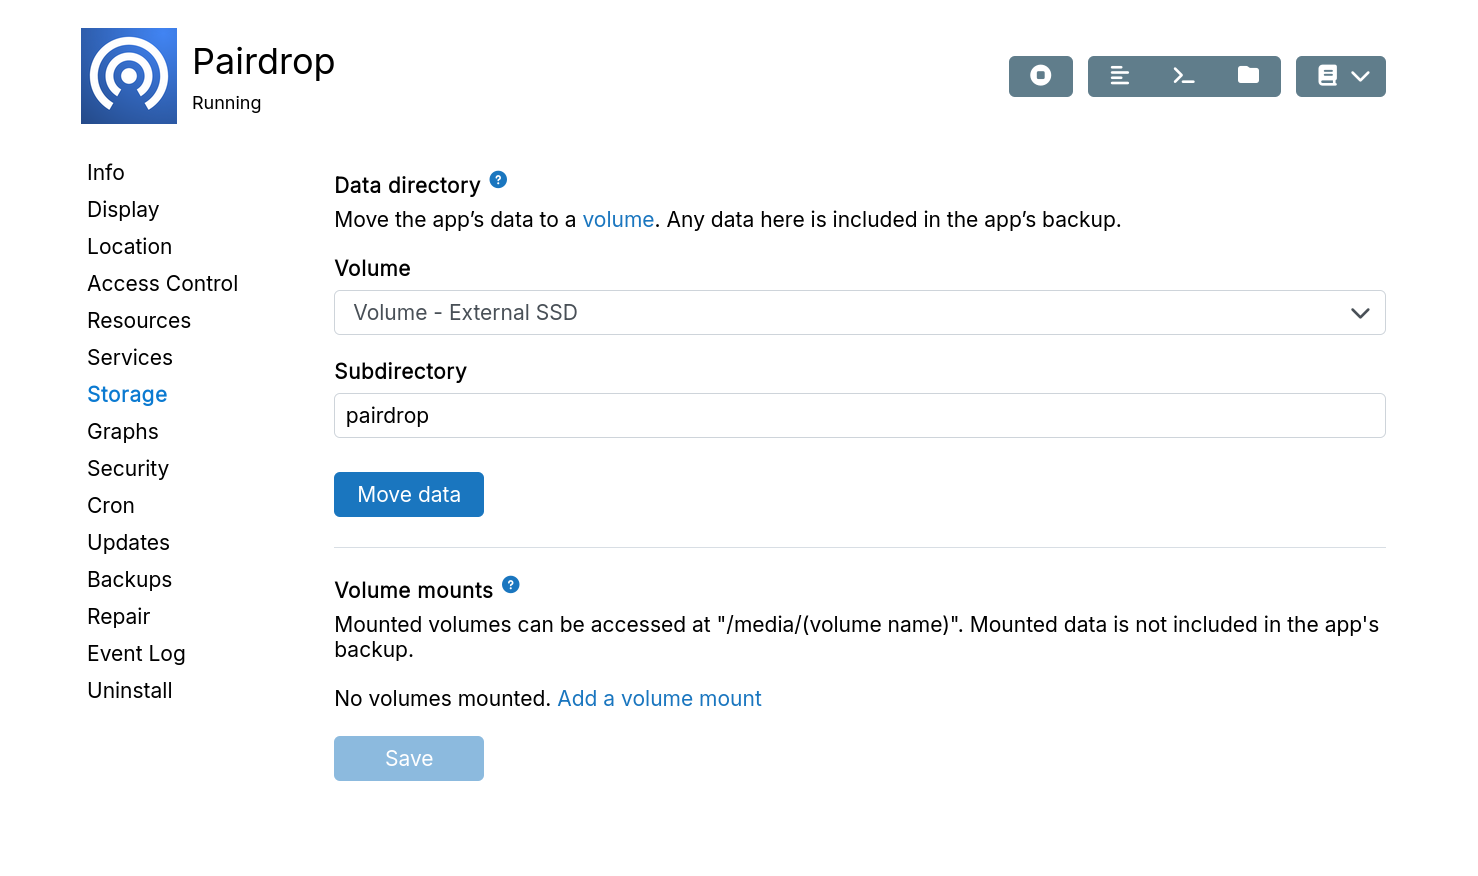
CIFS and SSHFS volumes lack file permission support and cannot be used as data directories. Mountpoint and NFS volumes may work depending on the destination filesystem.
External app data directories are included in app backups.
Mounts
Mounts make local or remote filesystems available to containerized apps.
To give an app access to an external disk:
-
Create a volume in the
Volumesview. -
Add an app mount. The app accesses files at
/media/{volume-name}. Set the permissions to make the mount point readonly or read write.
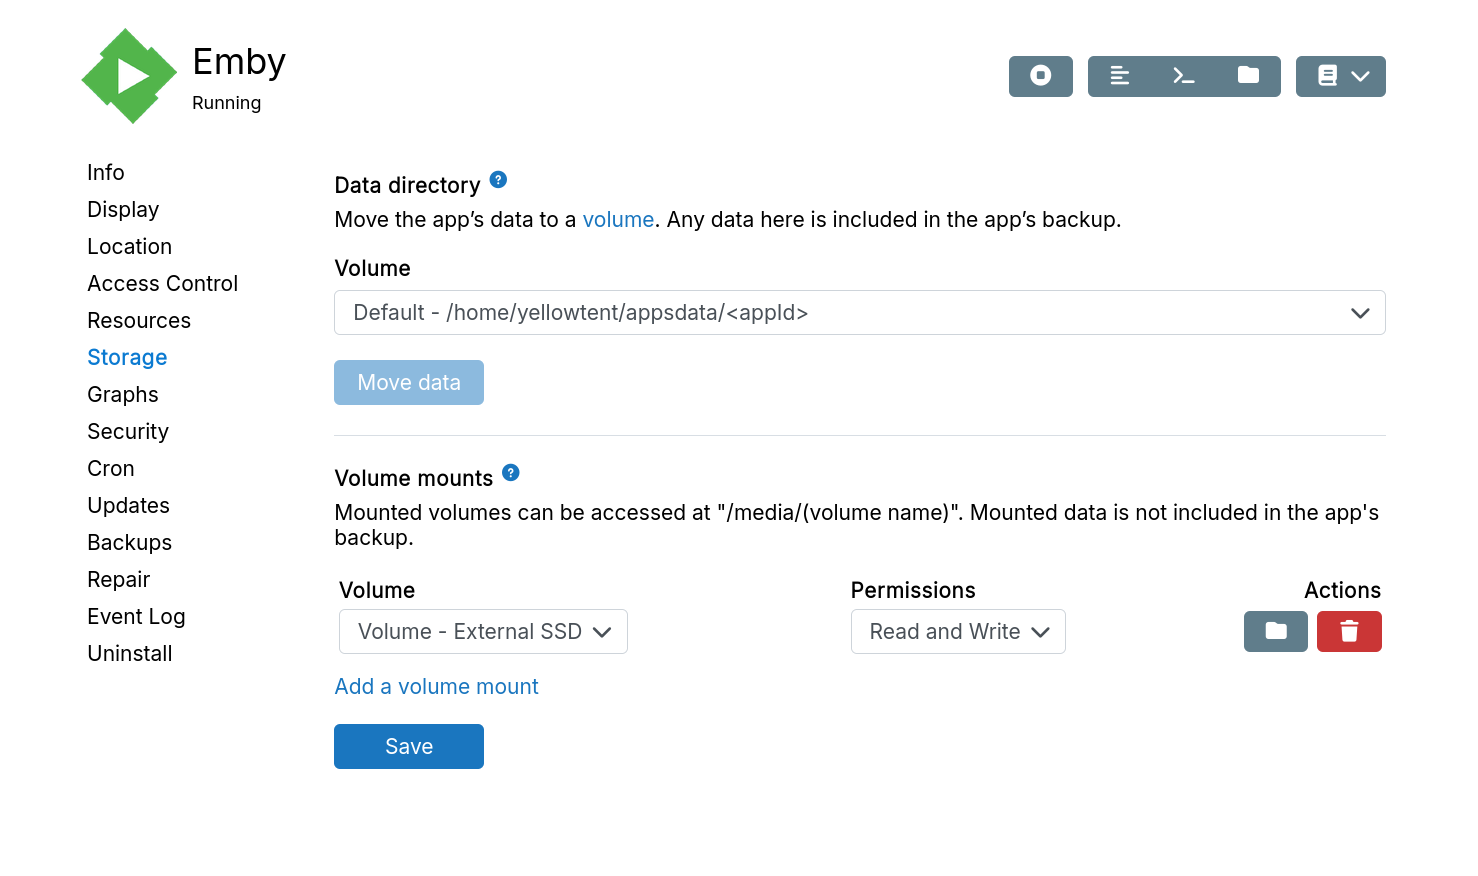
Volumes are not backed up. Restoring an app does not restore volume content.
Email
Apps are automatically configured to send email via the built-in mail server.
Mail FROM address
By default, apps are assigned a FROM address in the format <location>.app.
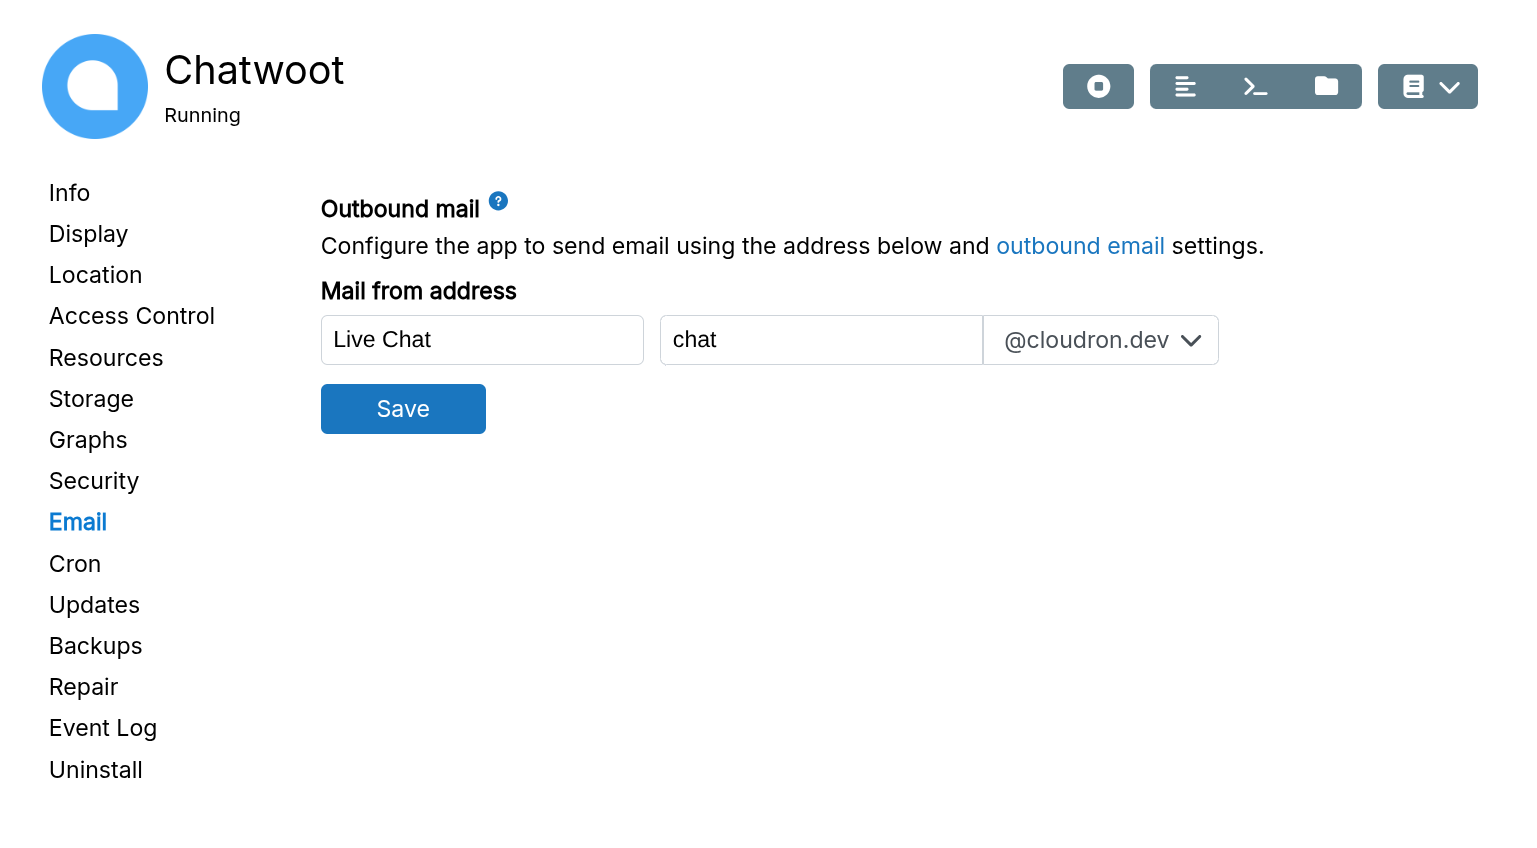
Email display name support depends on the app. A missing input box indicates no support. An empty display name uses the app's title.
Disable email configuration
Email delivery auto-configuration can be disabled using Do not configure app's mail delivery settings.
When selected, configure email delivery settings inside the app.
This option is only available for apps that send non-transactional email. For apps that send transactional email, configure an email relay.
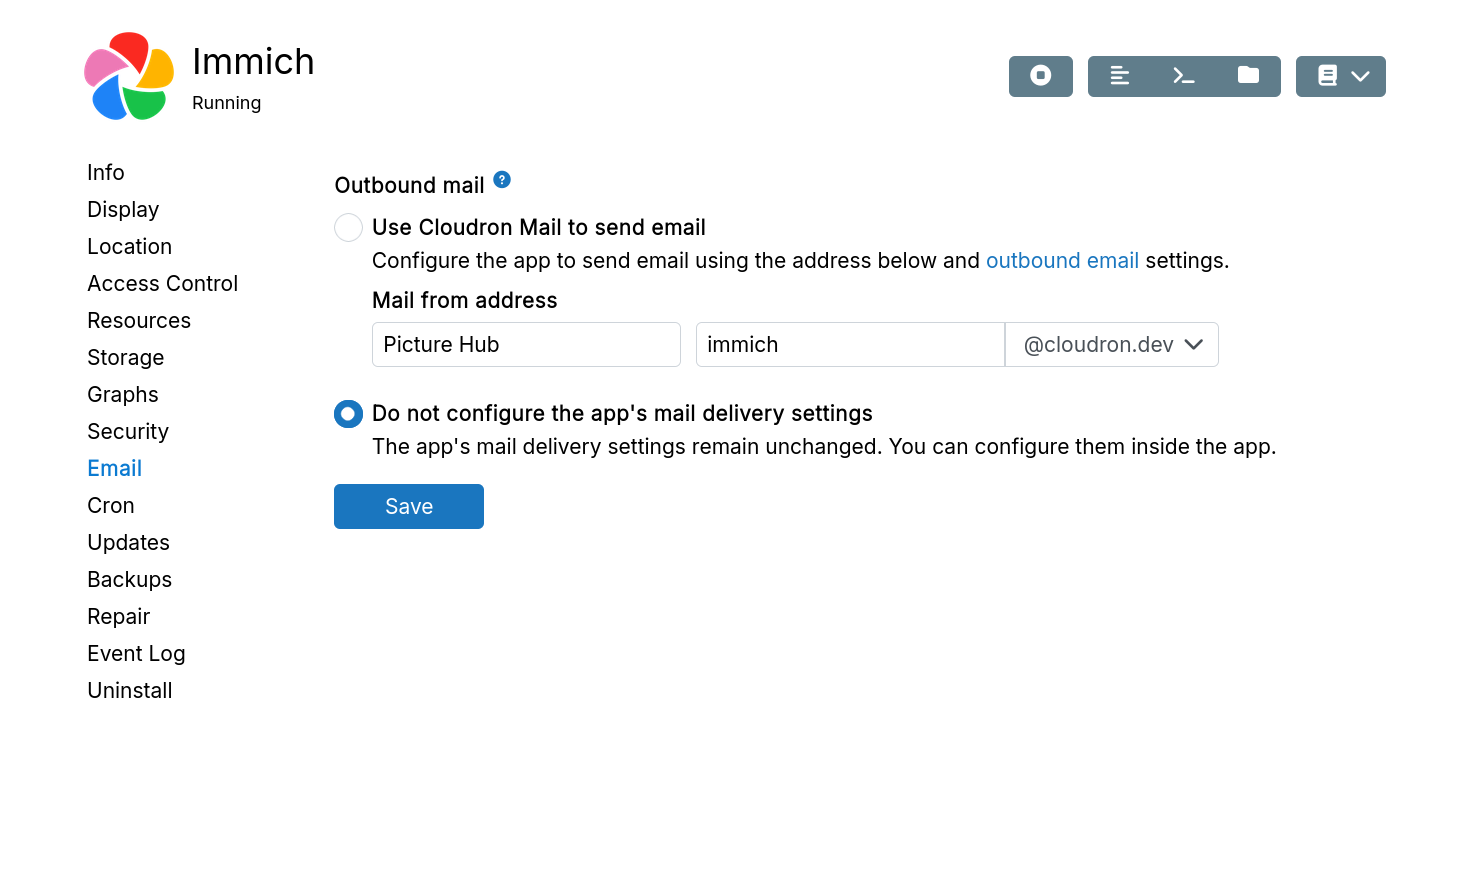
The app sends mail with this address. To receive email, create a mailbox. Without a mailbox, replies bounce.
Inbox
Assign an inbox address for apps that receive email.
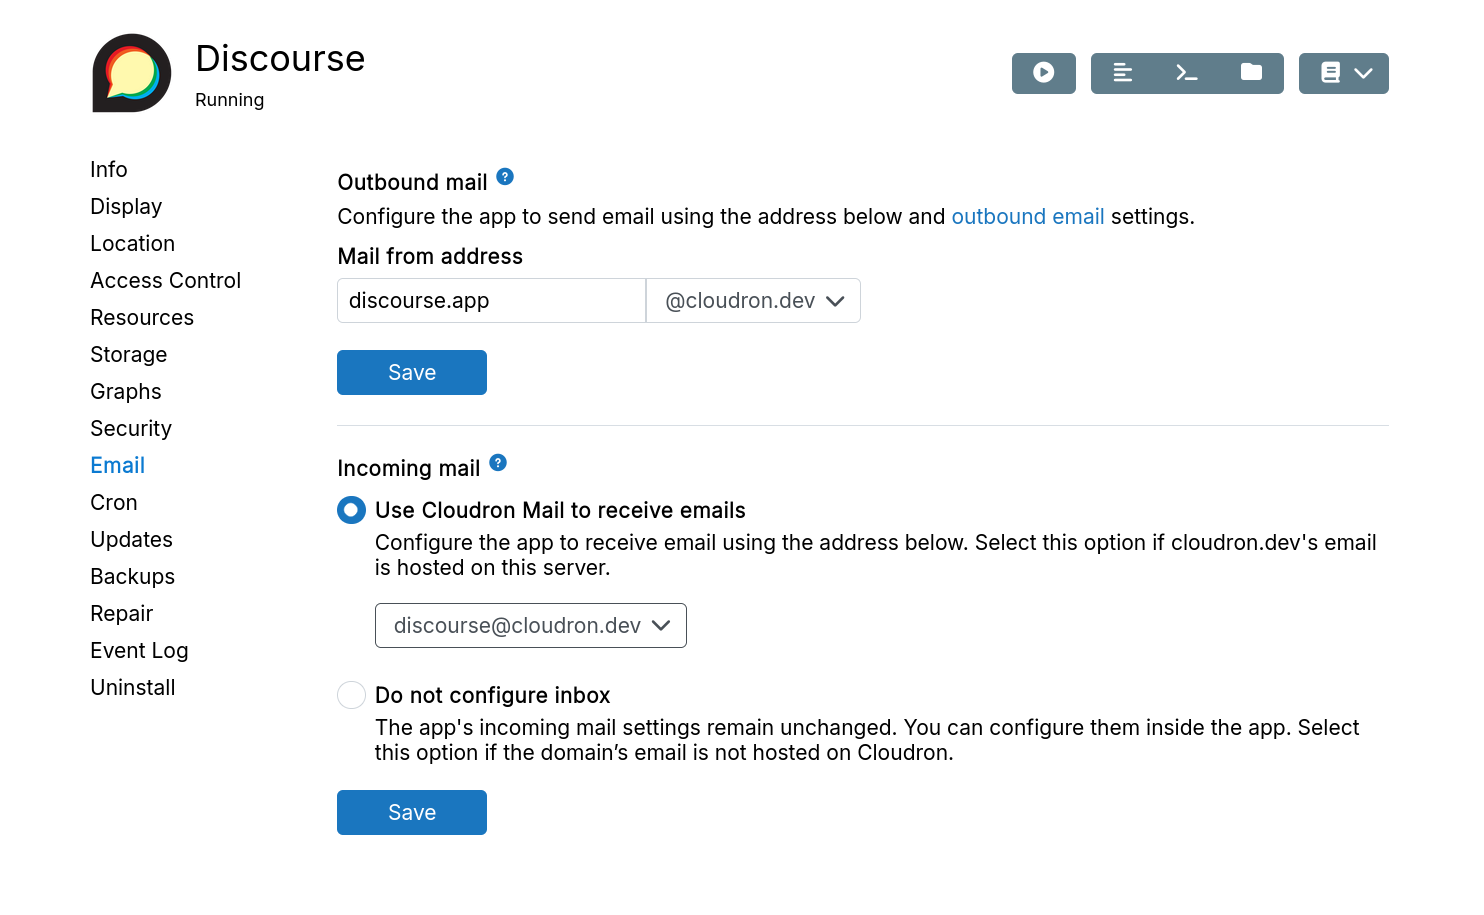
The app is configured to receive mail at the assigned address and generates credentials for inbox access.
Inbox addresses require email to be hosted on this server. For external email servers, select "Do not configure inbox" and configure manually.
Use an existing mailbox or create a new one for the mail server to accept these emails.
Security
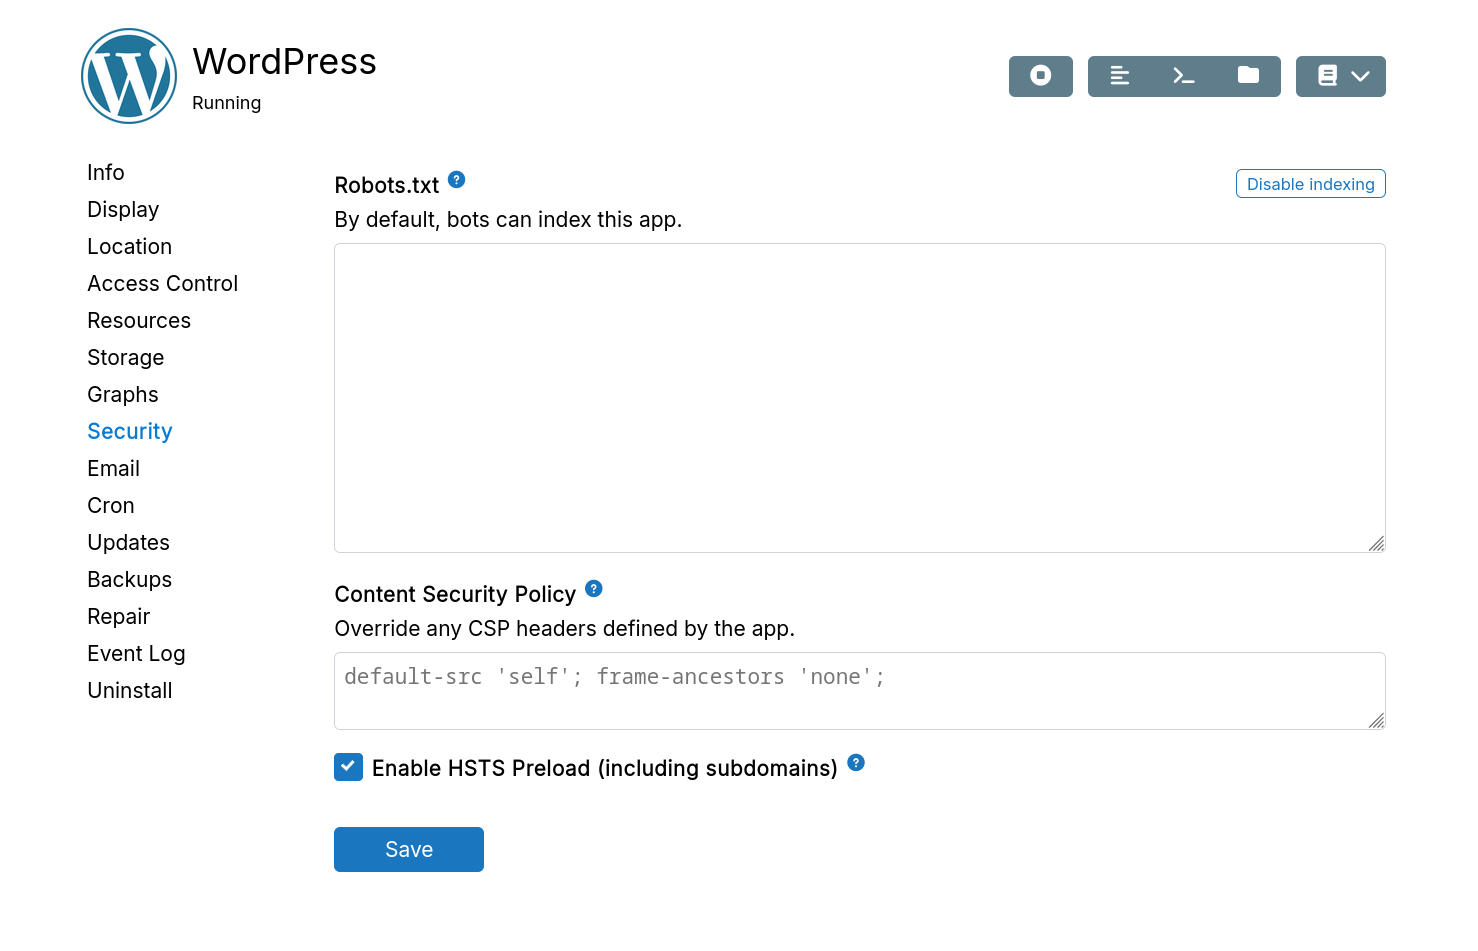
Robots.txt
Robots.txt controls search engine indexing. See the Robots Exclusion Standard and Google's documentation.
By default, robots.txt is not set, allowing the app to provide its own.
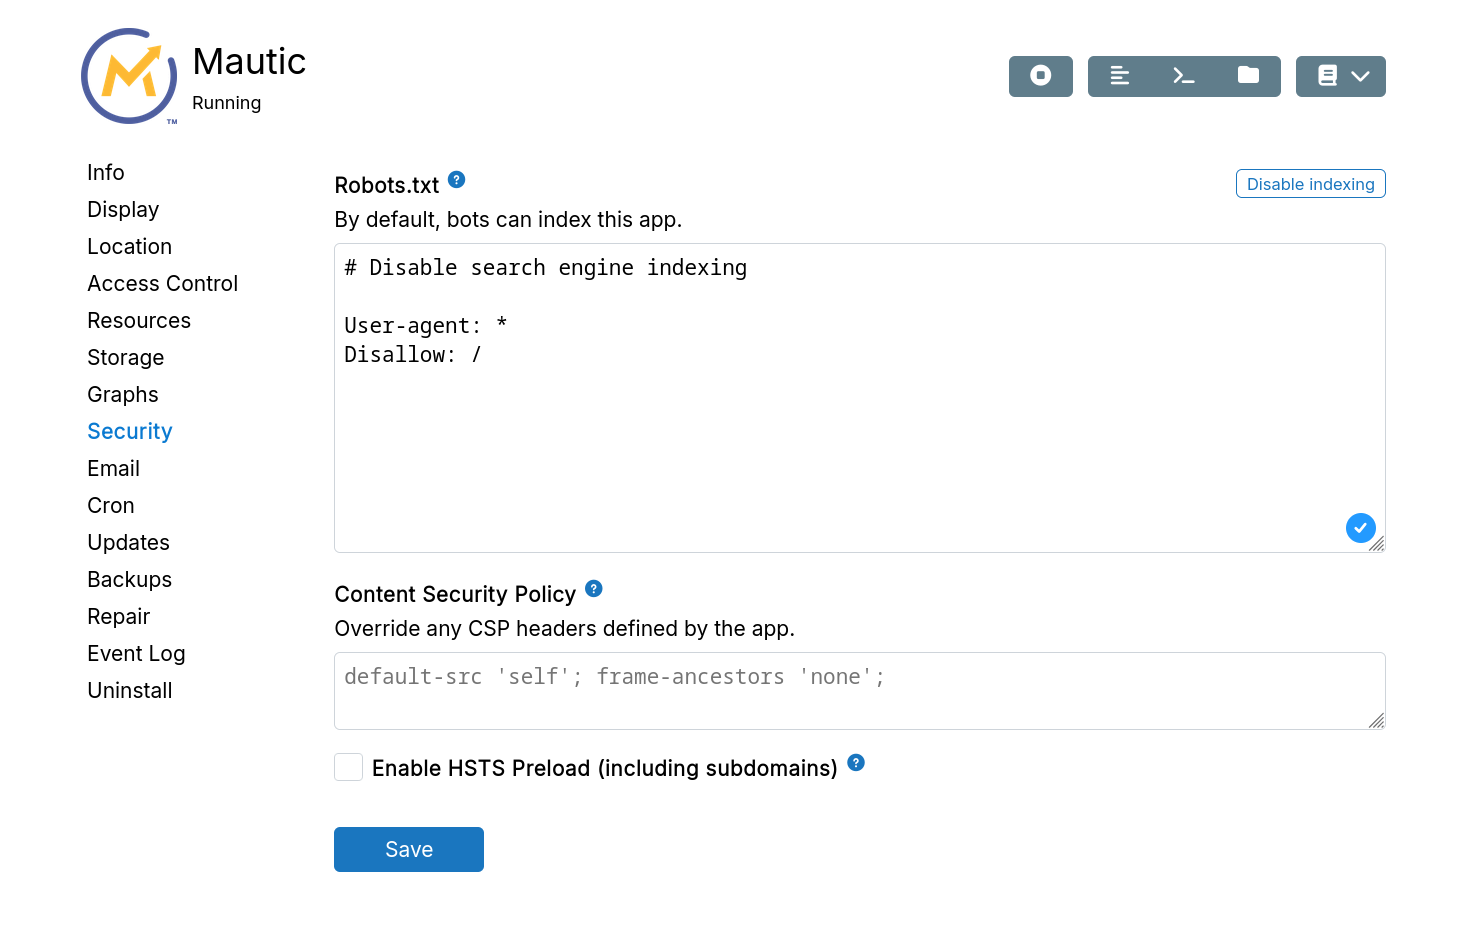
The dashboard has a hardcoded robots.txt that disables indexing:
User-agent: *
Disallow: /
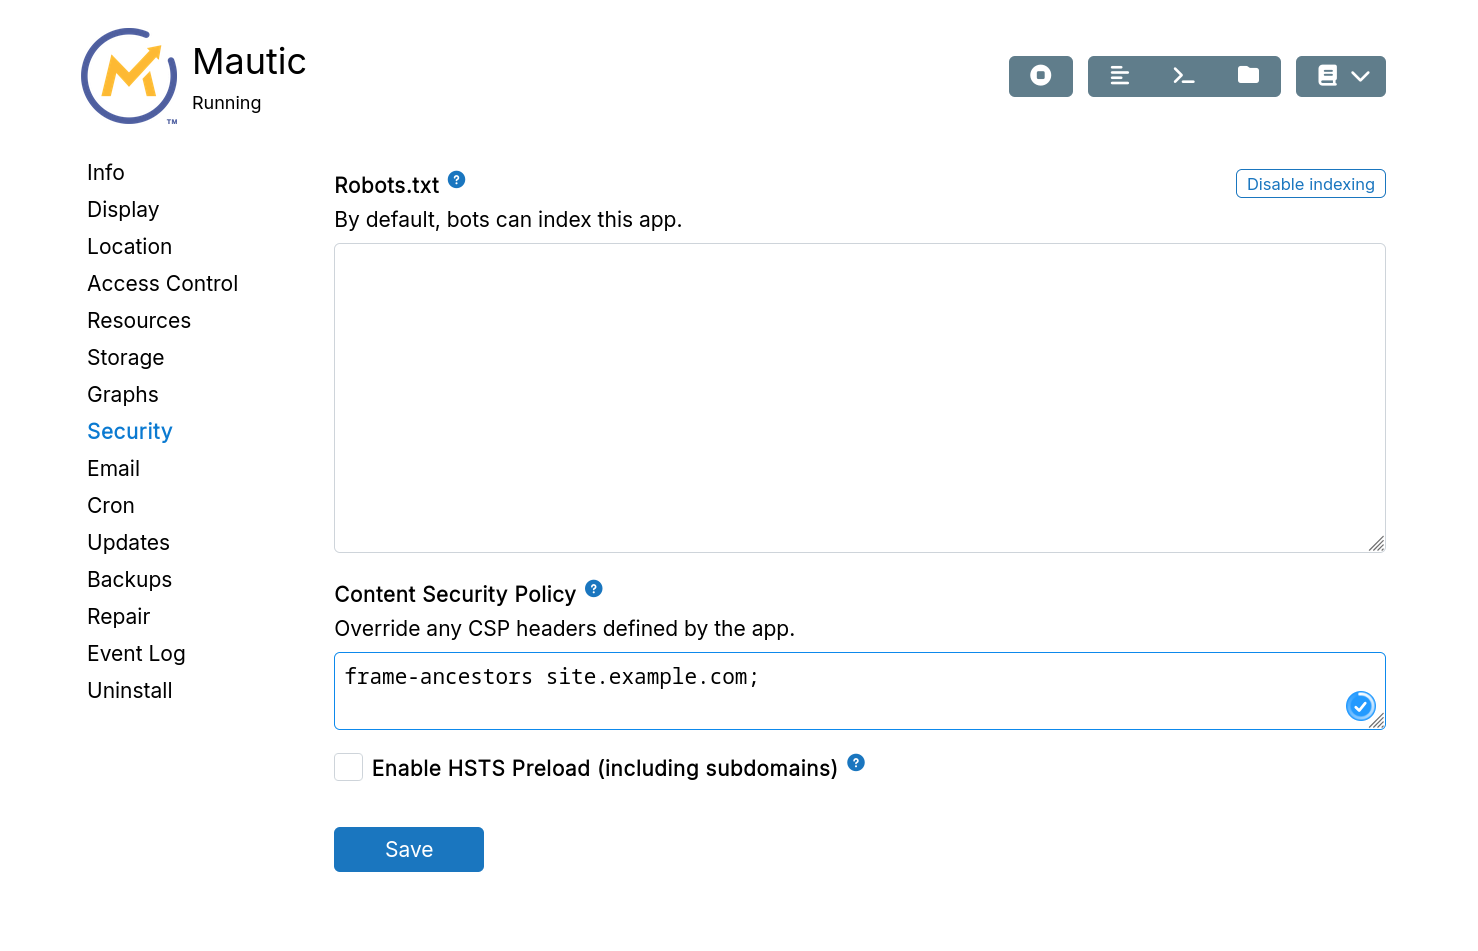
Custom CSP
CSP headers instruct browsers to load resources only from specific sites. Override overly restrictive app CSP headers when needed.
For example, to embed Mattermost in another site, you can set the following CSP policy for Mattermost:
frame-ancestors site.example.com;
HSTS preload
HSTS Preload hardcodes sites as HTTPS-only in Chrome and other major browsers.
Requirements and implications:
- Only whole registered domains (bare domains) are accepted for automated submission.
- All subdomains require valid HTTPS certificates.
- New entries take months to reach stable browser versions.
When enabled, HSTS serves:
Strict-Transport-Security: max-age=63072000; includeSubDomains; preload
Enable:
Submit manually to the HSTS Preload list at hstspreload.org.
Cron
App packages include required cron jobs. Add custom cron commands in the Cron section.
Cron commands run in the same context as the app with access to its environment and databases. They follow app lifecycle. Stopped apps don't run cron jobs. Cron output appears in the log viewer.
Cron times use UTC.
The schedule pattern can also be one of the following cron extensions:
@service: Run once on app restart or if app is already running.@reboot: Run once on app restart or if app is already running.@yearly: Run once a year, ie.0 0 1 1 *.@annually: Run once a year, ie.0 0 1 1 *.@monthly: Run once a month, ie.0 0 1 * *.@weekly: Run once a week, ie.0 0 * * 0.@daily: Run once a day, ie.0 0 * * *.@hourly: Run once an hour, ie.0 * * * *.
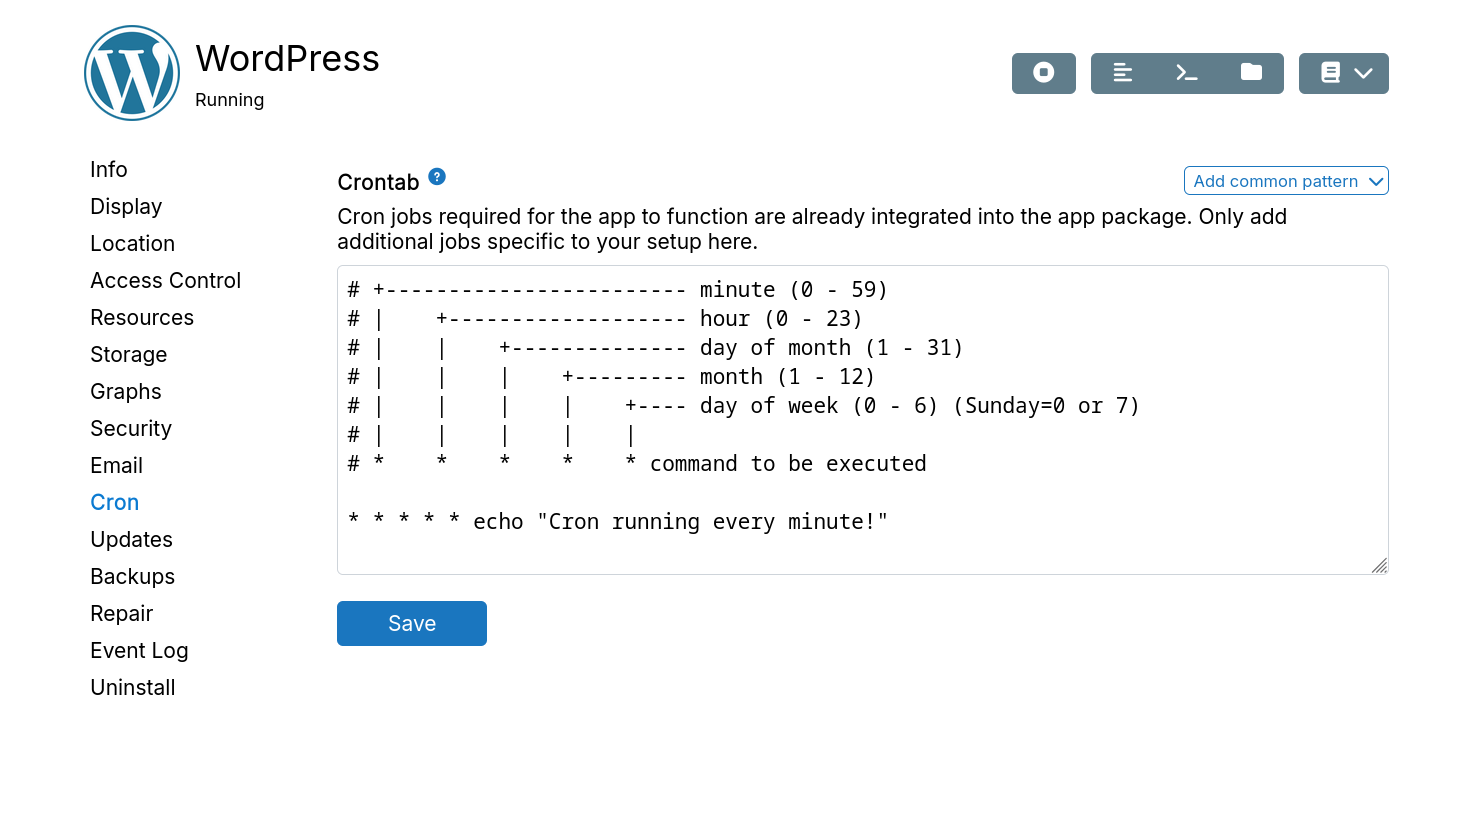
Cron commands run as root. Use sudo or gosu to run as a specific user.
Chain commands with && or ||. Example: echo "=> Doing job" && /app/data/do_job.sh
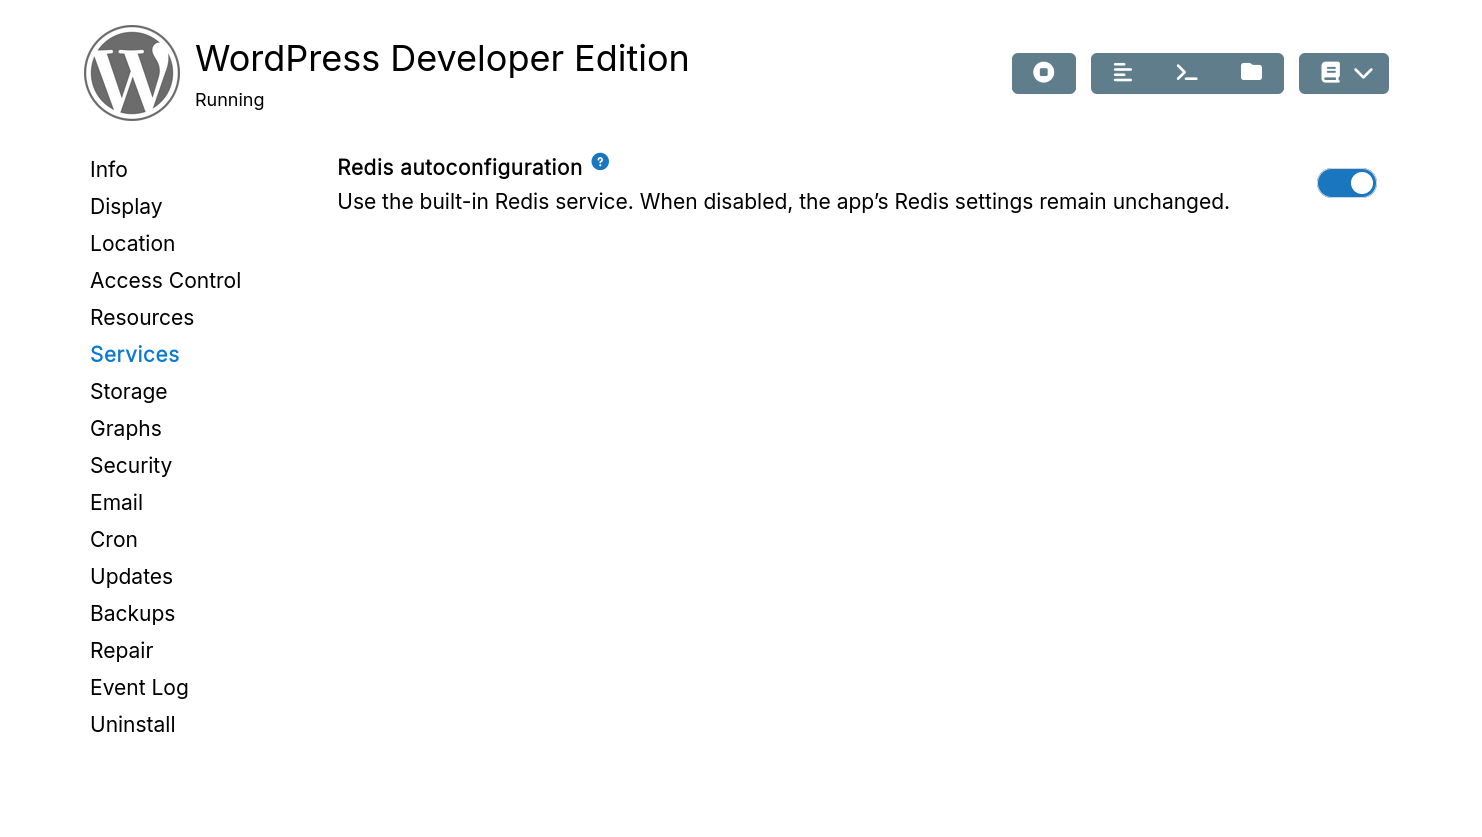
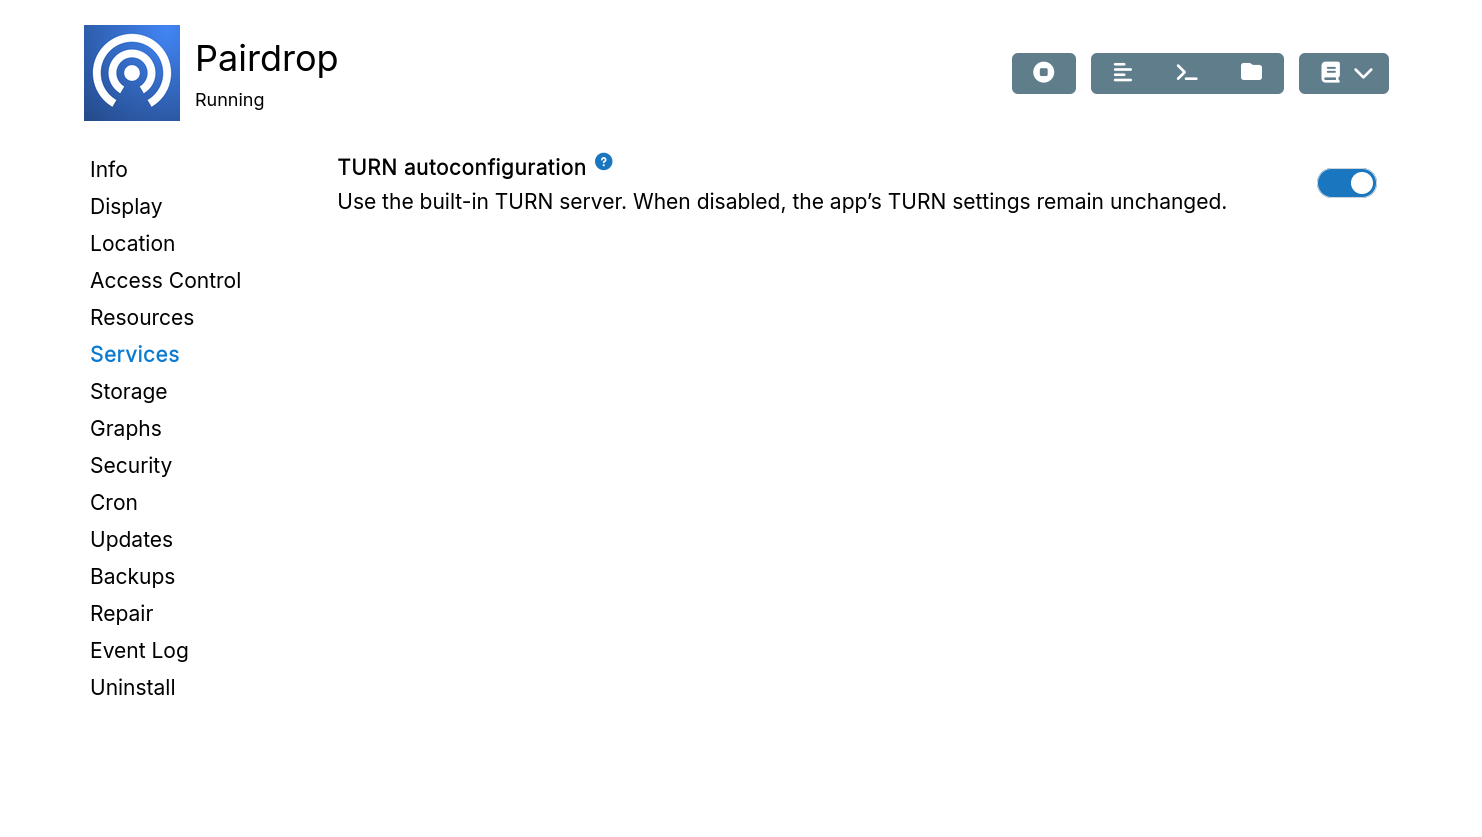
Services
Services like databases are shared between apps but remain isolated from each other. Services are provisioned and configured automatically when apps are deployed.
Some services can be marked as optional by the app package. When optional, these services are disabled by default at installation time to conserve resources.
Redis
Enable or disable Redis autoconfiguration:
TURN
Enable or disable TURN autoconfiguration:
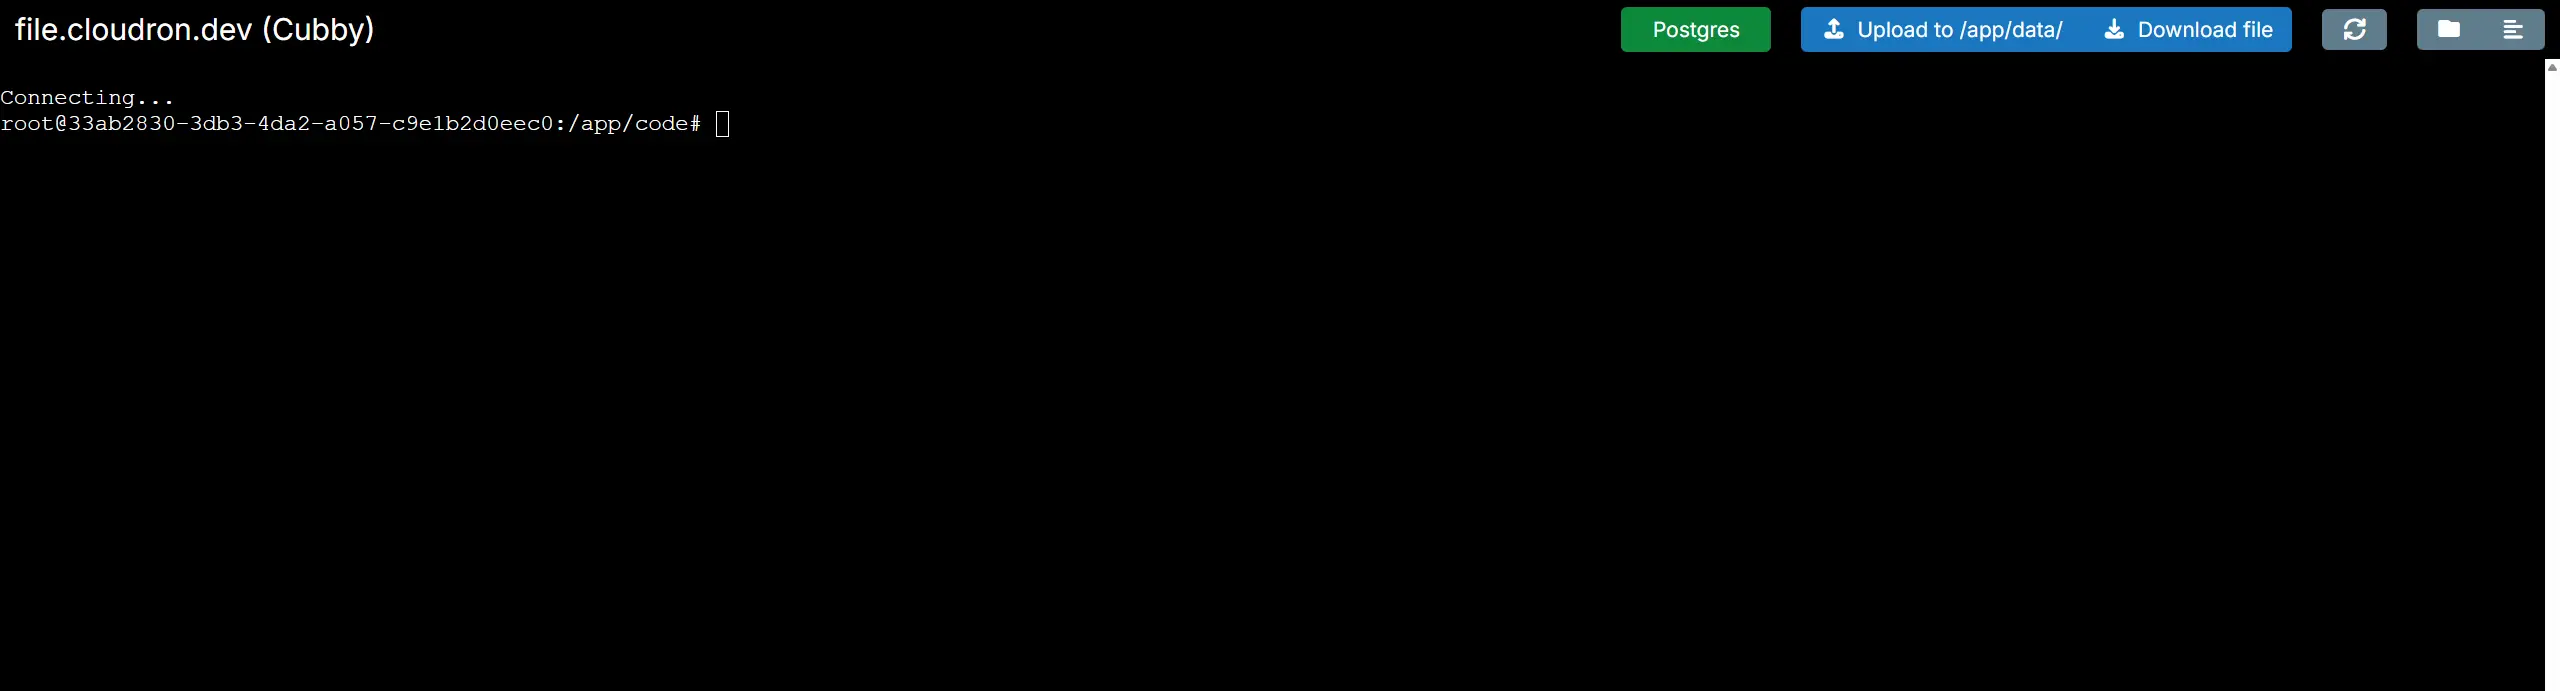
Web terminal
The web terminal provides access to an app's filesystem and databases. Apps run as containers with read-only filesystems. Only /run (dynamic data), /app/data (backup data), and /tmp (temporary files) are writable.
Access the web terminal via the Web Terminal button:
Customizing web terminal
Each app's bash terminal sources /app/data/.bashrc if it exists.
Create /app/data/.bashrc with custom options:
echo "Welcome to $CLOUDRON_APP_ORIGIN"
echo "APPID: $(uname -n)"
echo "Workdir: $(pwd)"
echo "Datadir: /app/data/"
echo "Time: $(date '+%d.%m.%Y %H:%M')"
echo "Use 'printenv | grep -i CLOUDRON' to get all platform variables"
The Web Terminal and cloudron-cli will display this:
Welcome to https://docs.cloudron.io
APPID: 3d5ad25e-3741-4506-9be2-f18b482a7800
Workdir: /app/code
Datadir: /app/data
Time: 01.07.2025 10:25
Use 'printenv | grep -i CLOUDRON' to get all platform variables
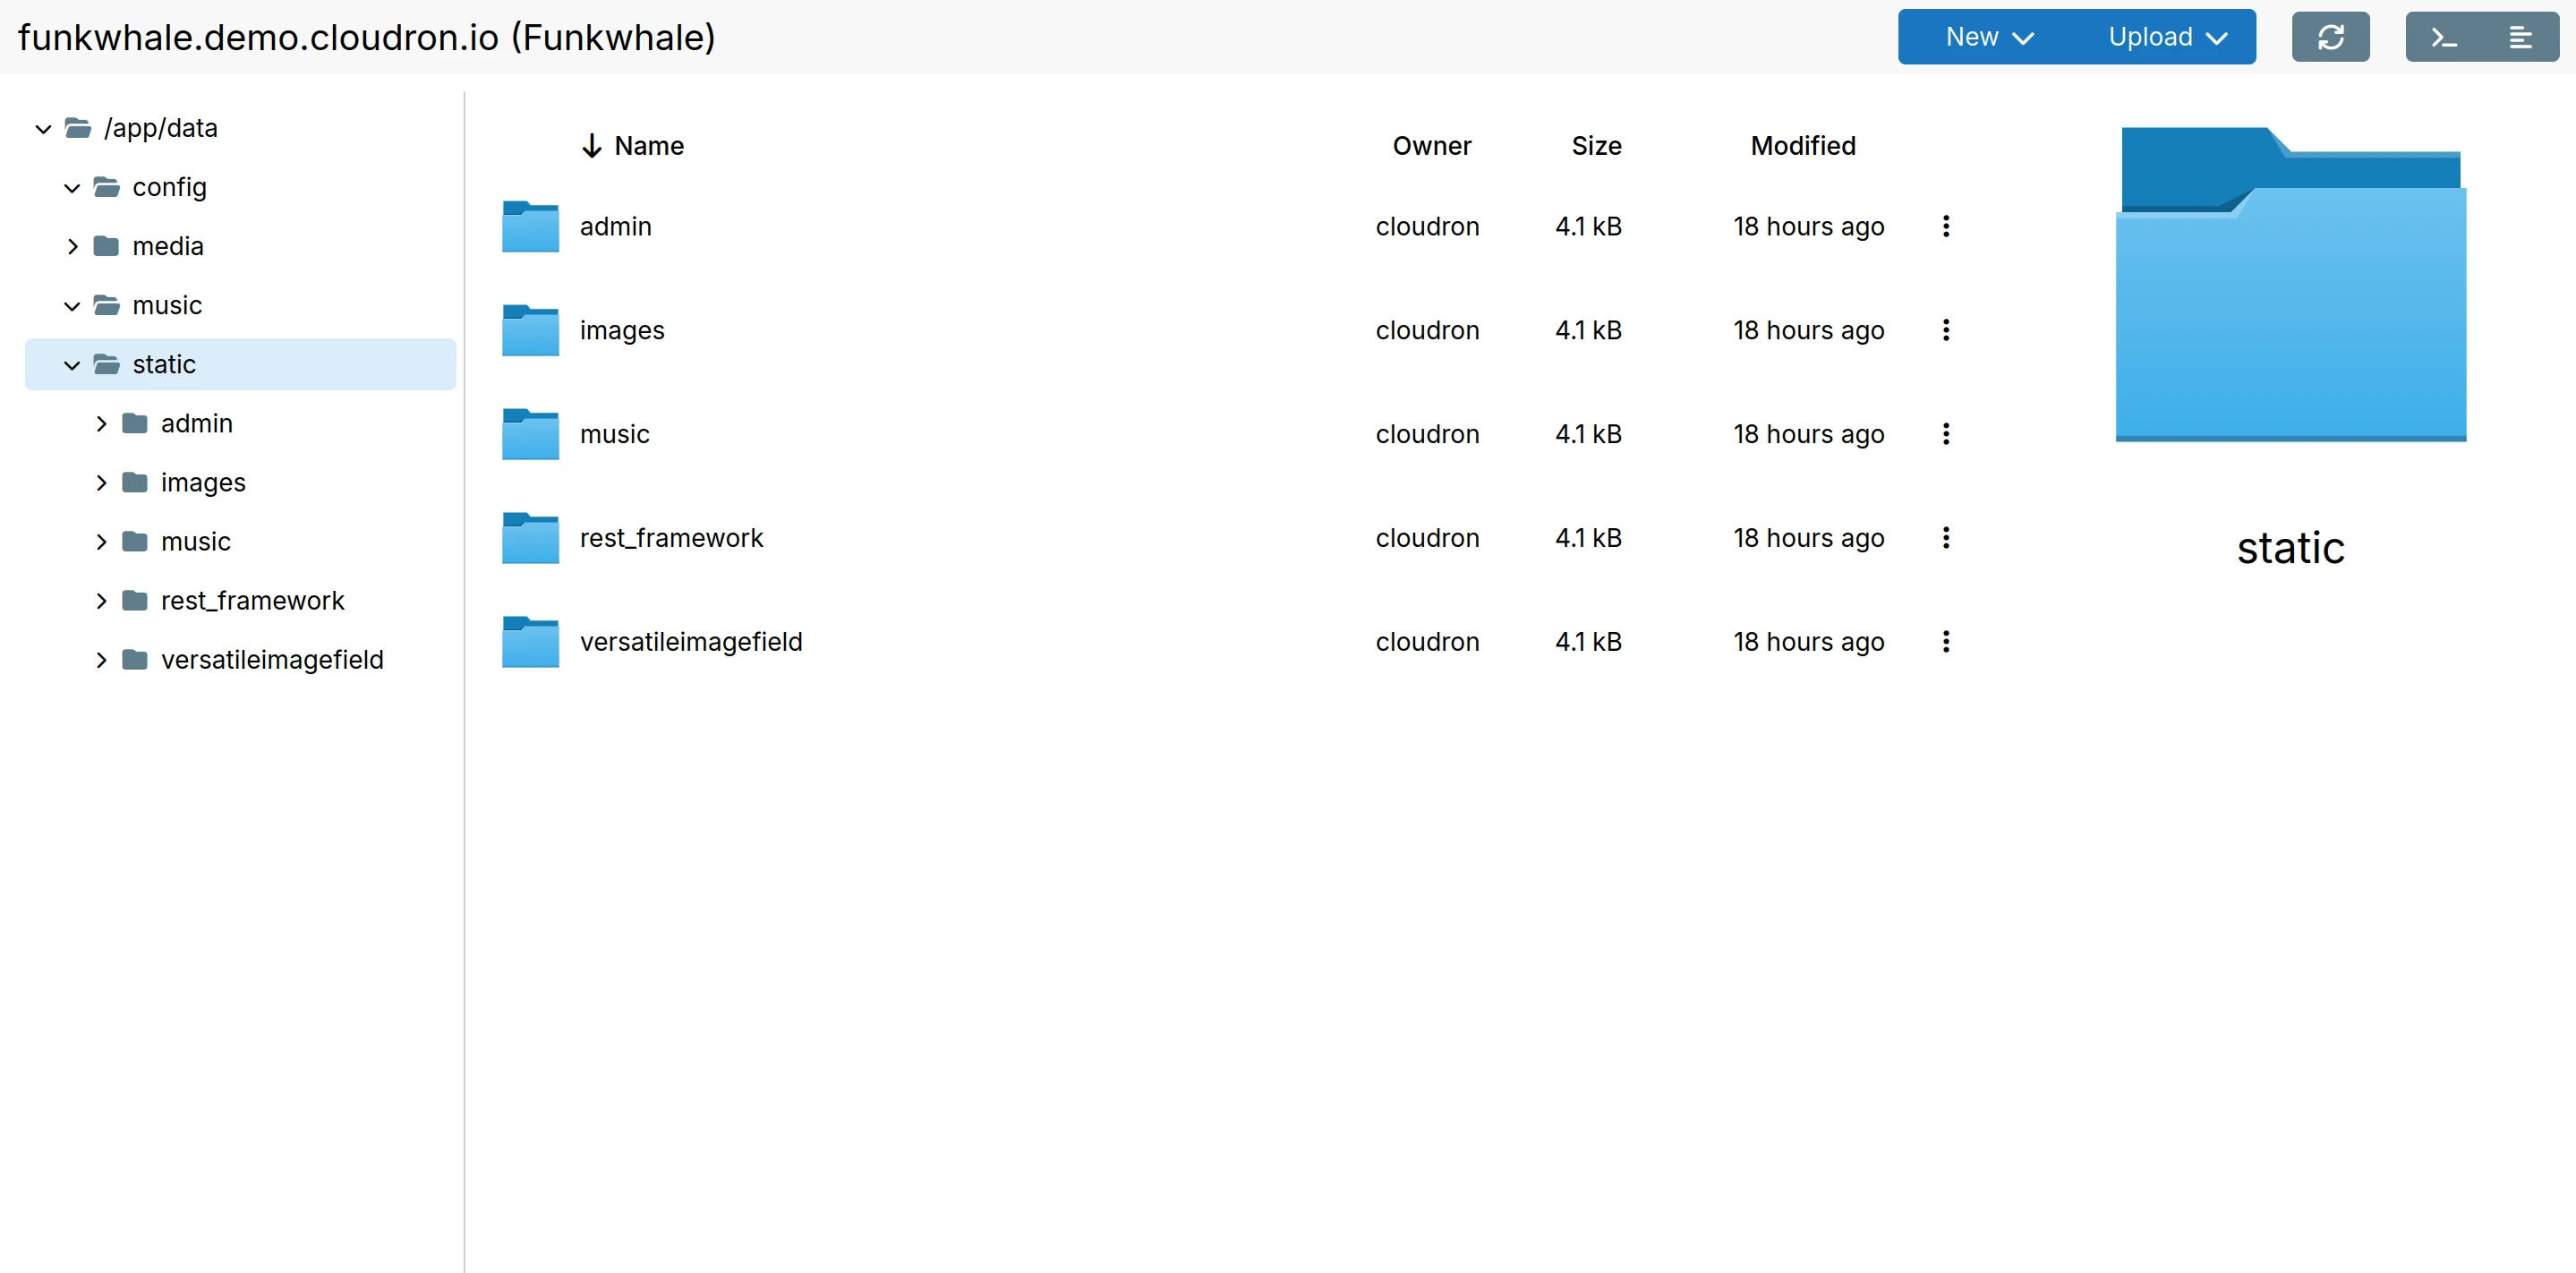
File manager
The File Manager provides access to /app/data, the app's persistent storage directory.
Access it via the File Manager button:
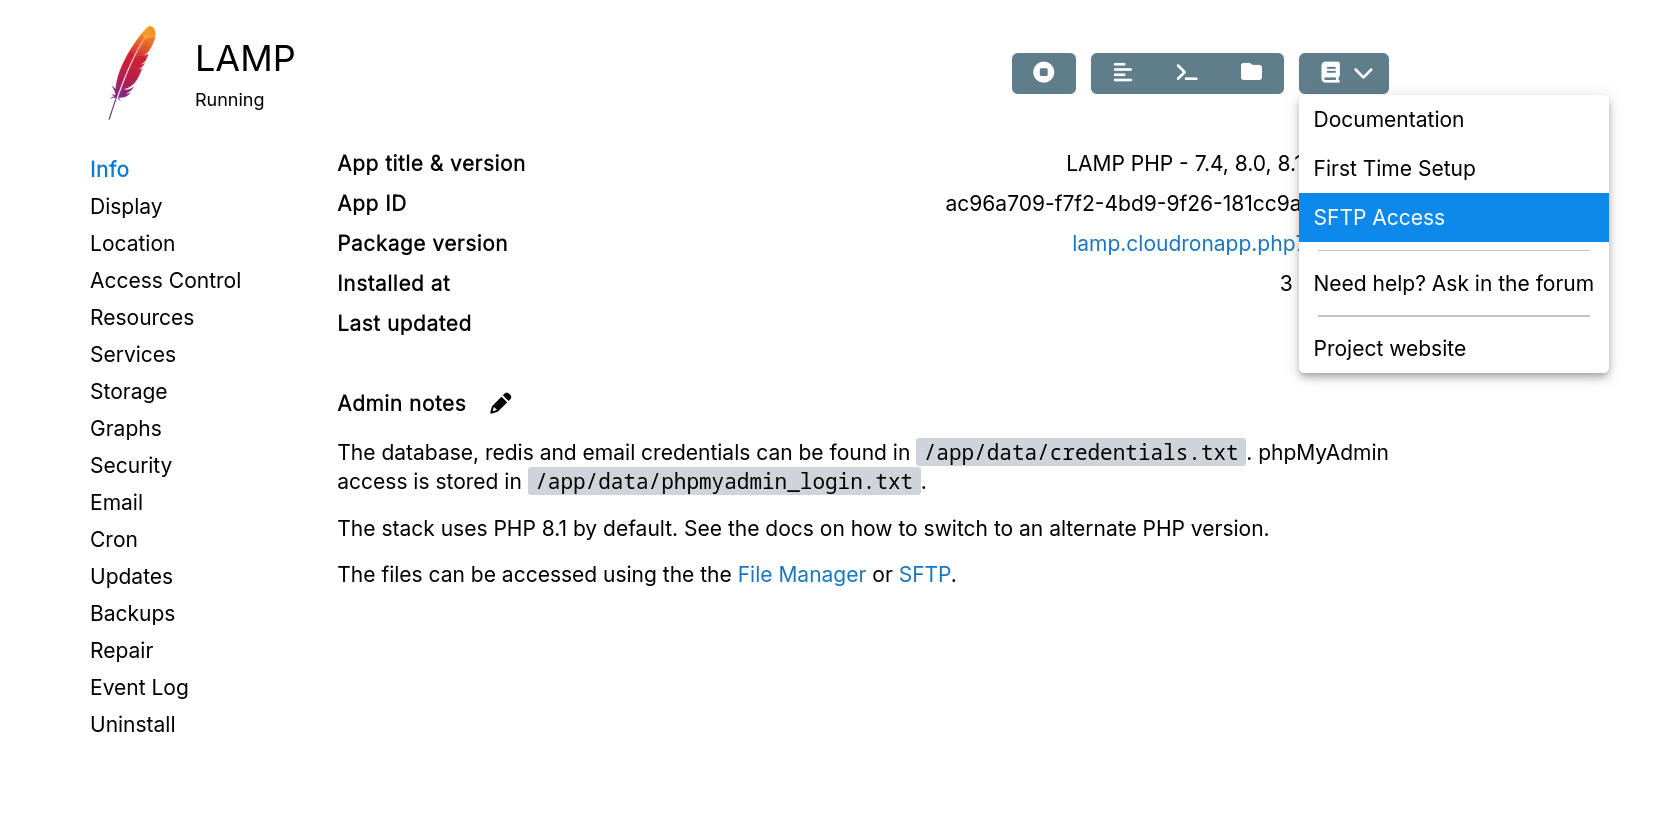
SFTP access
Use any SFTP client to view and upload files. SFTP access is only available for apps where direct file editing is supported (e.g., WordPress, LAMP, Surfer).
Only admins have SFTP access. Make a user an operator to grant SFTP access to a specific app.
Connect with an SFTP client like FileZilla:
Host-sftp://my.cloudron.space(host is the same for SFTP access to all apps)Username-girish@lamp.cloudron.space(username is different for SFTP access to each app)Password- Platform password (password is the same for SFTP access to all apps)Port- 222
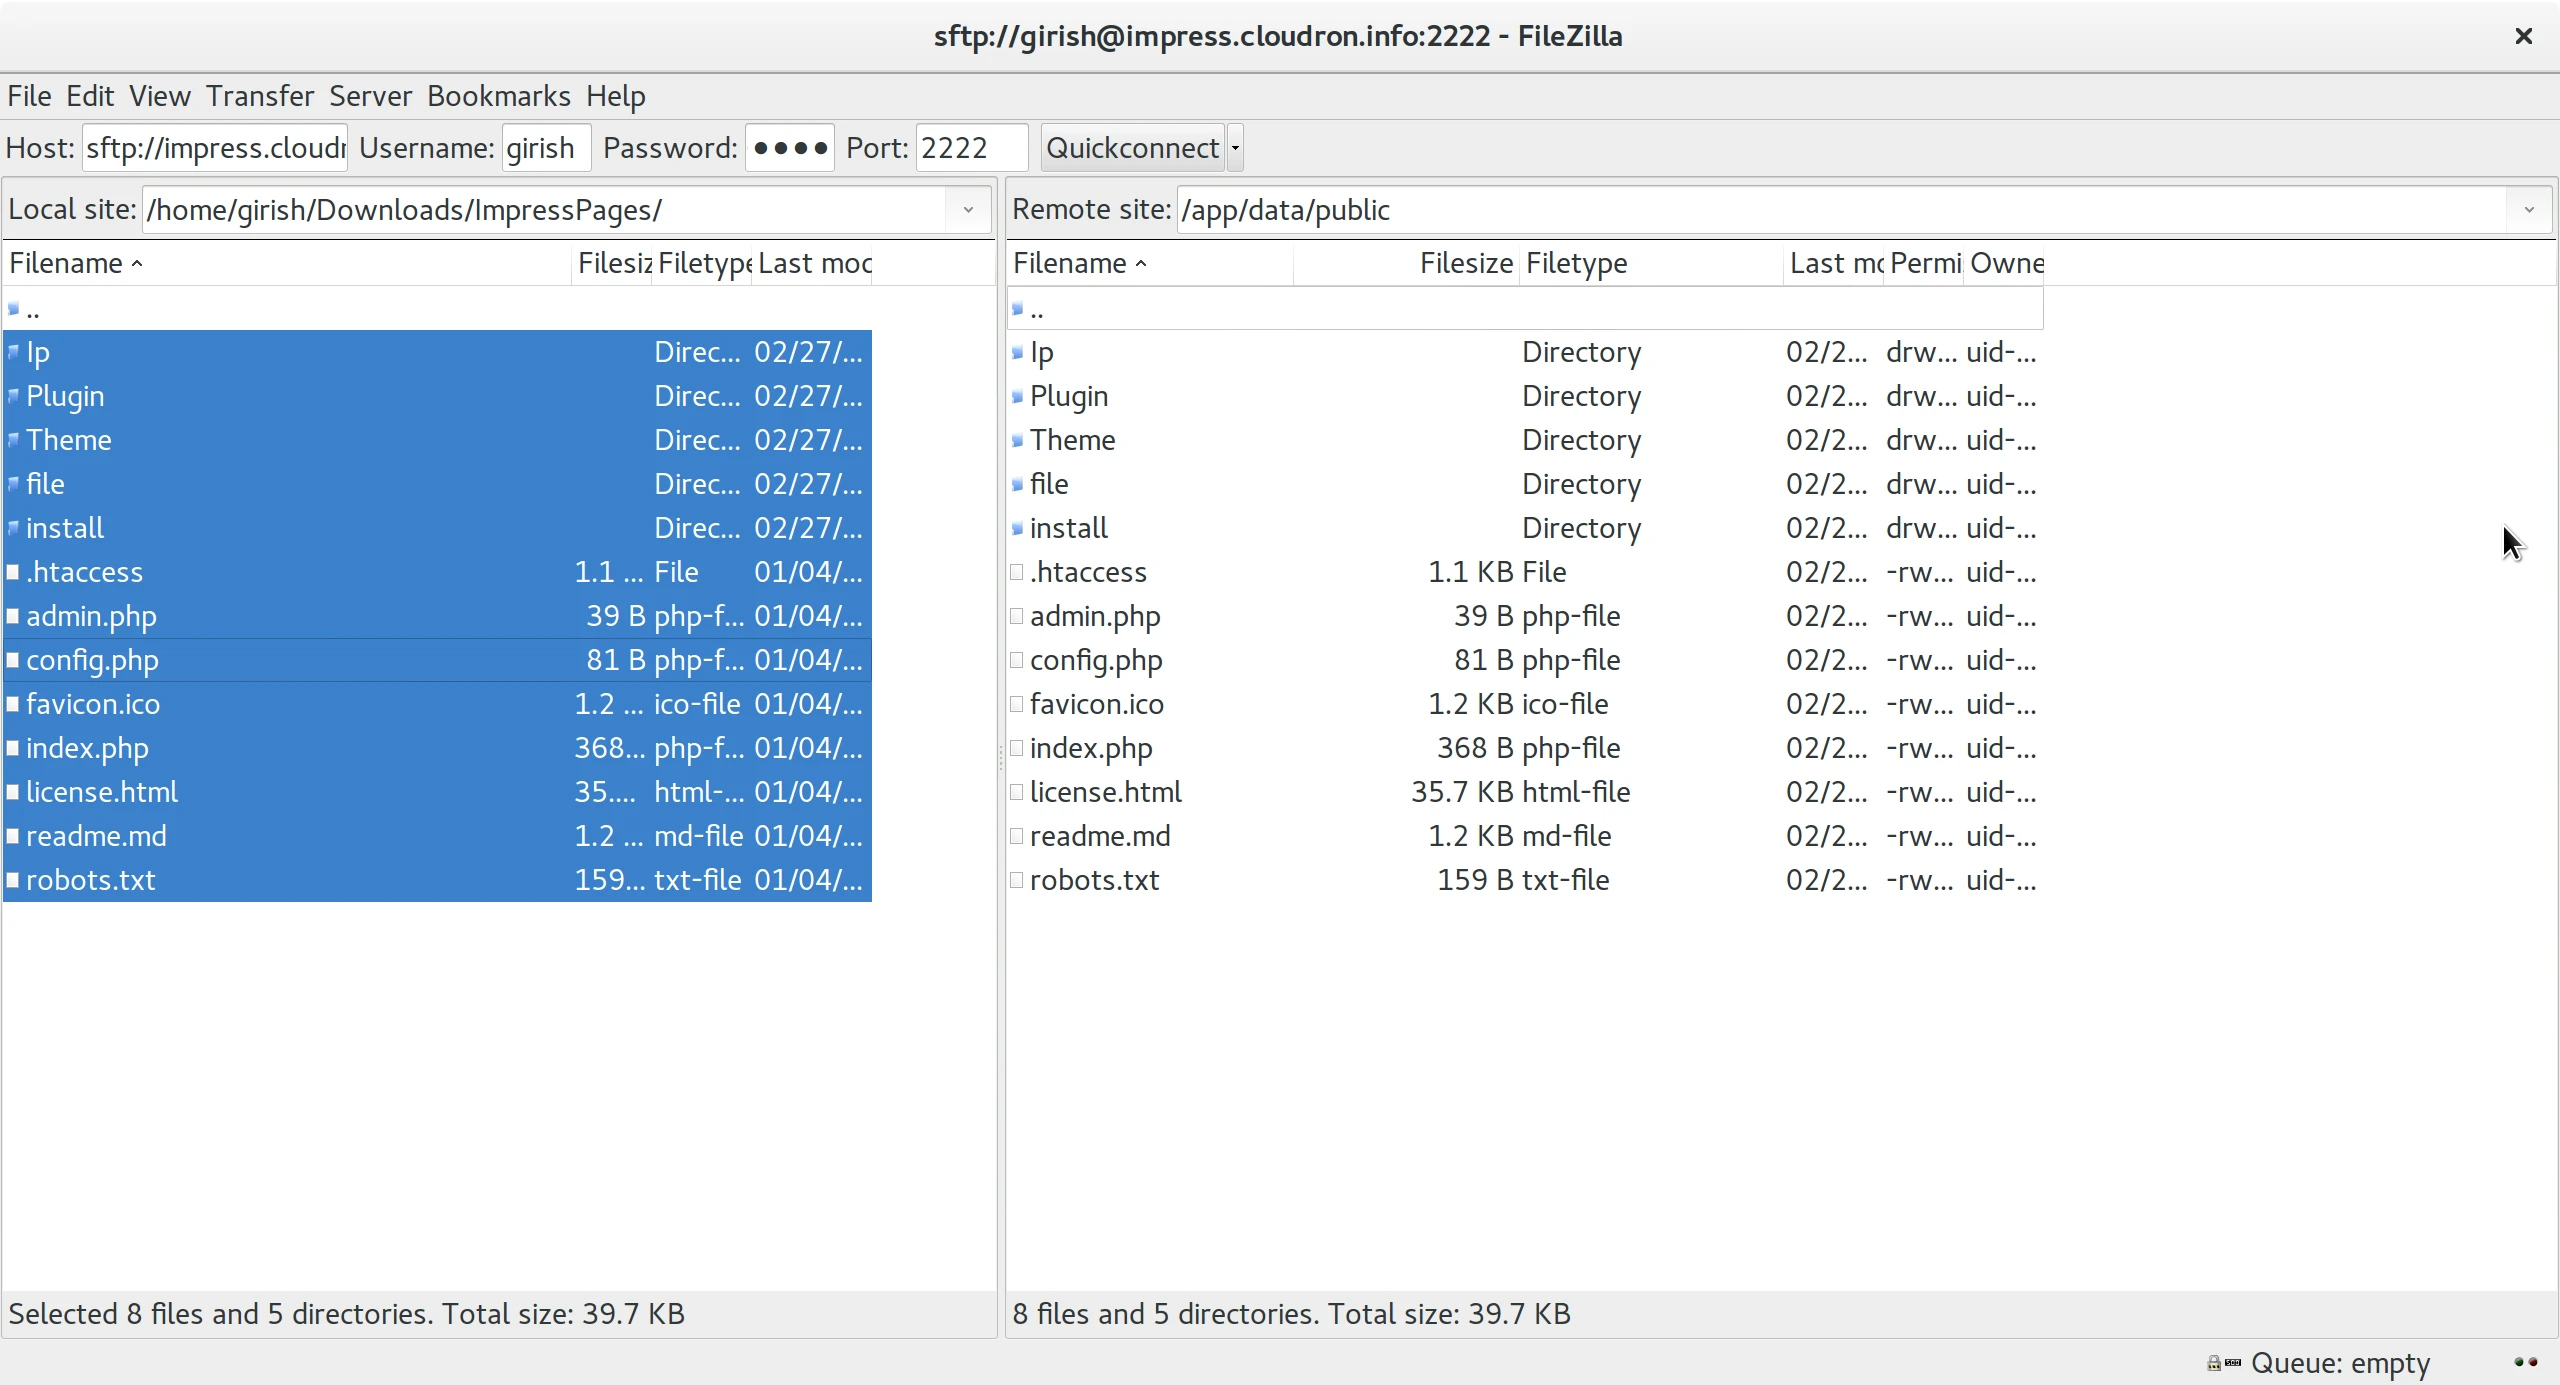
SFTP runs on port 222. The server firewall allows this port, but whitelist it in your cloud firewall (e.g., EC2 Security Group, DigitalOcean Firewall). For Cloudflare-proxied domains, connect using the server IP instead of the domain.
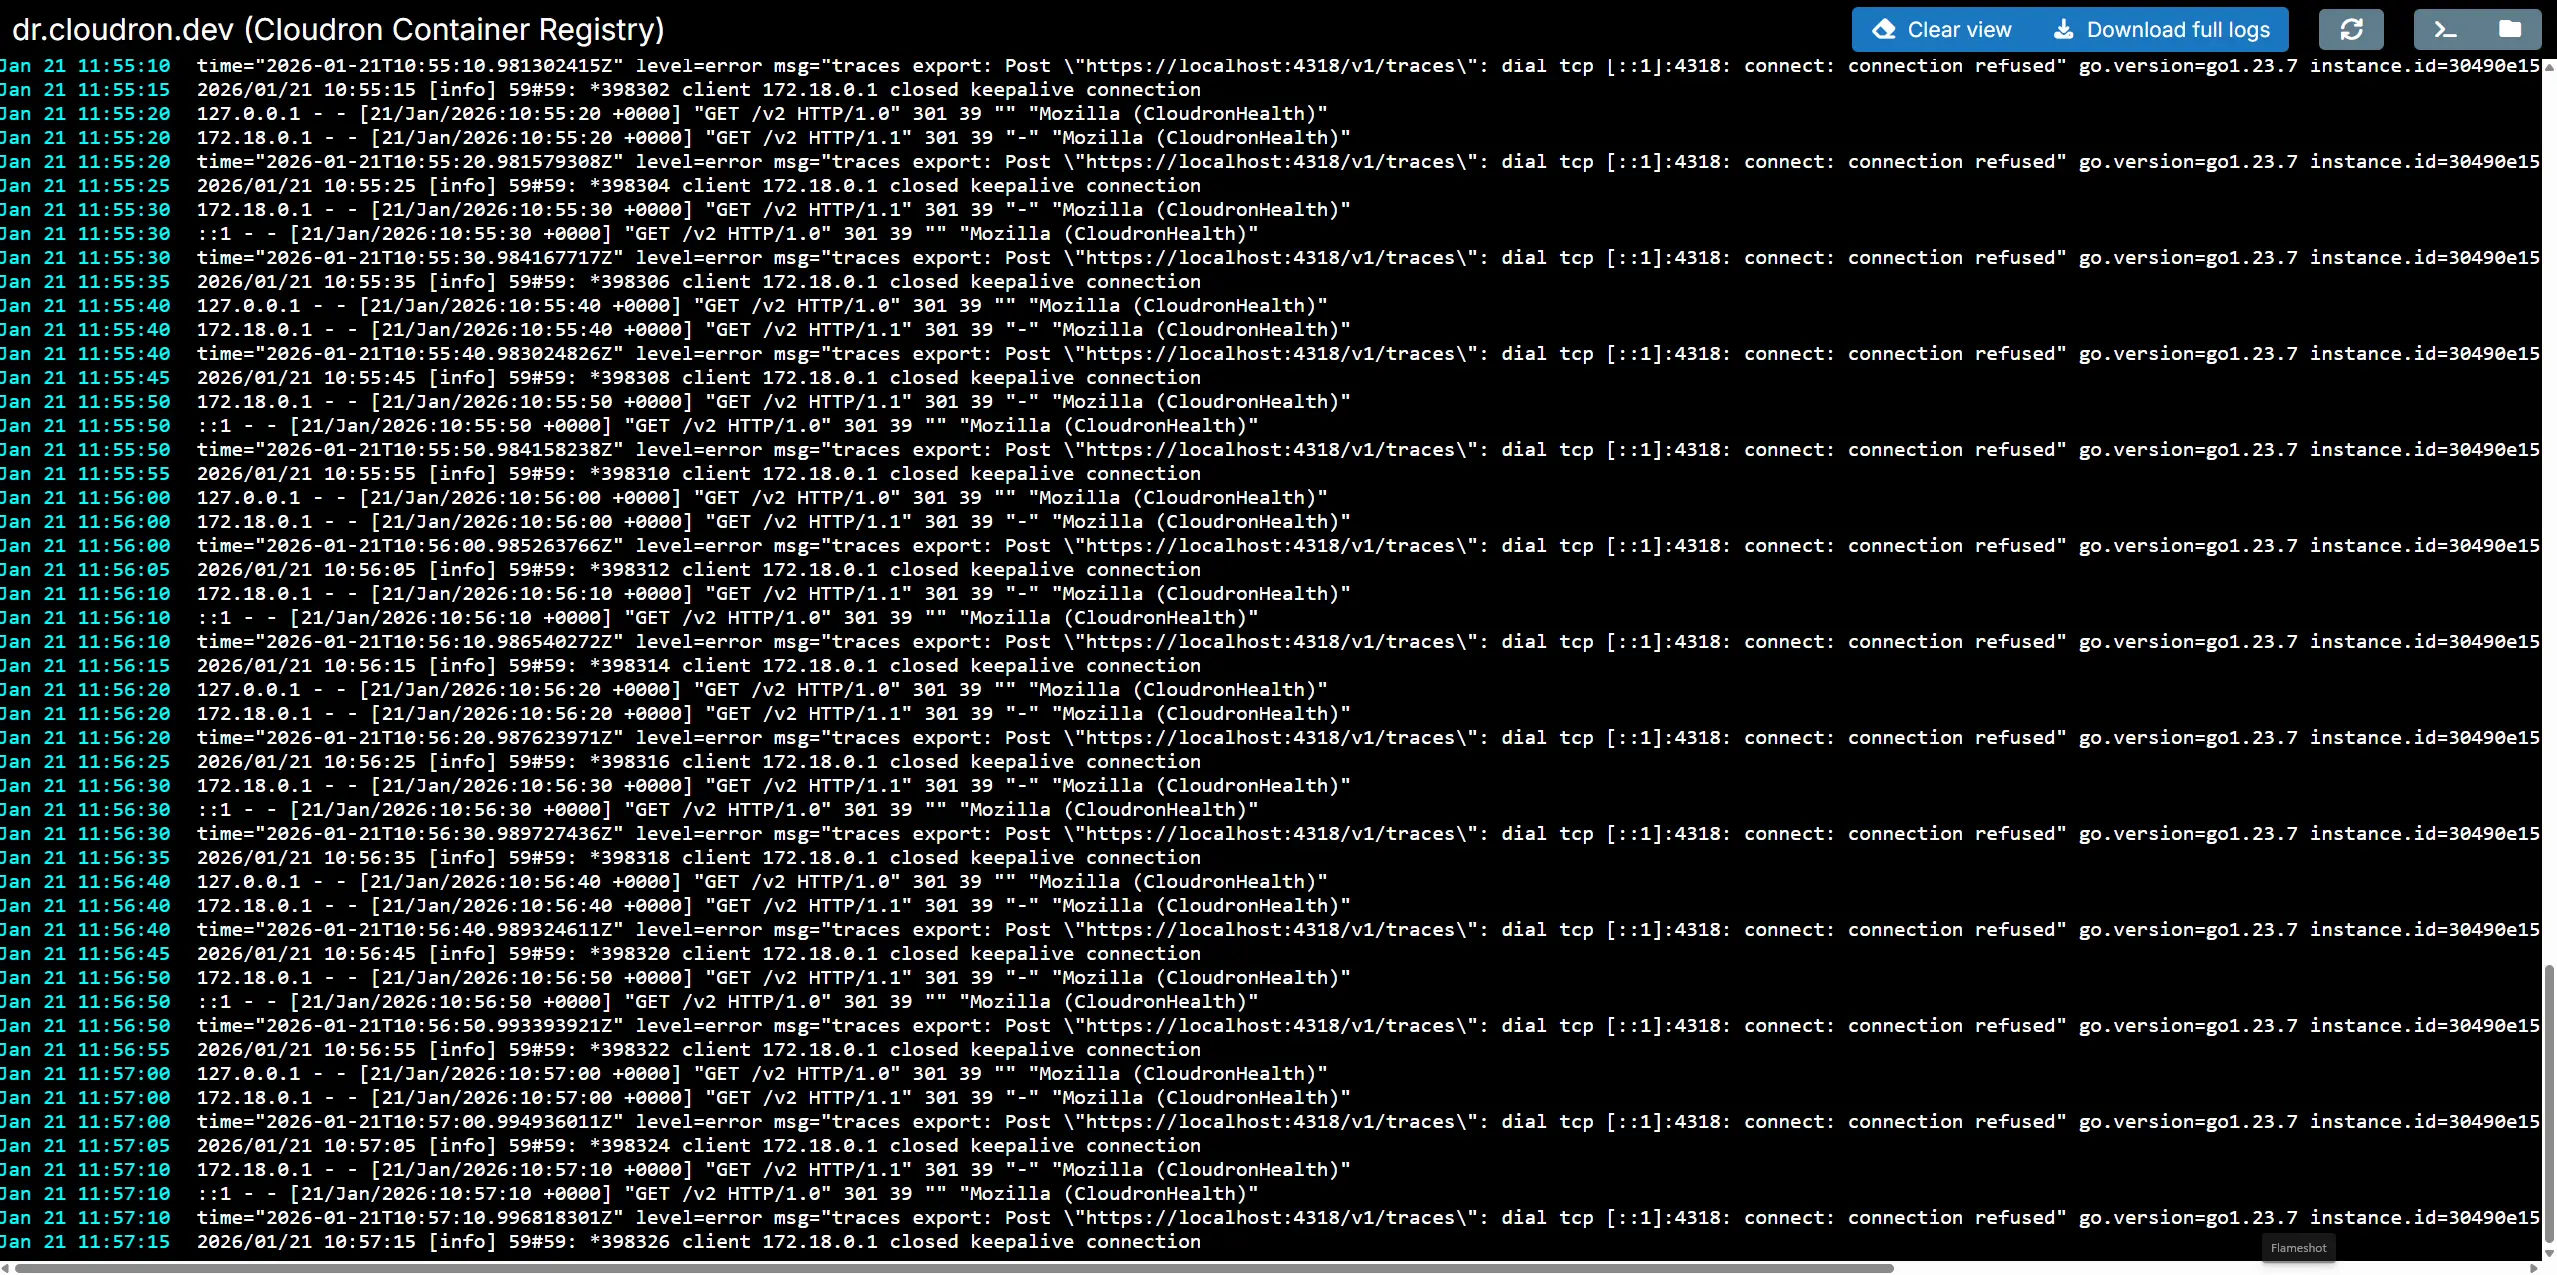
Log viewer
Up to 10MB of current logs plus one rotated log are retained per app. Logs older than 14 days are removed. Raw logs are at /home/yellowtent/platformdata/logs/<appid>/.
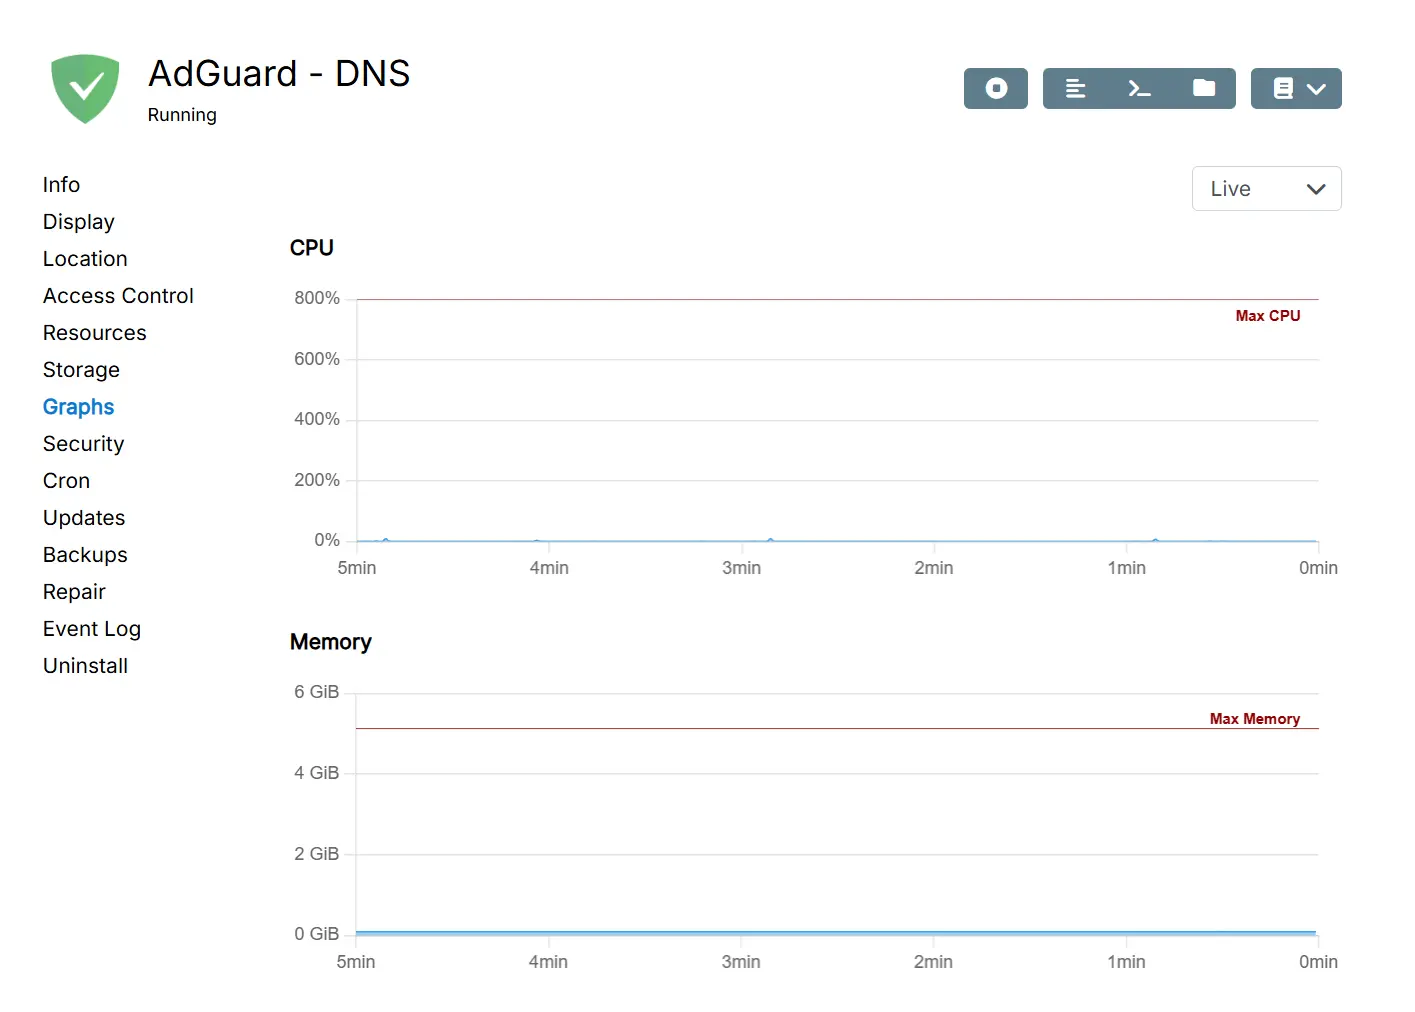
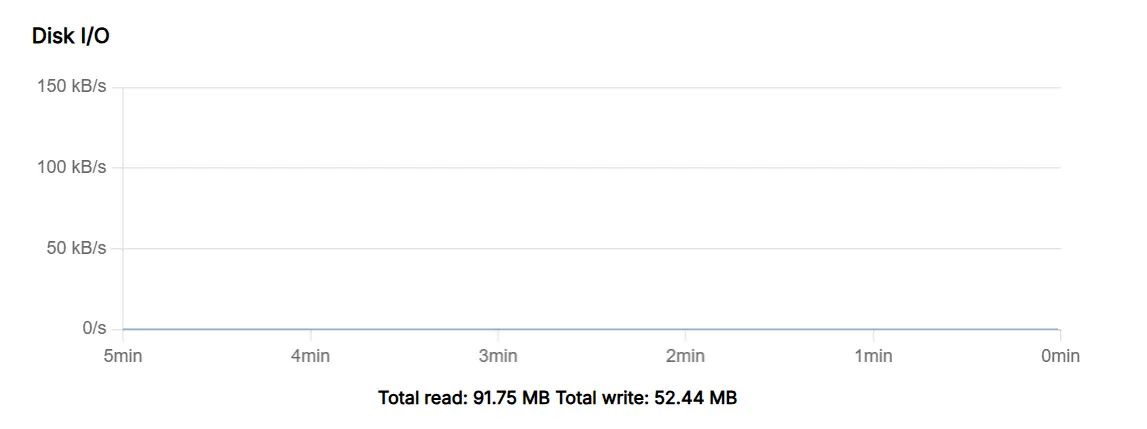
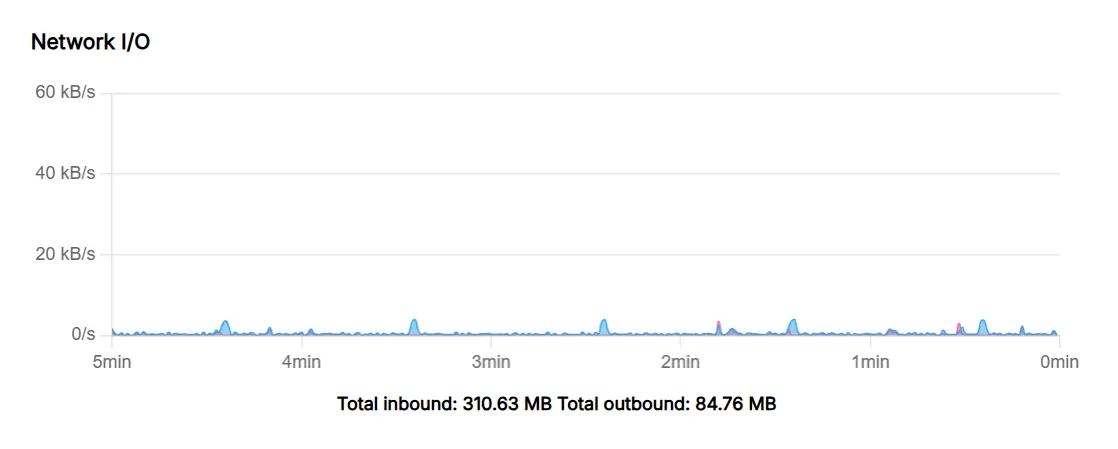
Graphs
The Graphs view shows live and historical CPU, disk, network and memory usage of the app.
Stop app
Stop app:
Restart app
Restart app:
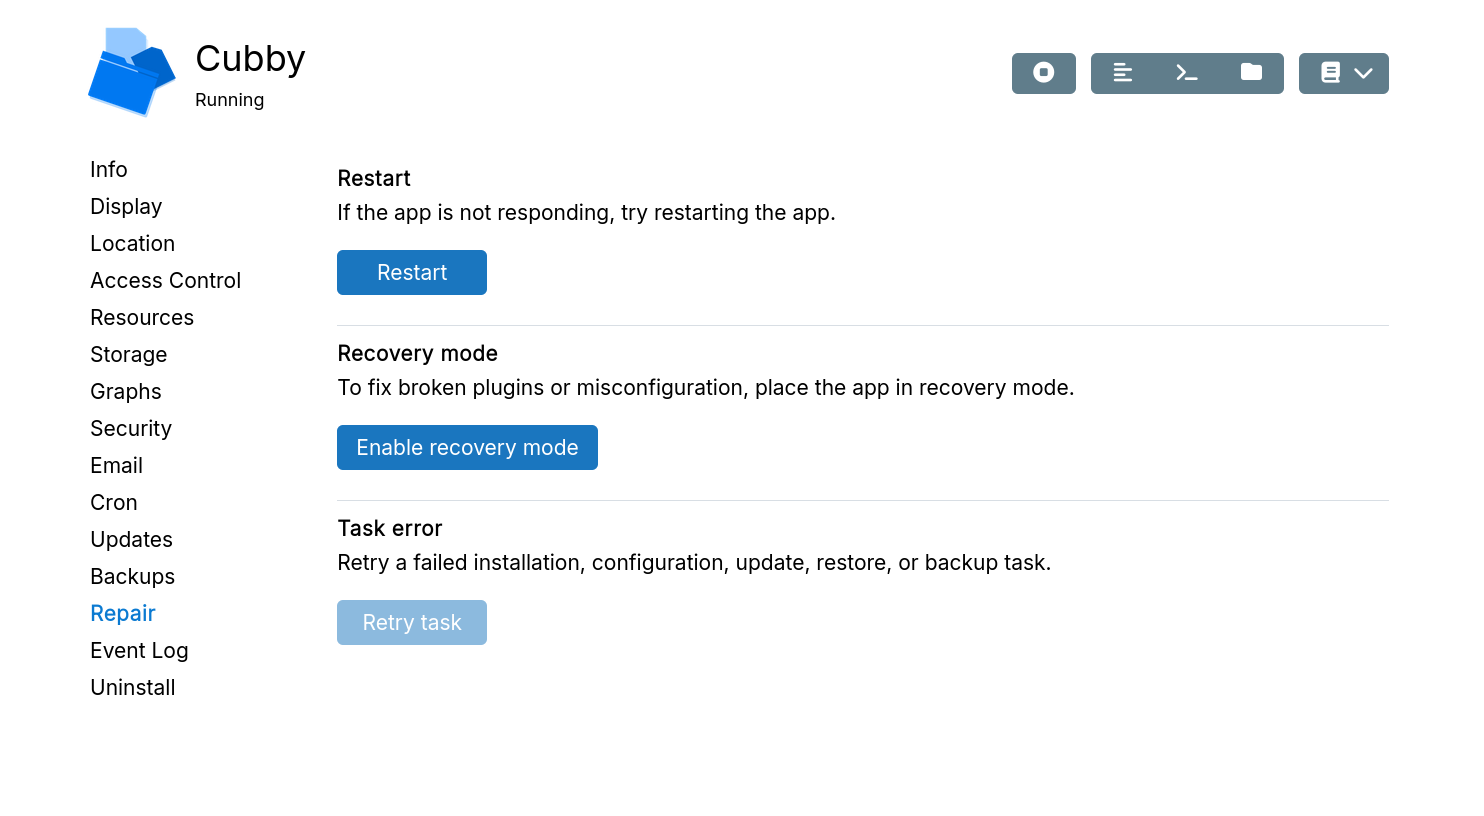
Recovery mode
Recovery mode helps debug apps that crash or misbehave. For example, use it to disable problematic extensions or plugins.
In recovery mode:
-
The app starts paused. Run
/app/pkg/start.shmanually in the Web Terminal to identify crash points. -
Access app databases via the buttons at the top of Web Terminal.
-
The entire filesystem becomes writable (normally read-only). Code changes are lost when exiting recovery mode.
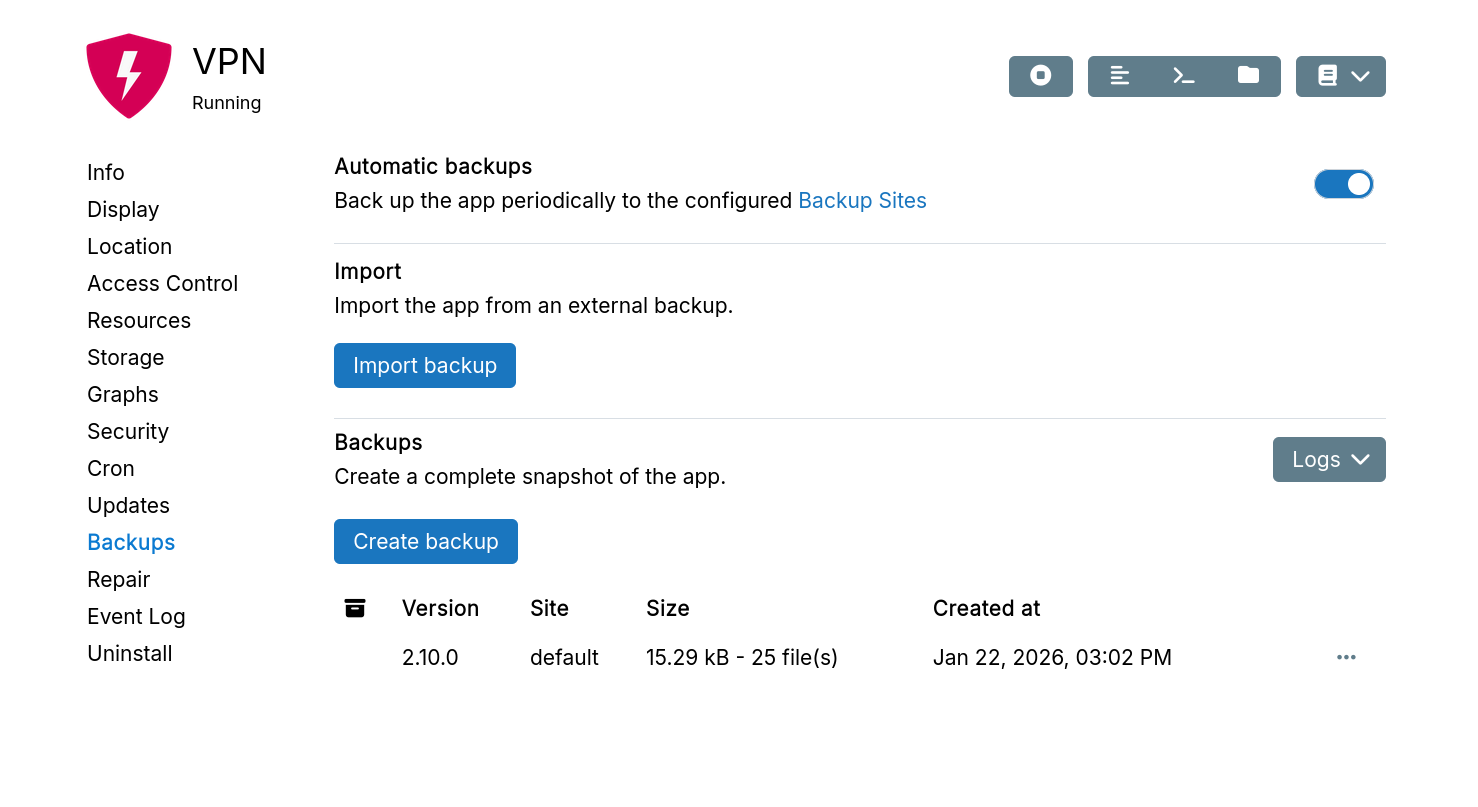
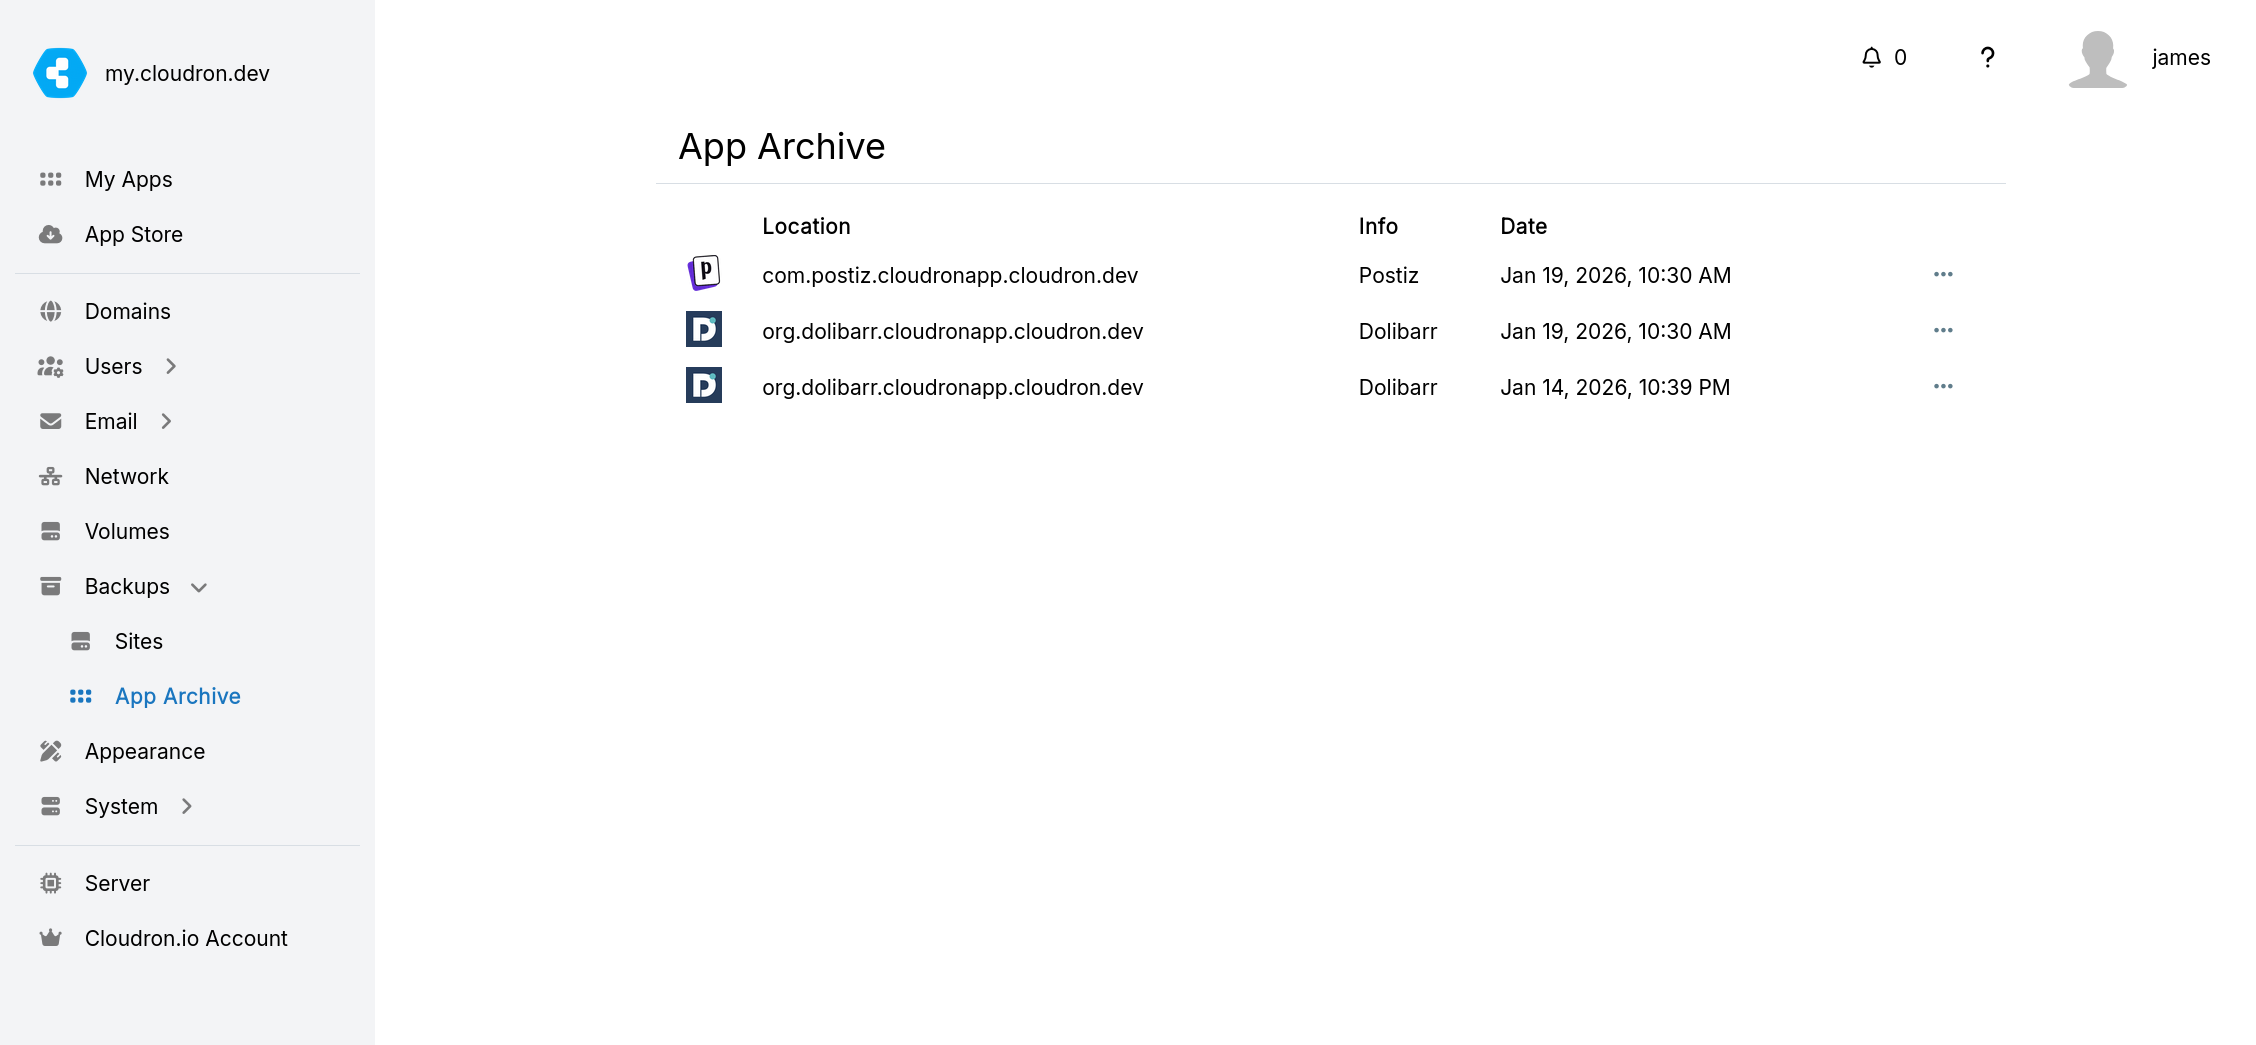
Archive
Archiving removes app data from the server like uninstalling. However, unlike uninstalled apps, the latest backup is kept forever, unaffected by Cleanup policy.
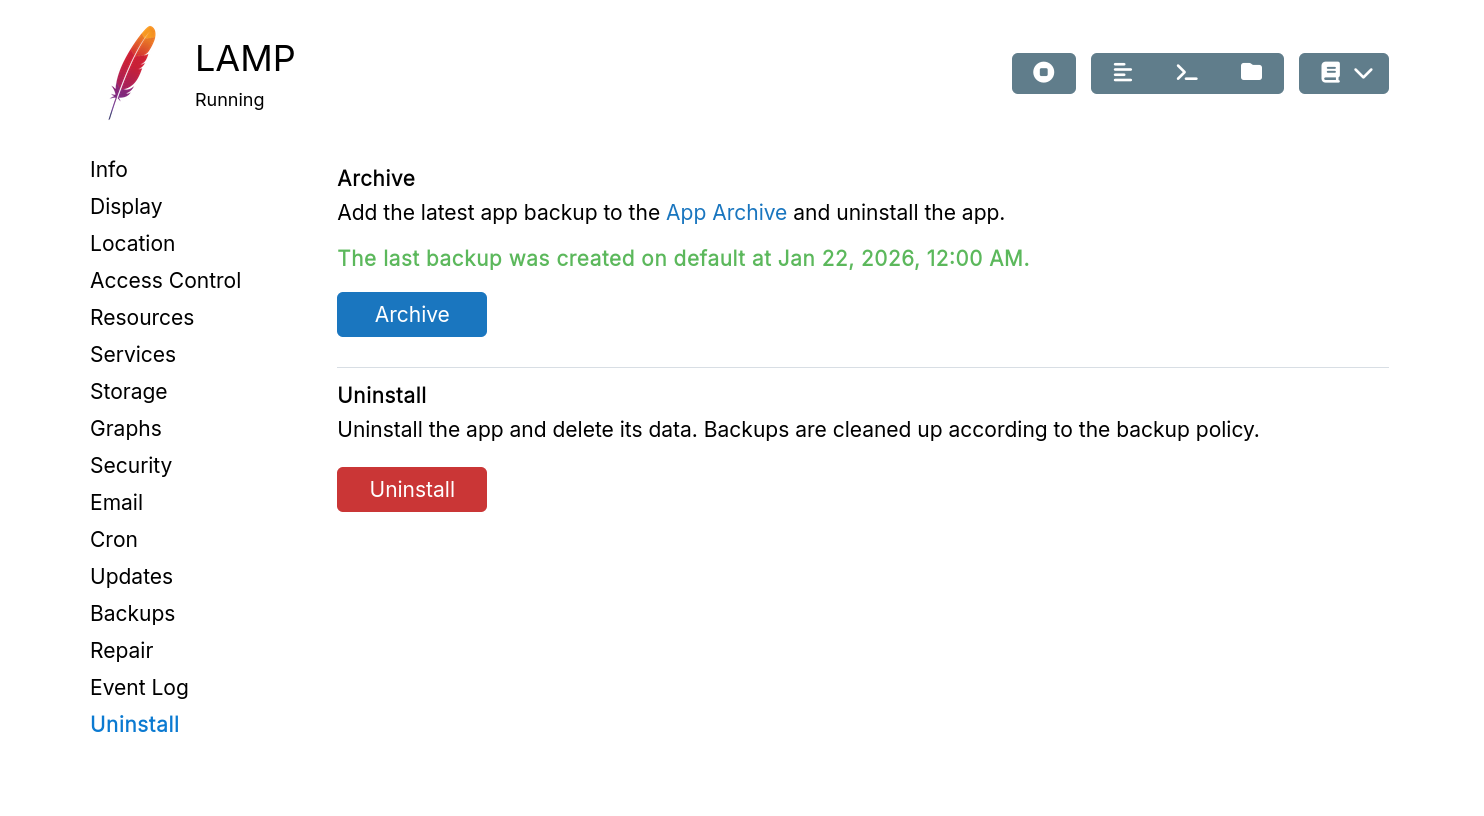
The app moves to App Archive in Backups for easy restoration. Uninstalled apps require App Import for restoration. Deleting from App Archive removes the associated backup per Cleanup policy.
Uninstall
Uninstalling immediately removes all app data from the server. Backups remain until removed by Cleanup policy. You can always restore an app using App Import as long as app backups exist.
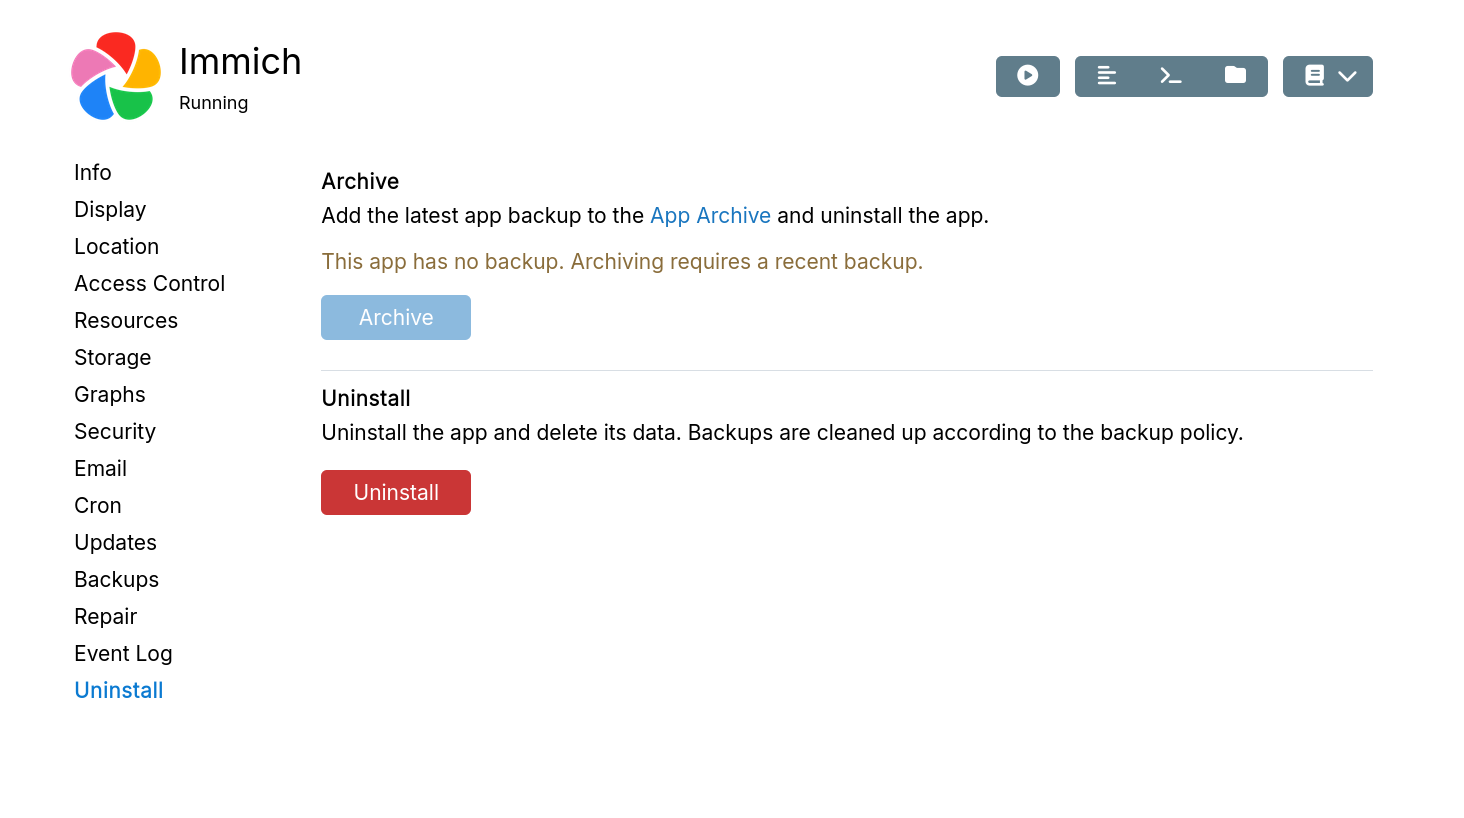
If the app might be useful later, archive instead. This frees server space while enabling easy restoration.
Versioning
Two independent versions are associated with an app, shown in the info section:
Package version- Uses semver for app packages.App versionorUpstream version- App version format varies wildly. It can be date based, semver, git commit based, numbers etc.
Install specific version
Installing from App Store uses the latest package. To install a specific version:
-
Find the package version in the repo's
CHANGELOG. App packages are at https://git.cloudron.io/cloudron with the-appsuffix. For example, Managed WordPress, GitLab, Espo CRM. WordPress 6.4.3 is in Package Version 3.6.1. -
Go to
App Storeand select the app:
-
Add
?version=3.6.1to the URL and press enter. -
Install the app.
Disable automatic app updates to stay on the installed version.
Troubleshooting
Follow these steps if an app is not starting up properly:
-
Check app logs for errors.
-
For transient errors (e.g., database connectivity), restart the app.
-
Verify services are running in the
Servicesview. See Services troubleshooting if not. -
Use recovery mode for debugging.
-
For plugin, theme, or extension issues, use app-specific tools. WordPress plugins can be disabled with WP CLI; Nextcloud uses occ. See app docs under
Appsin the sidebar. -
Test startup by running
/app/pkg/start.shor/app/code/start.shvia Web Terminal. -
Disable recovery mode when fixed to start the app.