Migrate existing WordPress installation to Cloudron
Overview
Migrate a WordPress installation from another server or service to Cloudron using one of two approaches. Choose the method based on the tools available in your existing hosting environment.
Migration without a plugin
This approach requires access to a File Manager for downloading site content and PHPMyAdmin for creating a database dump.
Export WordPress
Export the contents of your existing WordPress installation:
- Export the
wp-content/folder on the origin server to awp-content.zipfile. - Export the database on the source server to a
.sqlfile. In PHPMyAdmin, select all tables and export towordpress.sql.
Install WordPress on Cloudron
Install the WordPress Developer app on Cloudron.
Import WordPress content
Go to the file manager of the WordPress installation and navigate to the public/ folder:
- Upload the
wp-content.zipfile. - Delete the existing
wp-content/folder. - Unzip
wp-content.zip. - Change ownership of the unzipped
wp-content/folder towww-data.
Import WordPress database
Upload the wordpress.sql database dump to /app/data. Open the Web Terminal and run:
# cd /app/data
# WP db reset
# WP db import wordpress.sql
Verify
The migration is complete. Restart the app to verify the site works across restarts.
Replacing urls
Some WordPress core files, themes, and plugins store full URLs in the database instead of relative URLs. Replace strings in the database using the WP CLI search-replace subcommand.
Open a Web Terminal and run:
# sudo -E -u www-data /app/pkg/wp --path=/app/data/public/ search-replace 'https://old.cloudron.space' 'https://new.cloudron.space'
# sudo -E -u www-data /app/pkg/wp --path=/app/data/public/ cache flush
Migration with all-in-one WP migration plugin
This approach requires installing the All-in-One WP Migration plugin on your existing site.
Export WordPress
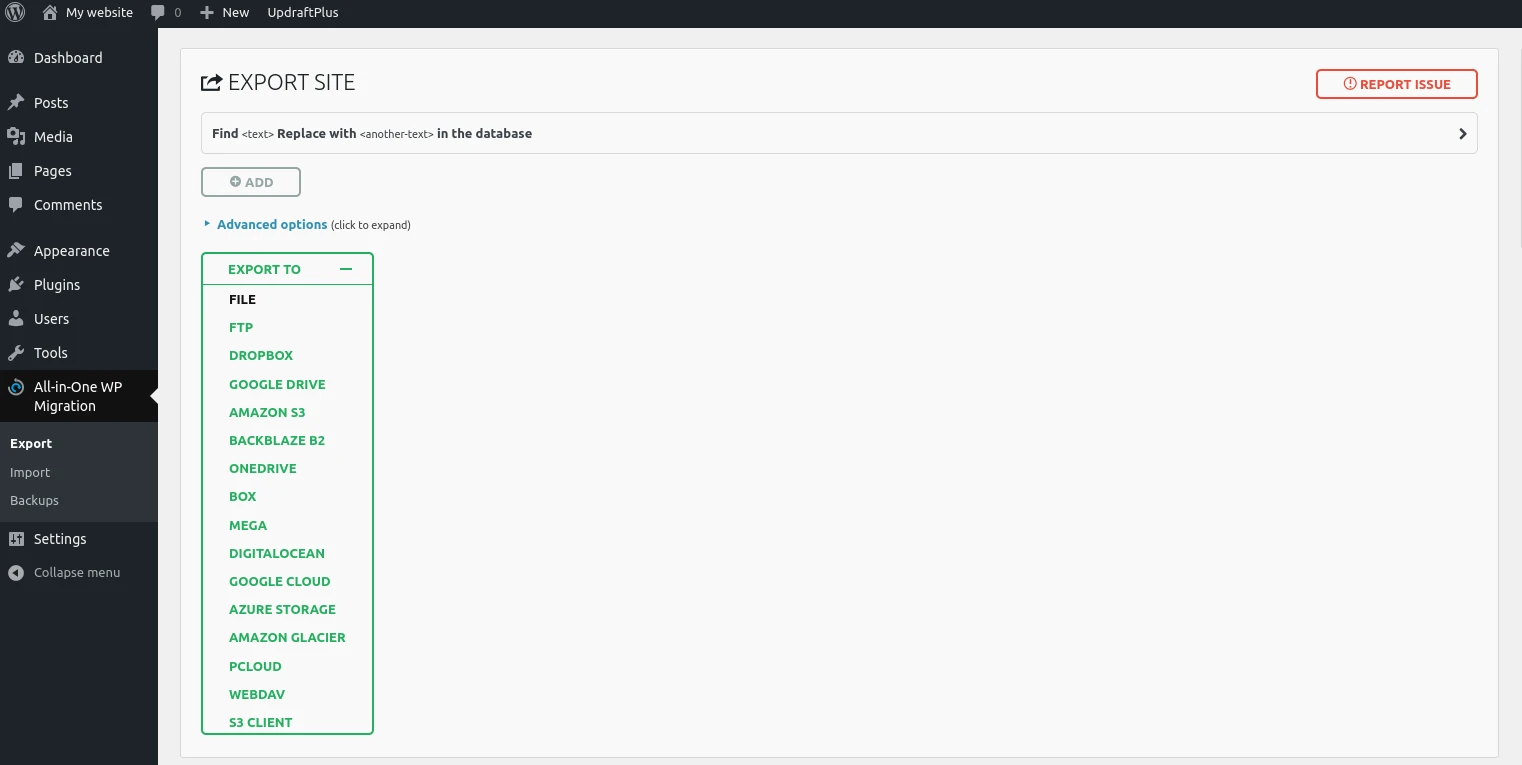
- Install and activate the
All-in-One WP Migrationplugin. - Click
All-in-One WP Migrationin the side pane and select Export to file. - Download the migration file (
.pressextension).
Install WordPress on Cloudron
Install the WordPress Developer app on Cloudron.
Import WordPress content
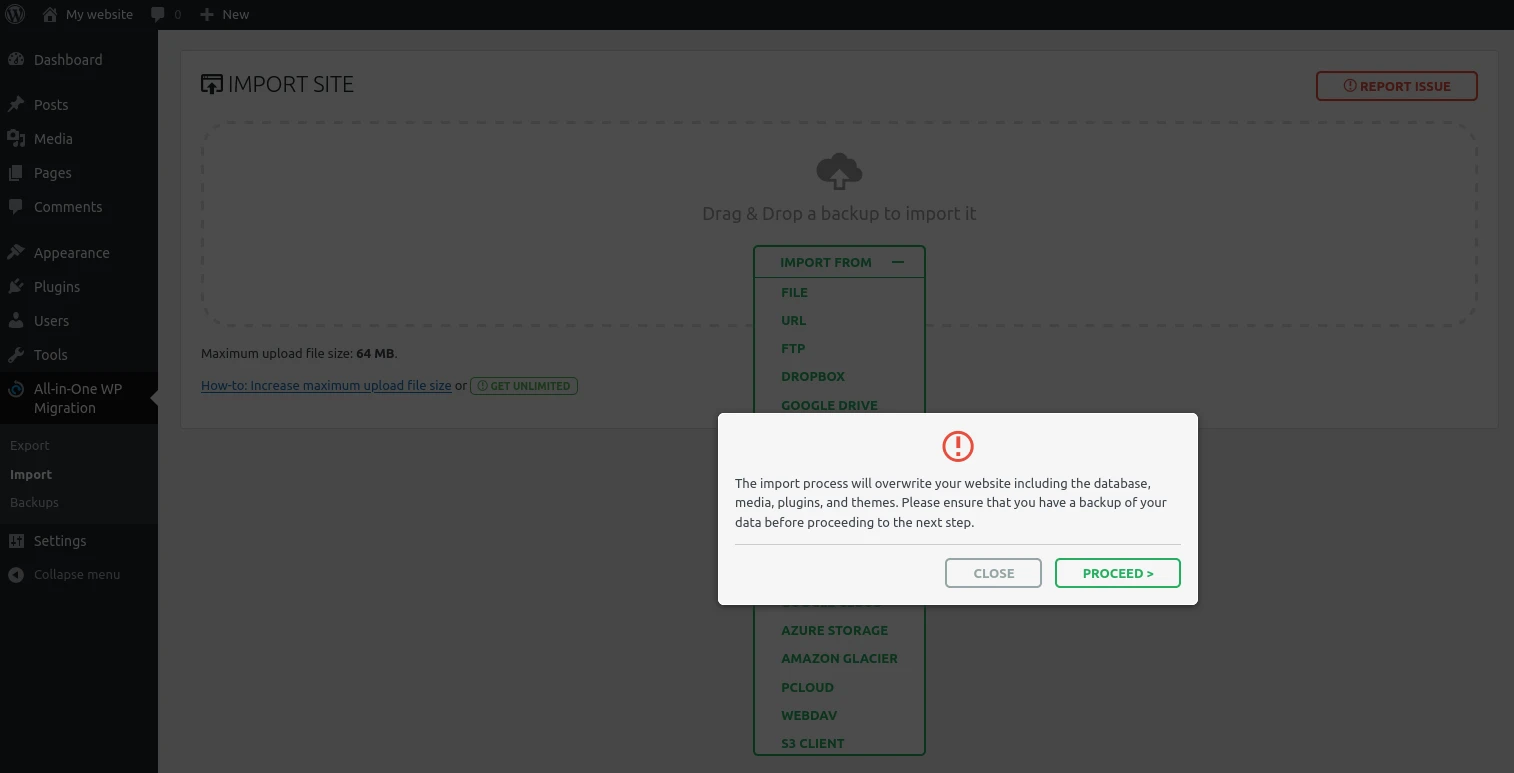
- Install and activate the
All-in-One WP Migrationplugin on the Cloudron installation. - Click
All-in-One WP Migrationin the side pane and select Import.
Verify
The migration is complete. Restart the app to verify the site works across restarts.
Migration with UpdraftPlus plugin
This approach requires installing the UpdraftPlus plugin on your existing site.
Export WordPress
- Install and activate the
UpdraftPlusplugin. - Create a backup.
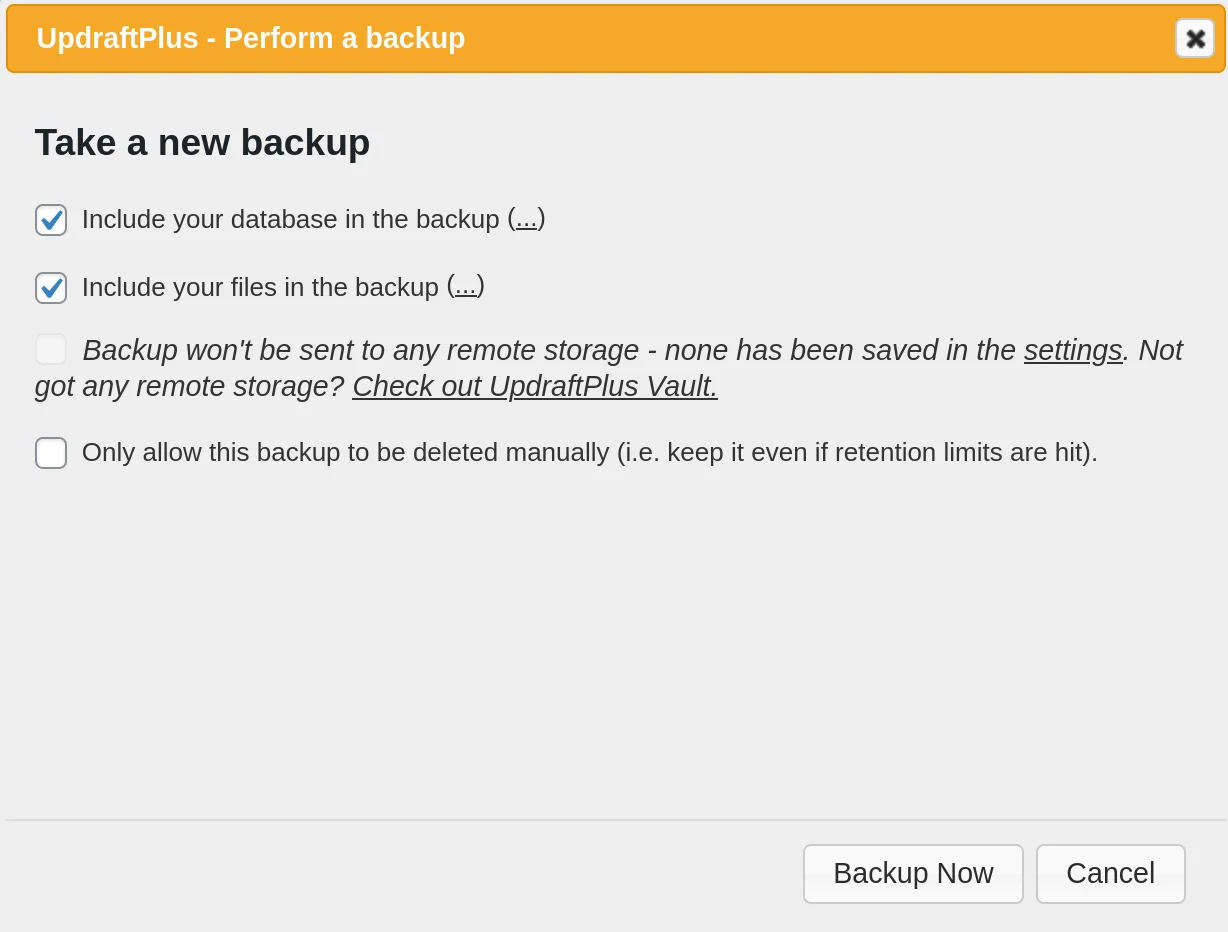
- Download all backup files after the backup completes. There are 5 types: Database, themes, plugins, uploads, and others. Download each individually.
Install WordPress on Cloudron
Install the WordPress Developer app on Cloudron.
Import WordPress content
- Install and activate the
UpdraftPlusplugin on the Cloudron installation. - Upload the backup files and click
Restore.
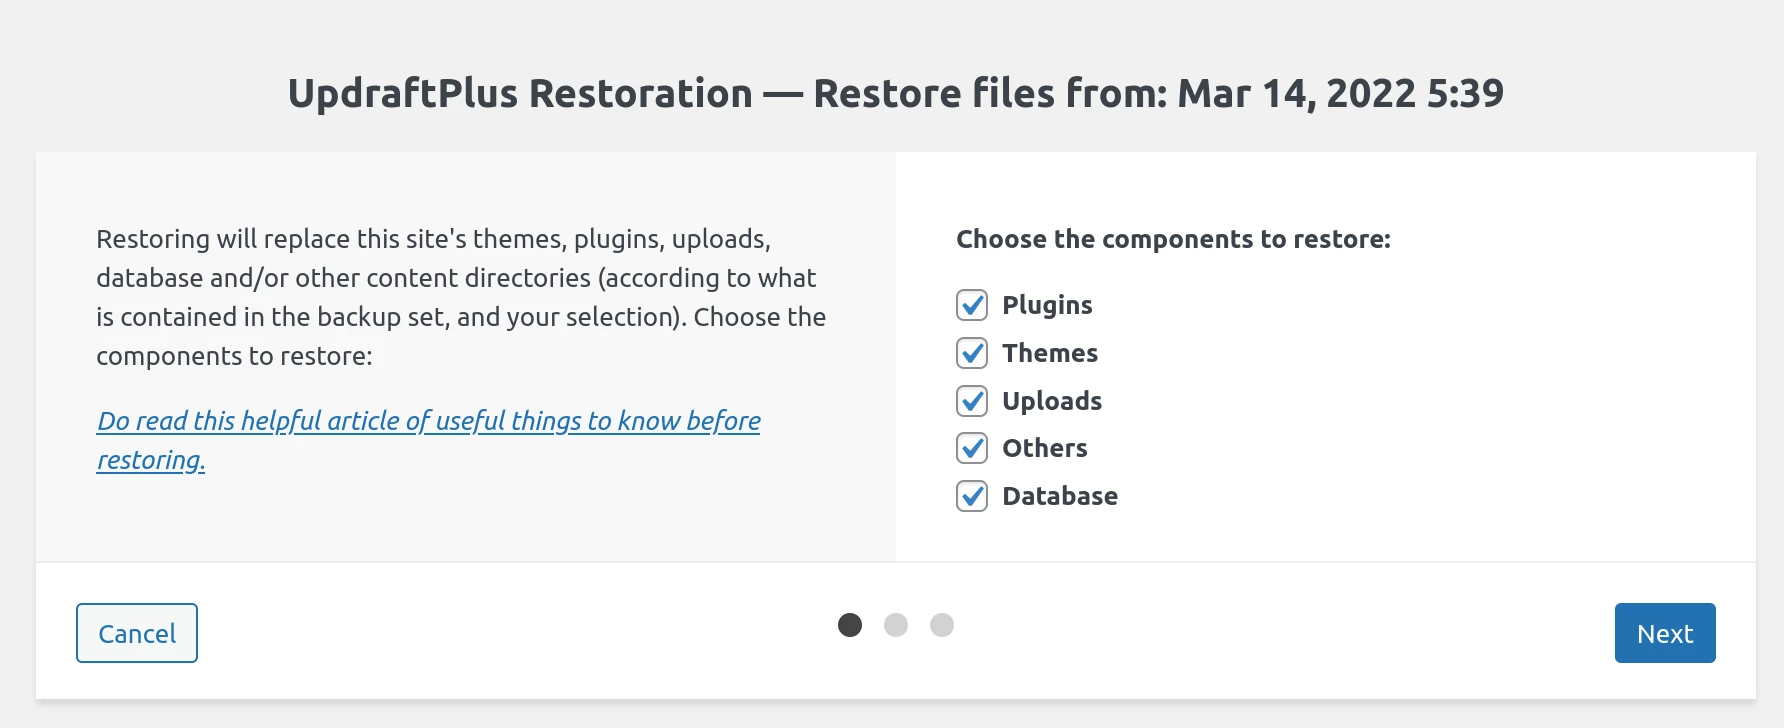
Ignore any migration warnings.
Verify
The migration is complete. Restart the app to verify the site works across restarts.